If you take a look at the ‘Getting started’ section of the Laravel documentation you’ll find a page called ‘Directory Structure’ about which we have discussed in the last video. You can refer to this page whenever you get curious about the purpose of a folder of the project.
Below the link to ‘Directory Structure’ on the menu, you will find a link to another page called ‘Starter Kits’.
Laravel makes our life easier by providing some optional kits to get started with a new Laravel project. We are going to use one of them now called Laravel Breeze to implement authentication in our Buy and Sell website.
Implementing authentication involves a lot of work- we have to enable users to register themselves to the website, store their information on the database, allow the users to log in to the website – log out from the website, and we also have to provide the option to retrieve a forgotten password. And while implementing these we have to keep security in our mind. Laravel Breeze simplifies the implementation of the complete authentication system to just a few commands. It will add all the views, the controllers, the routes, etc required for implementing authentication without us writing a line of code.
There is another starter kit called Laravel Jetstream, which is a little advanced in terms of the features it provides. It is recommended for beginners to start with Laravel Breeze as it is relatively simple, thus we are going to focus only on Laravel Breeze.
We can summarize the complete process into four major steps:
- Configuring the database
- Creating the required tables on the database
- Installing Laravel Breeze itself using composer
- Generating the authentication-related code using Breeze
Let’s start with the first one.
Configure database:
To implement authentication we have to set up the database, because tables will be created to store the user information and other data. We shall anyway need a database for the website, as we also need to store the ads for the products to be sold, so this is the right time to create the database and configure the project to be able to communicate with the database. Now to set up the database –
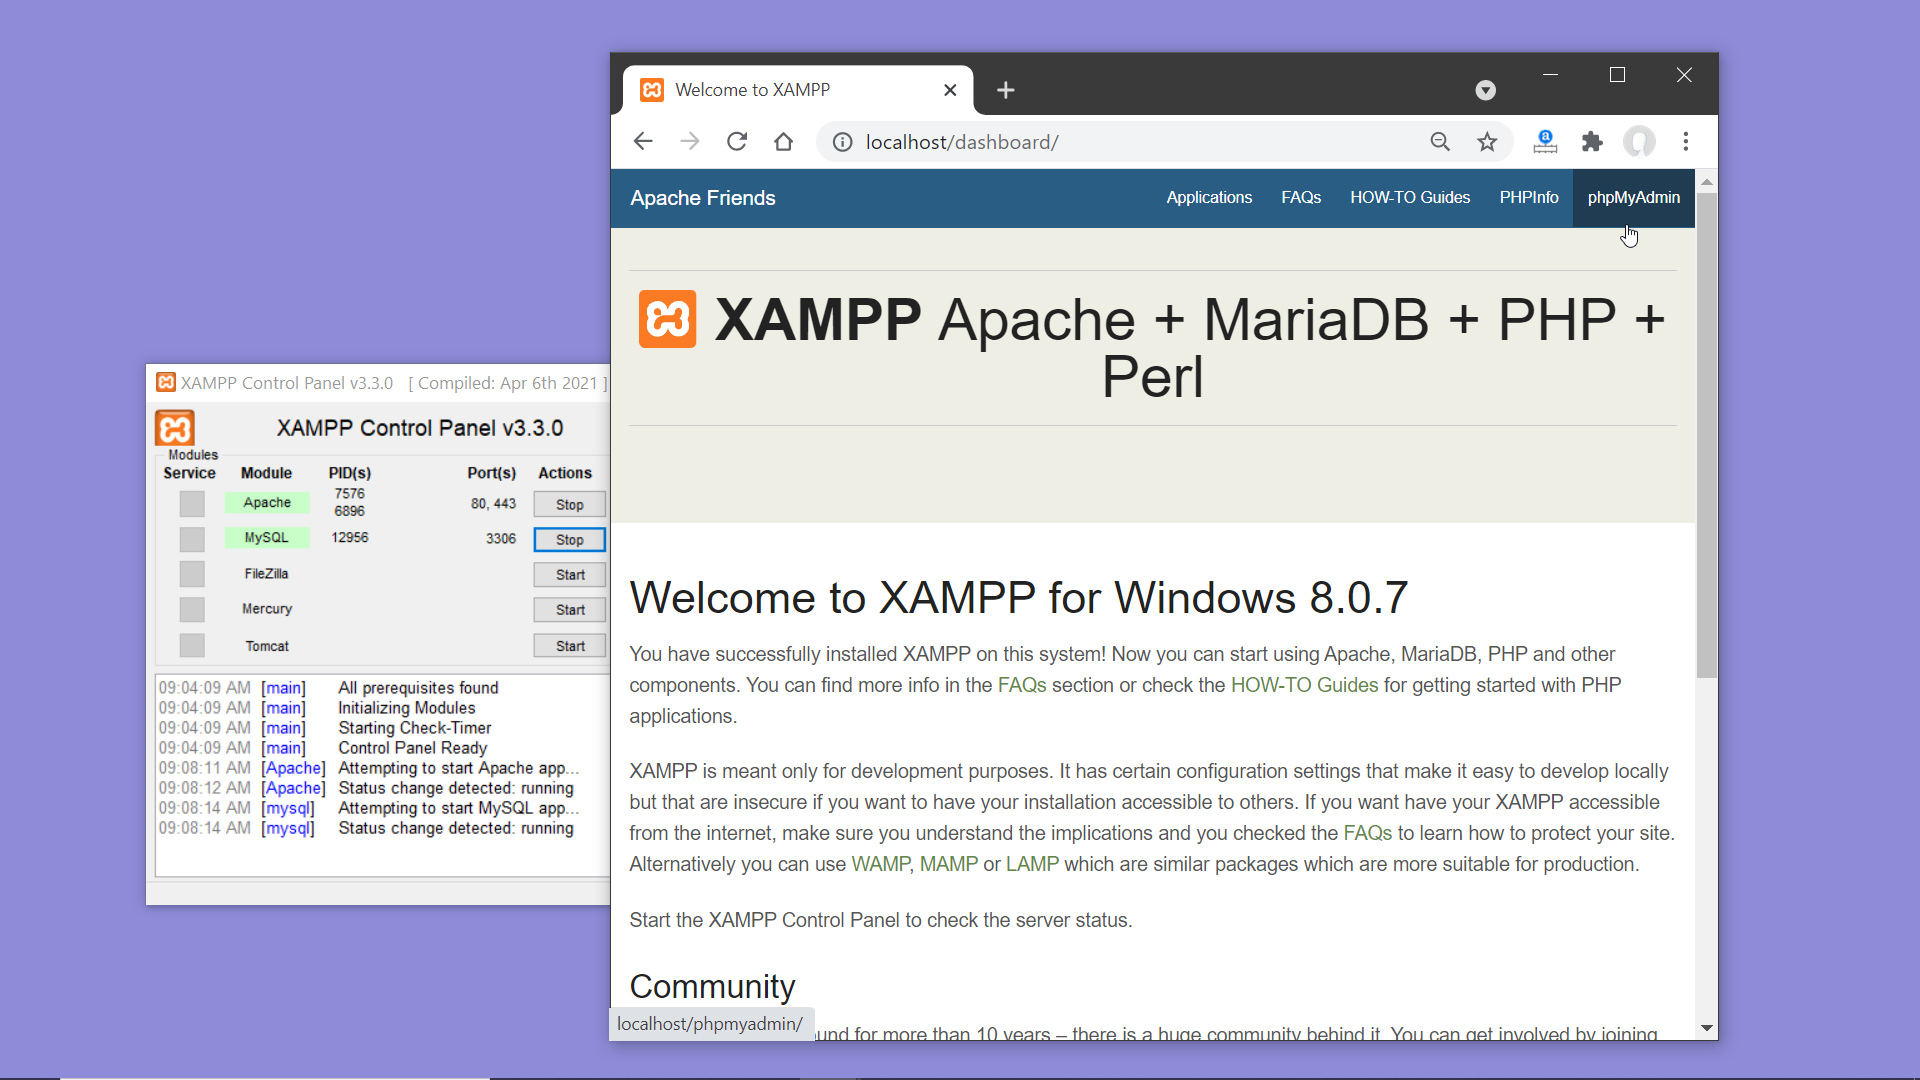
- Ensure that the web server and mysql is running
- Open XAMPP homepage on the browser by entering HTTP://localhost , and go to the phpMyAdmin page by clicking on the phpMyAdmin link on the top right corner of the page.
- Now click on ‘New’ from the left panel and a form to create a database will appear to the right. Enter a name for the database and click on the button Create.
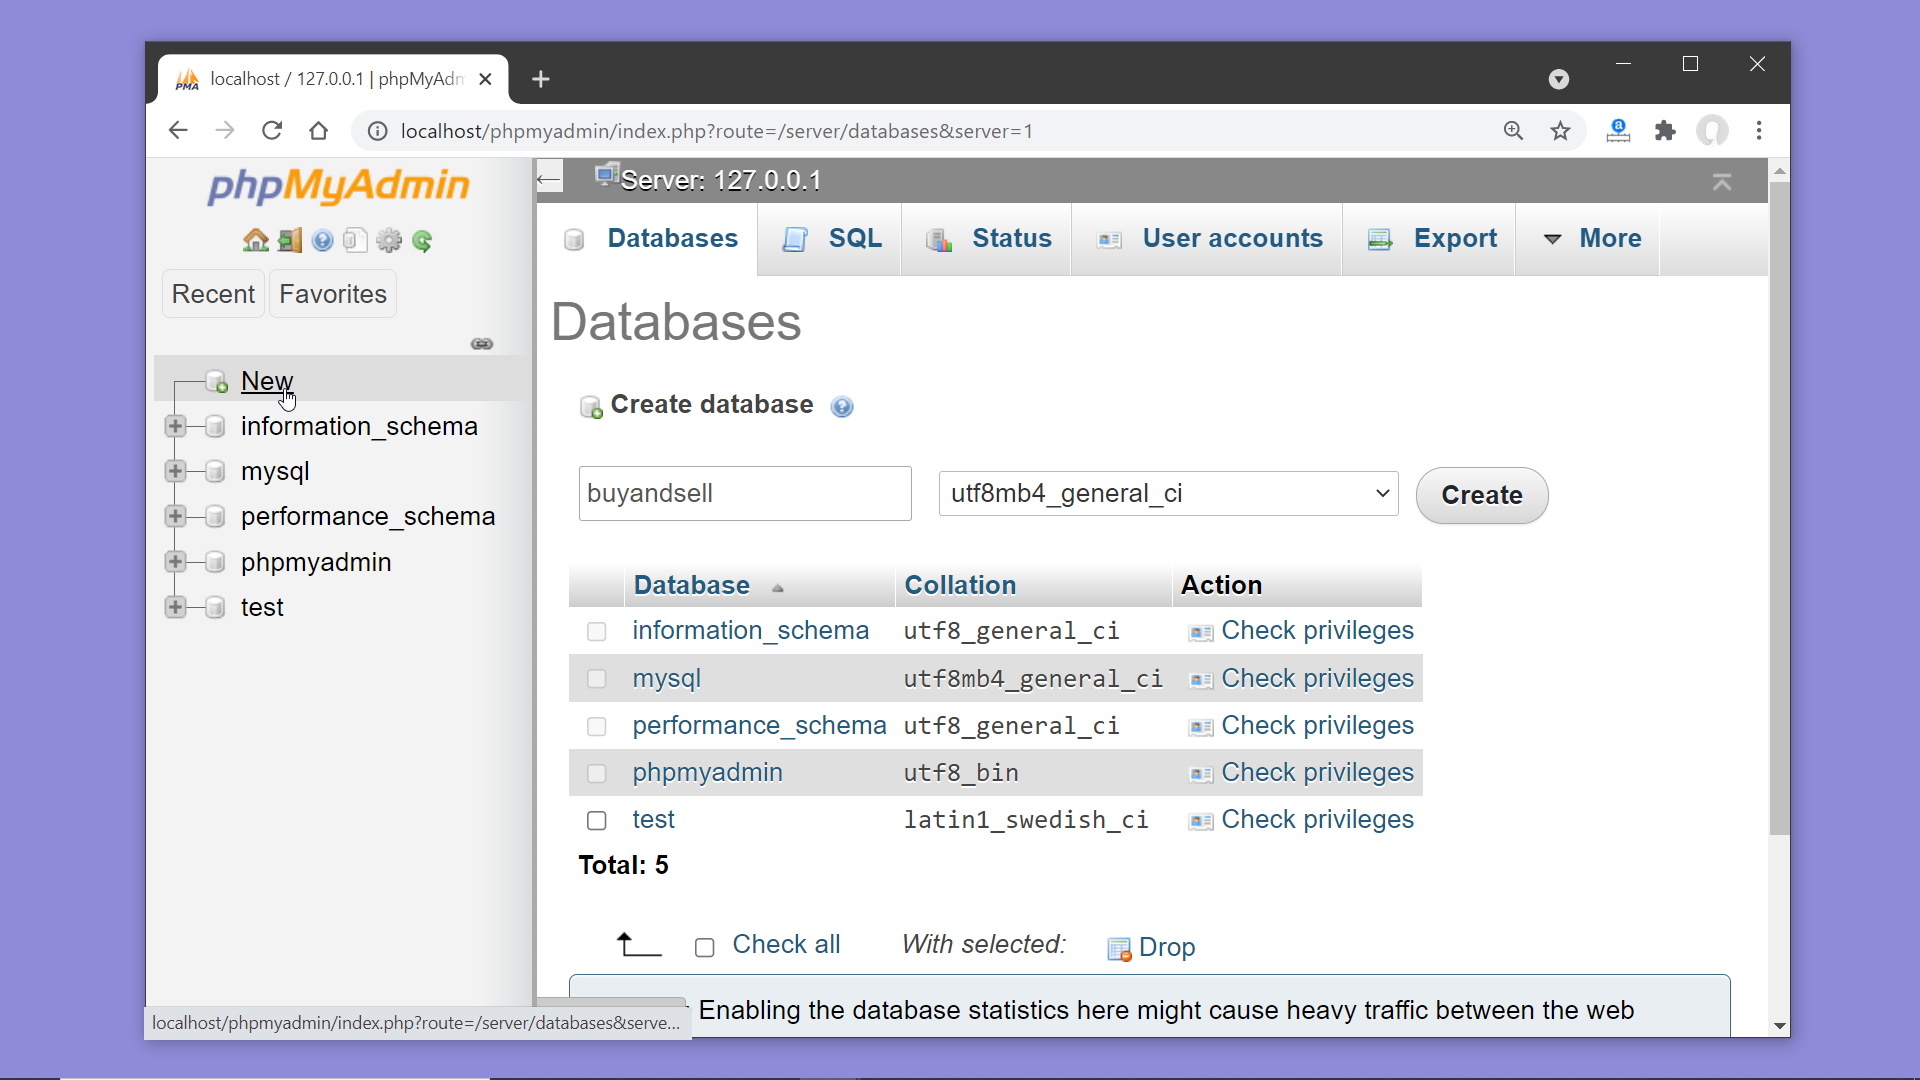
- Once the database gets created we’ll see a form to create a table inside the database. But we are not going to create the tables from this interface, instead, we shall create them by creating migrations inside our Laravel project.
- We are going to create a user for this database here. Click on the item called Privilege from the menu on the top.
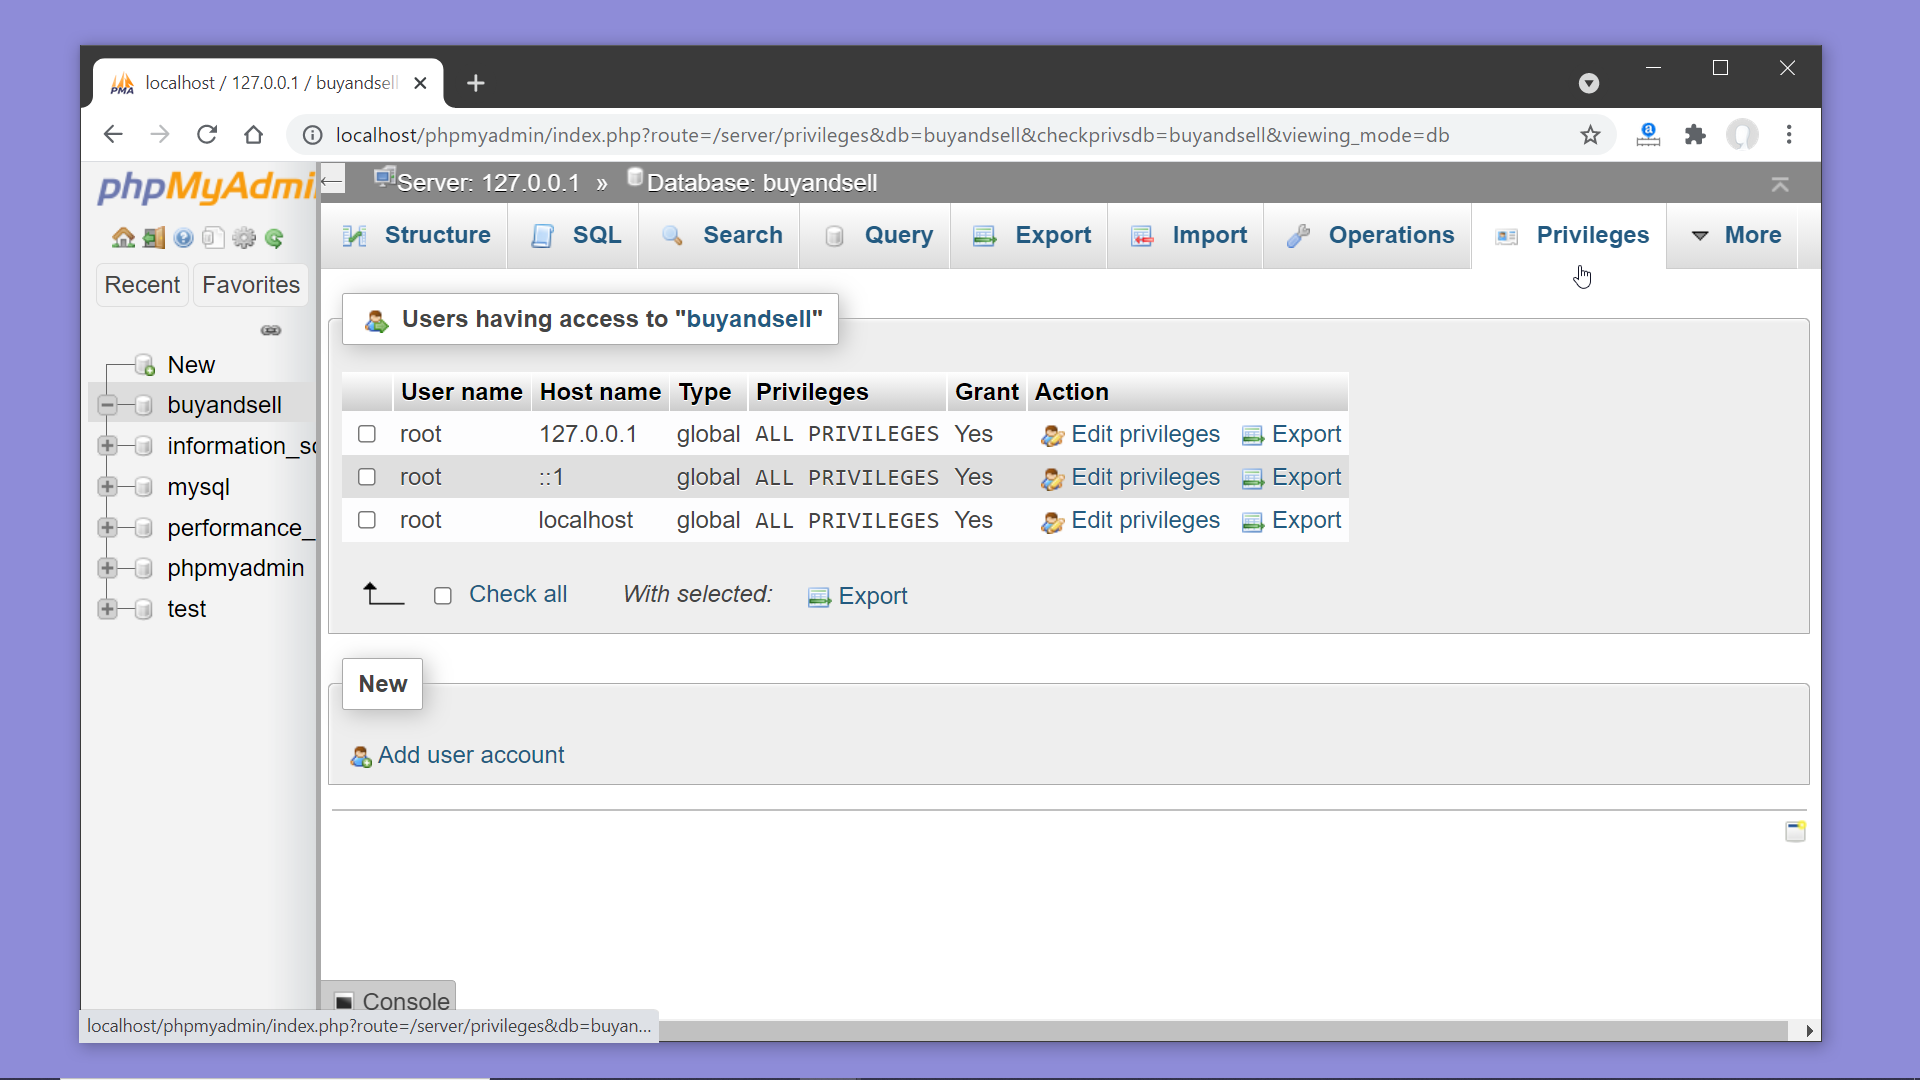
- Click on the button ‘Add user account’ from the section labeled ‘New’
- In the ‘Login Information’ form enter a username, change ‘Host name’ to Local from the drop-down and add a strong password. On the section ‘Database for user account’ check the option ‘Grant all privileges on database buyandsell’ and click the button Go at the bottom of the page.
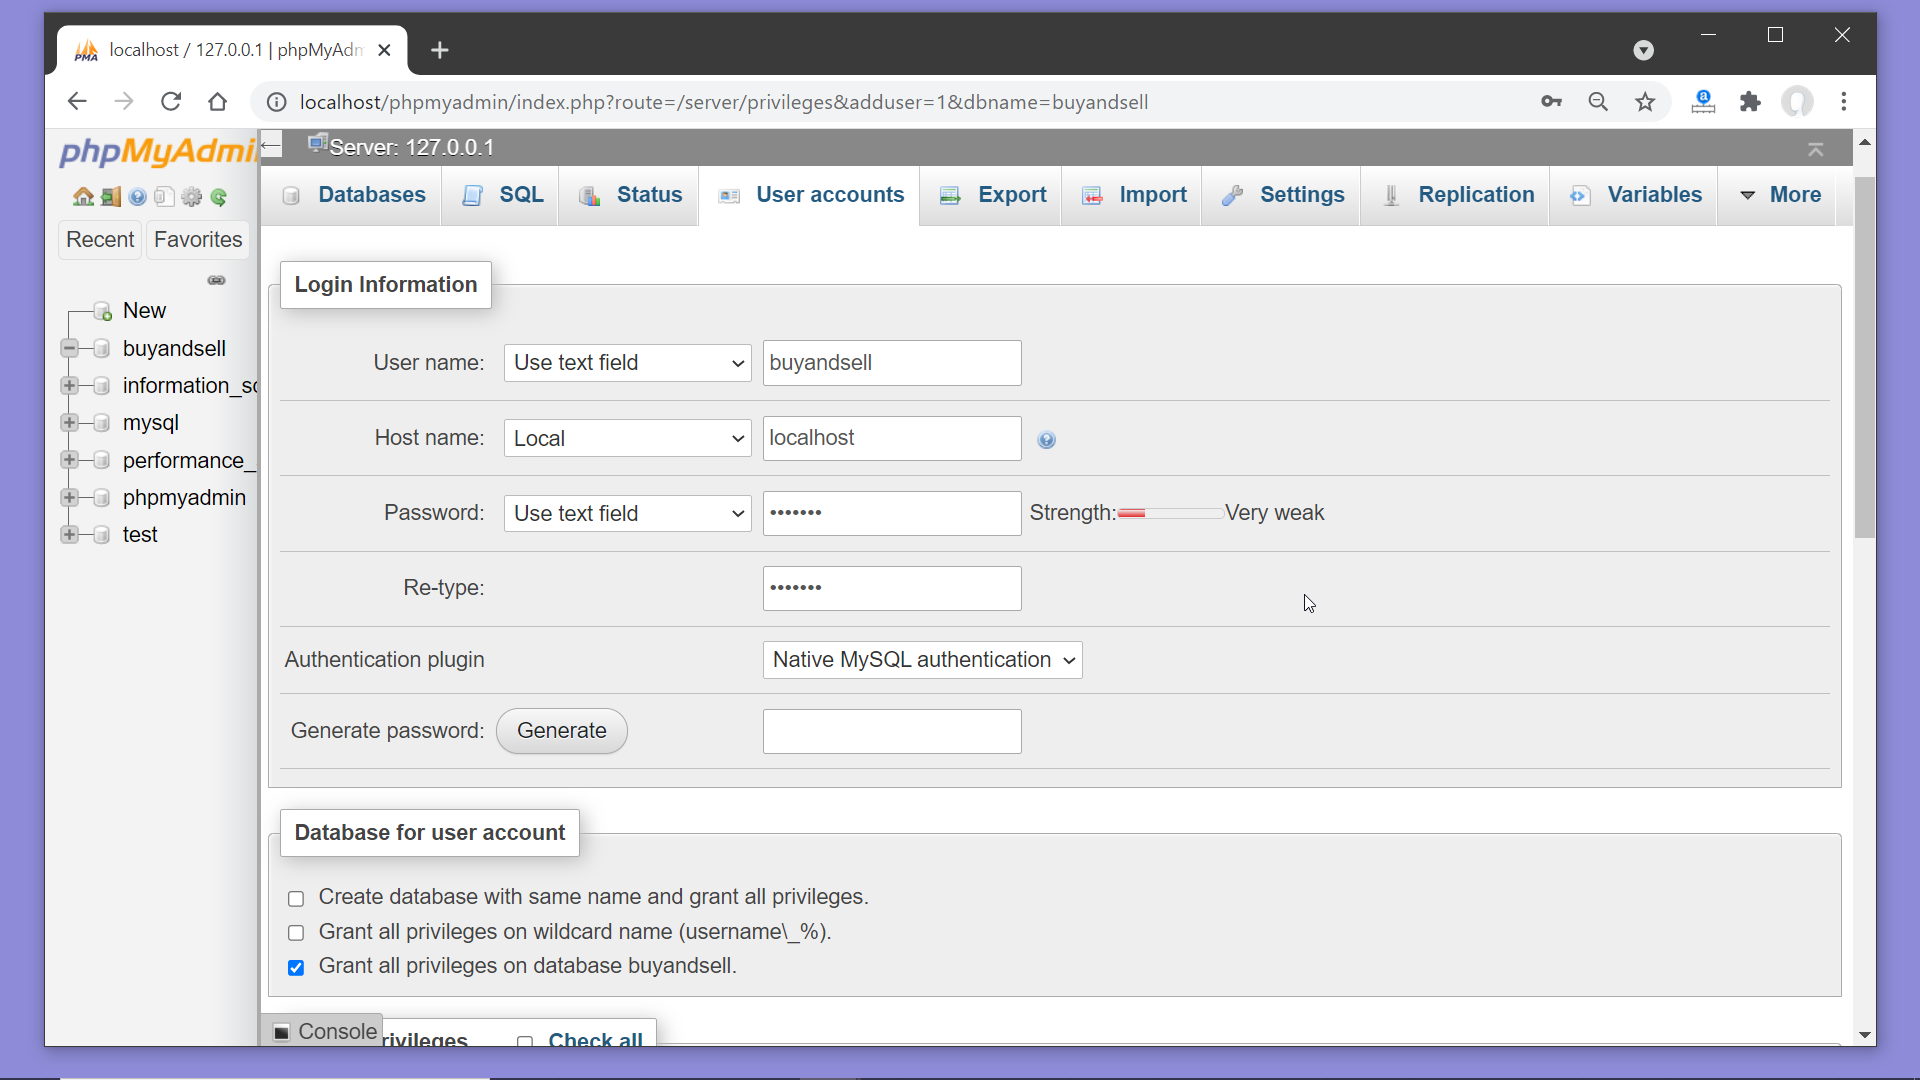
- You’ll see a message like this one.

- Now we have to establish the connection between this database and our project. For that we have to add the information of the database and the user that we have created just now to the .env file of the project.
- Inside the .env file make changes to the database configurations.
DB_CONNECTION=mysql
DB_HOST=localhost
DB_PORT=3306 (This is the port on which MySQL is running, you can verify it from the XAMPP control panel. Next, add the name of the database and the name and the password of the user that we have created recently. )
DB_DATABASE=buyandsell
DB_USERNAME=buyandsell
DB_PASSWORD=passwordoftheDBuser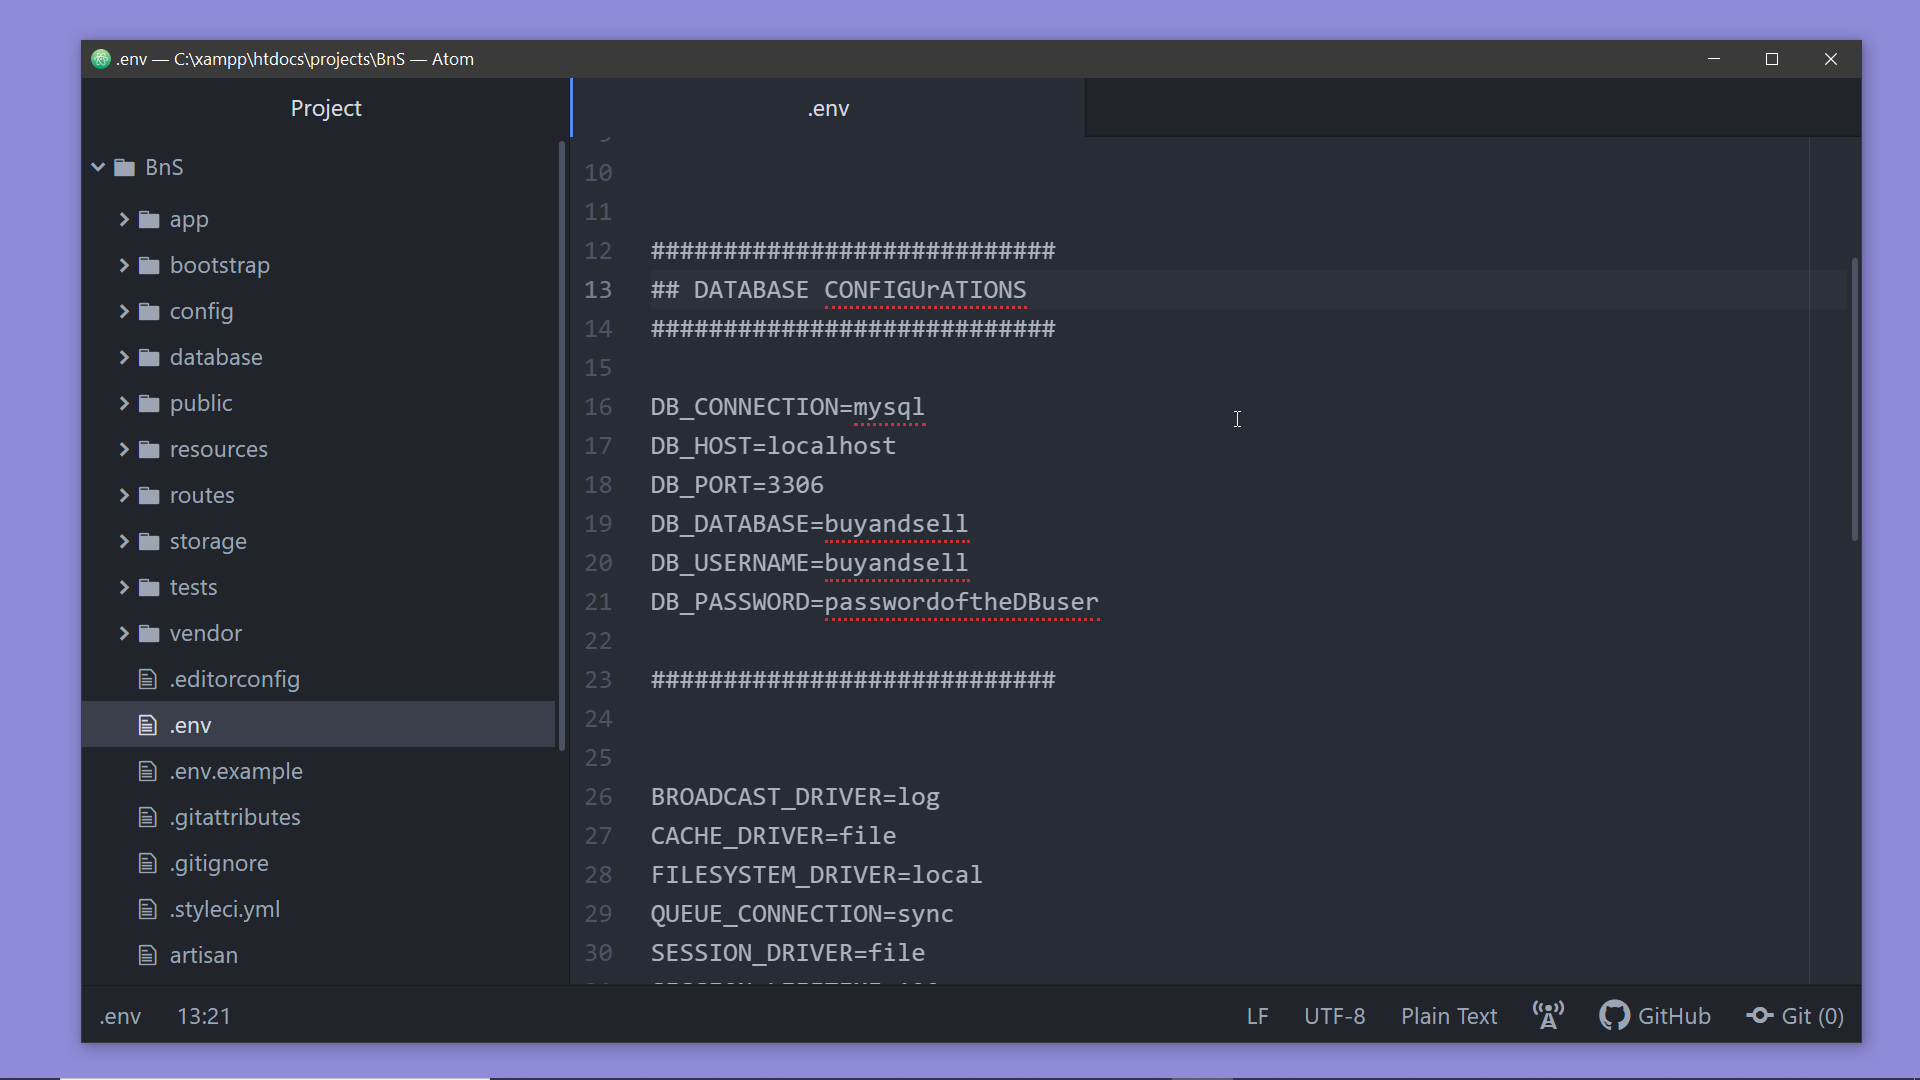
Run migrations:
Now we have to run the migrations! but what does that mean? Take a look at the folder named ‘migrations’ inside the ‘database’ folder of the project. Here you’ll find a few PHP files. These are the database migrations that came inbuilt when we created the Laravel project. We’ll need to create a few of our own during the project. Migrations contain the schema definitions of the database. Inside a migration we define the schema to create a table, we also define changes to the schema of an existing table when we need to add, remove or update columns. And when we run the migrations with a command the changes as defined in these files are applied to the database. Let’s take a look at the first file, the name of the file ends like _create_users_table.php, the name itself explains the purpose of the file.

This file contains a migration named CreateUsersTable that contains the schema definition for the users table.
A migration class contains two methods: up and down. The up method is used to add new tables, columns, or indexes to your database, while the down method should reverse the operations performed by the up method.
Here in this migration CreateUsersTable you will notice that the up() method contains the schema for creating the table named users, while the down() method drops the table if it exists. You will get familiar with these during the course, as we shall create migrations for creating, modifying our tables.
Now if we run the artisan command php artisan migrate on the terminal, all the outstanding migrations will be run, the up() functions of the migrations will get executed. The down() methods of the migrations get executed when we run the command php artisan migrate:rollback . As of now, we have not run the migrations at all, thus all are outstanding.
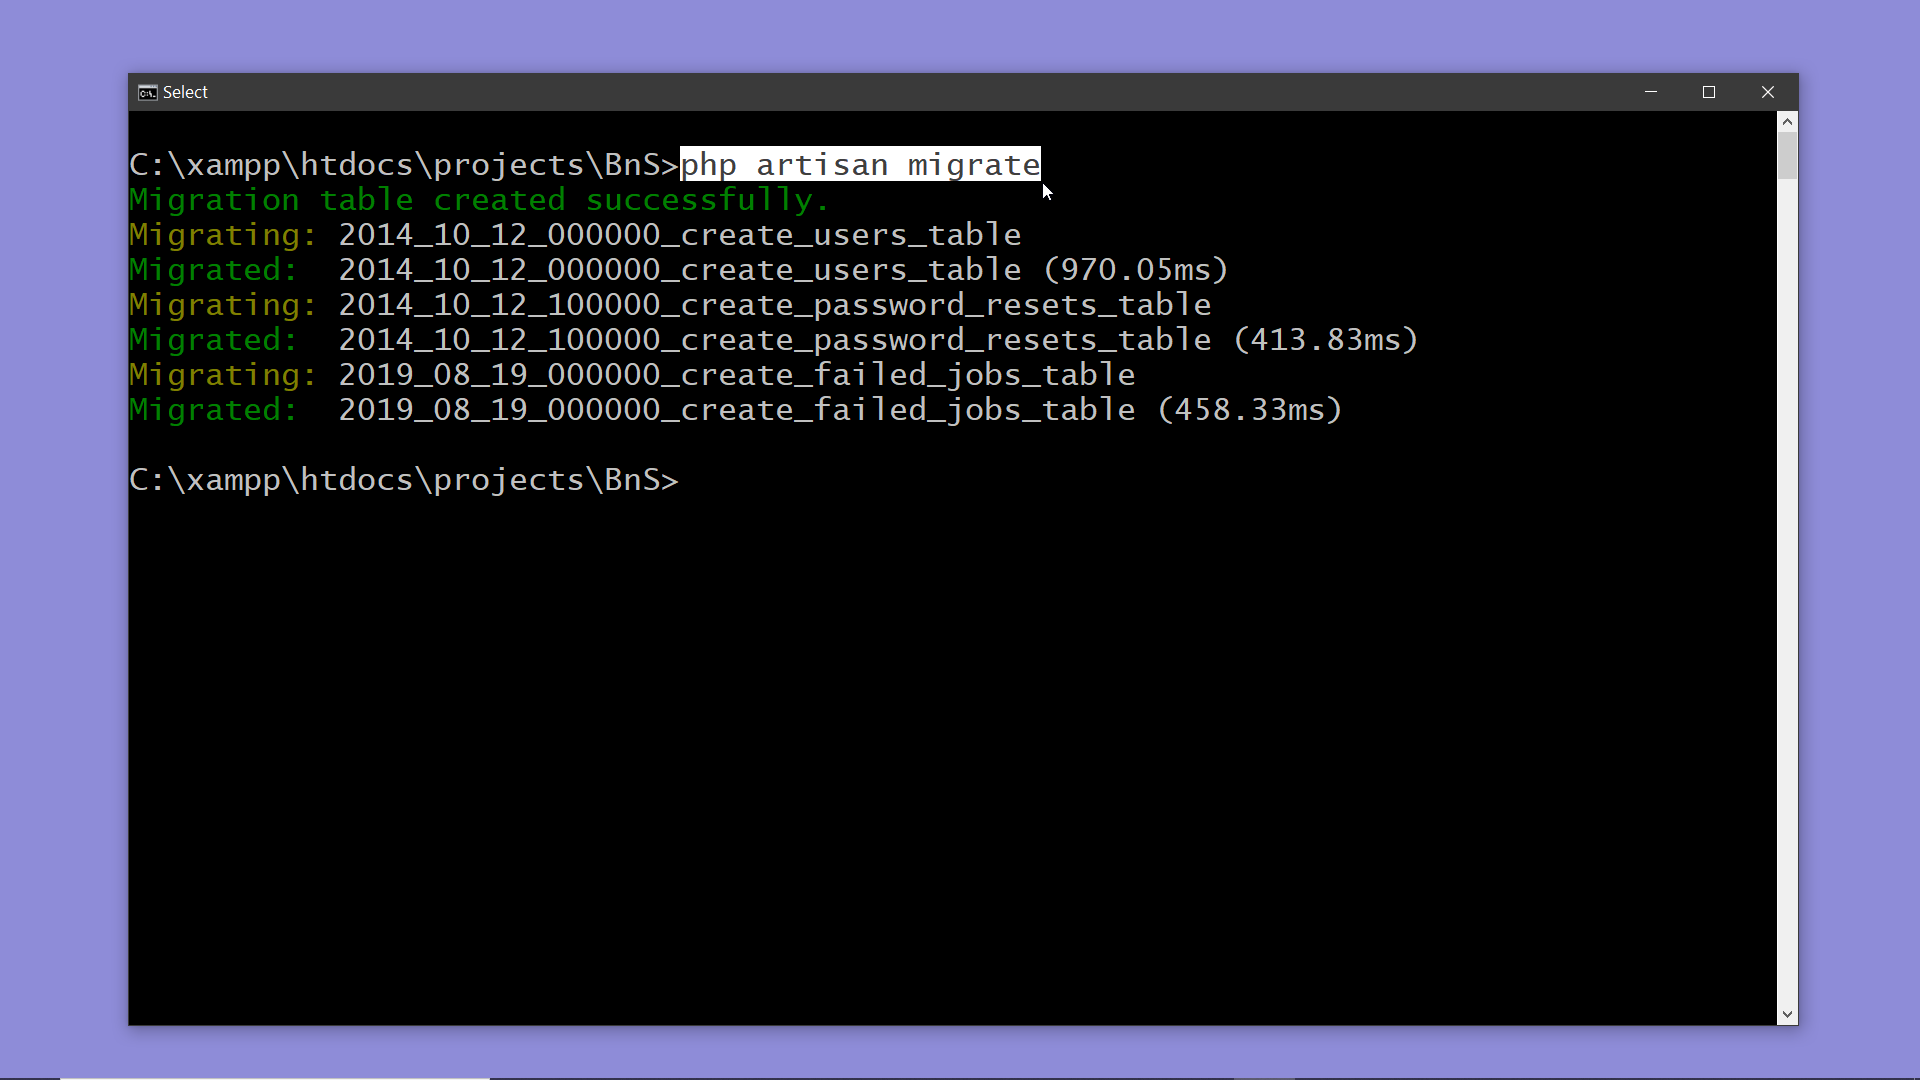
So let’s run the migration :-
- First, open the terminal inside the project directory
- And run the command php artisan migrate
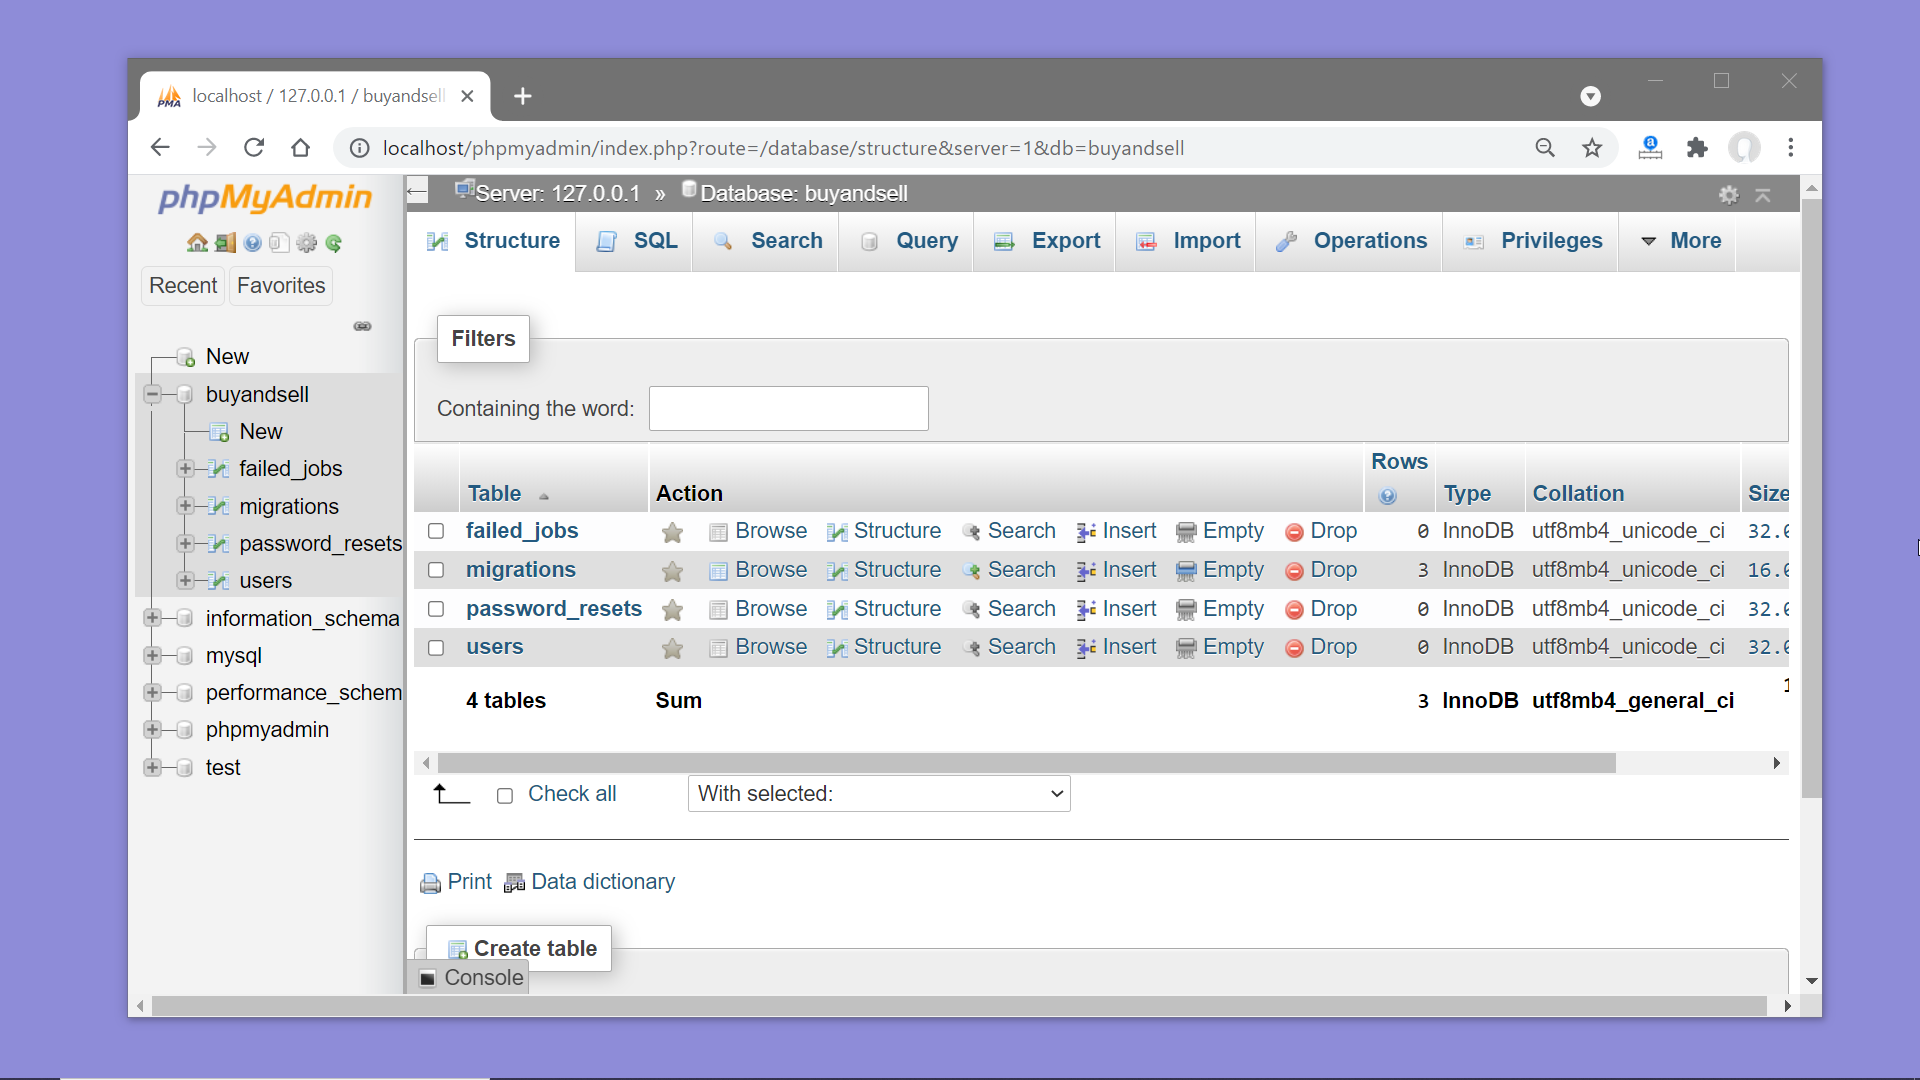
- Once migration is complete take a look at the database on phpMyAdmin, we will find three new tables which didn’t exist before.
Install Laravel Breeze using composer :
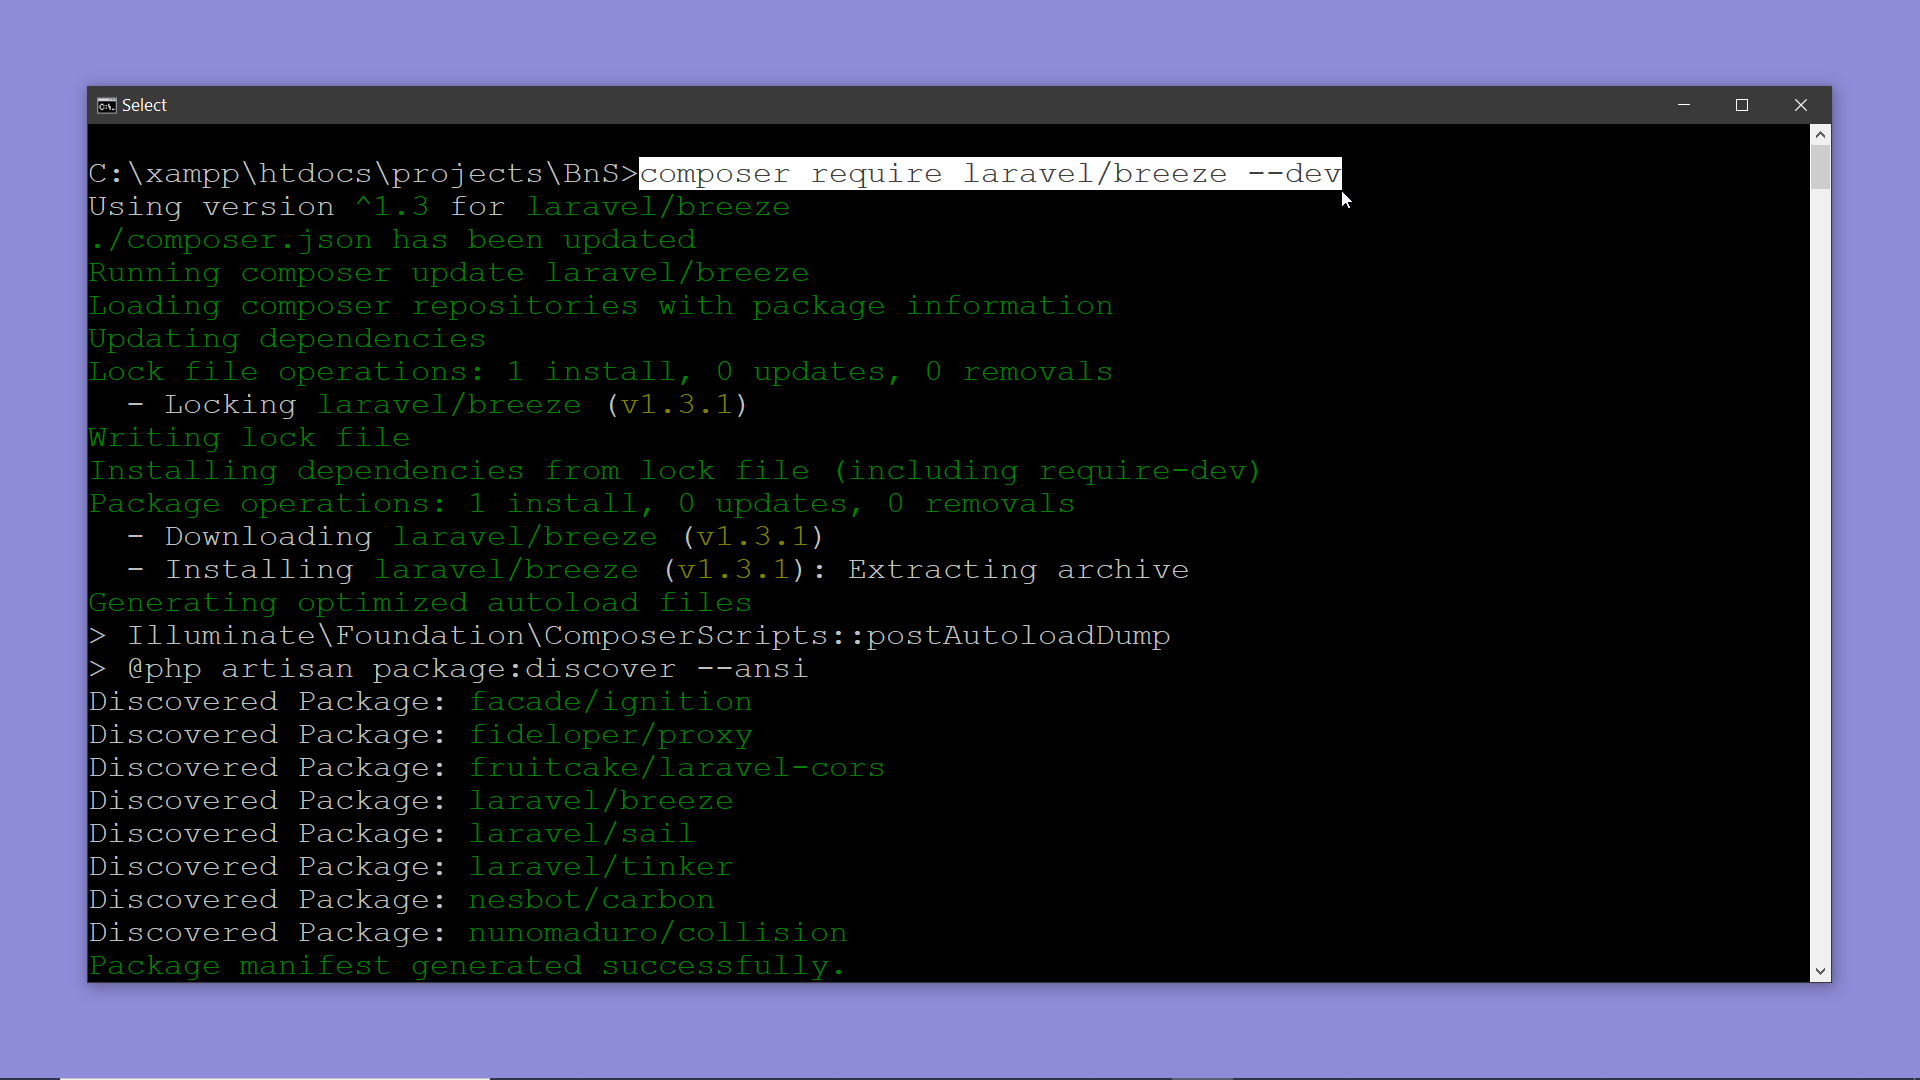
Now we have to install Laravel Breeze using composer. Open the terminal at the root directory of the project and run the command — composer require laravel/breeze –dev
Generate the authentication-related code:
Breeze create the views, controllers, and other components related to authentication and places them in the appropriate directories of the project. To make Breeze create these components we have to run the command — php artisan breeze:install — on the terminal.
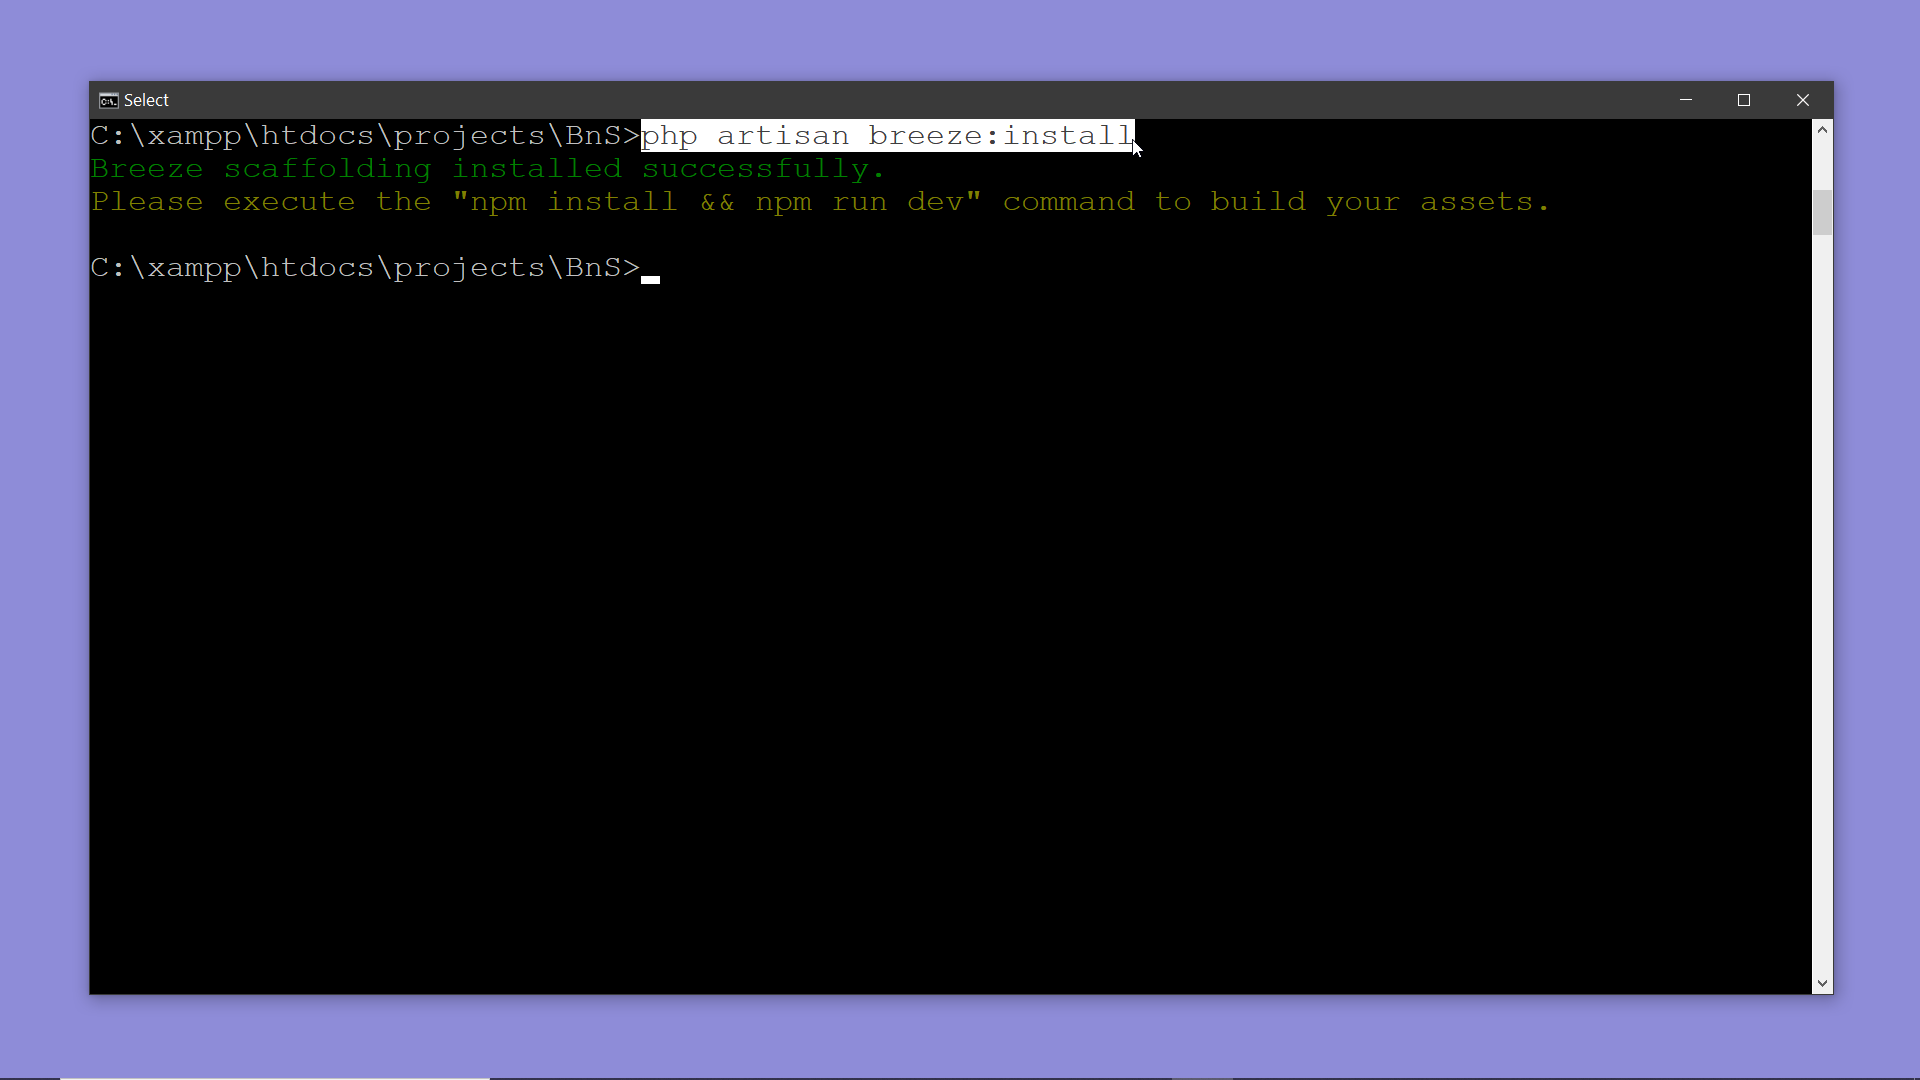
After completion of this command, if we explore the directories of the project, we shall find a few new views, new controllers, and new route files in the respective folders. These are the code related to authentication that Laravel Breeze has added to our project.
Now if we head over to the browser and load our website, we’ll notice two new buttons for Login and Registration on the right top corner of the page.
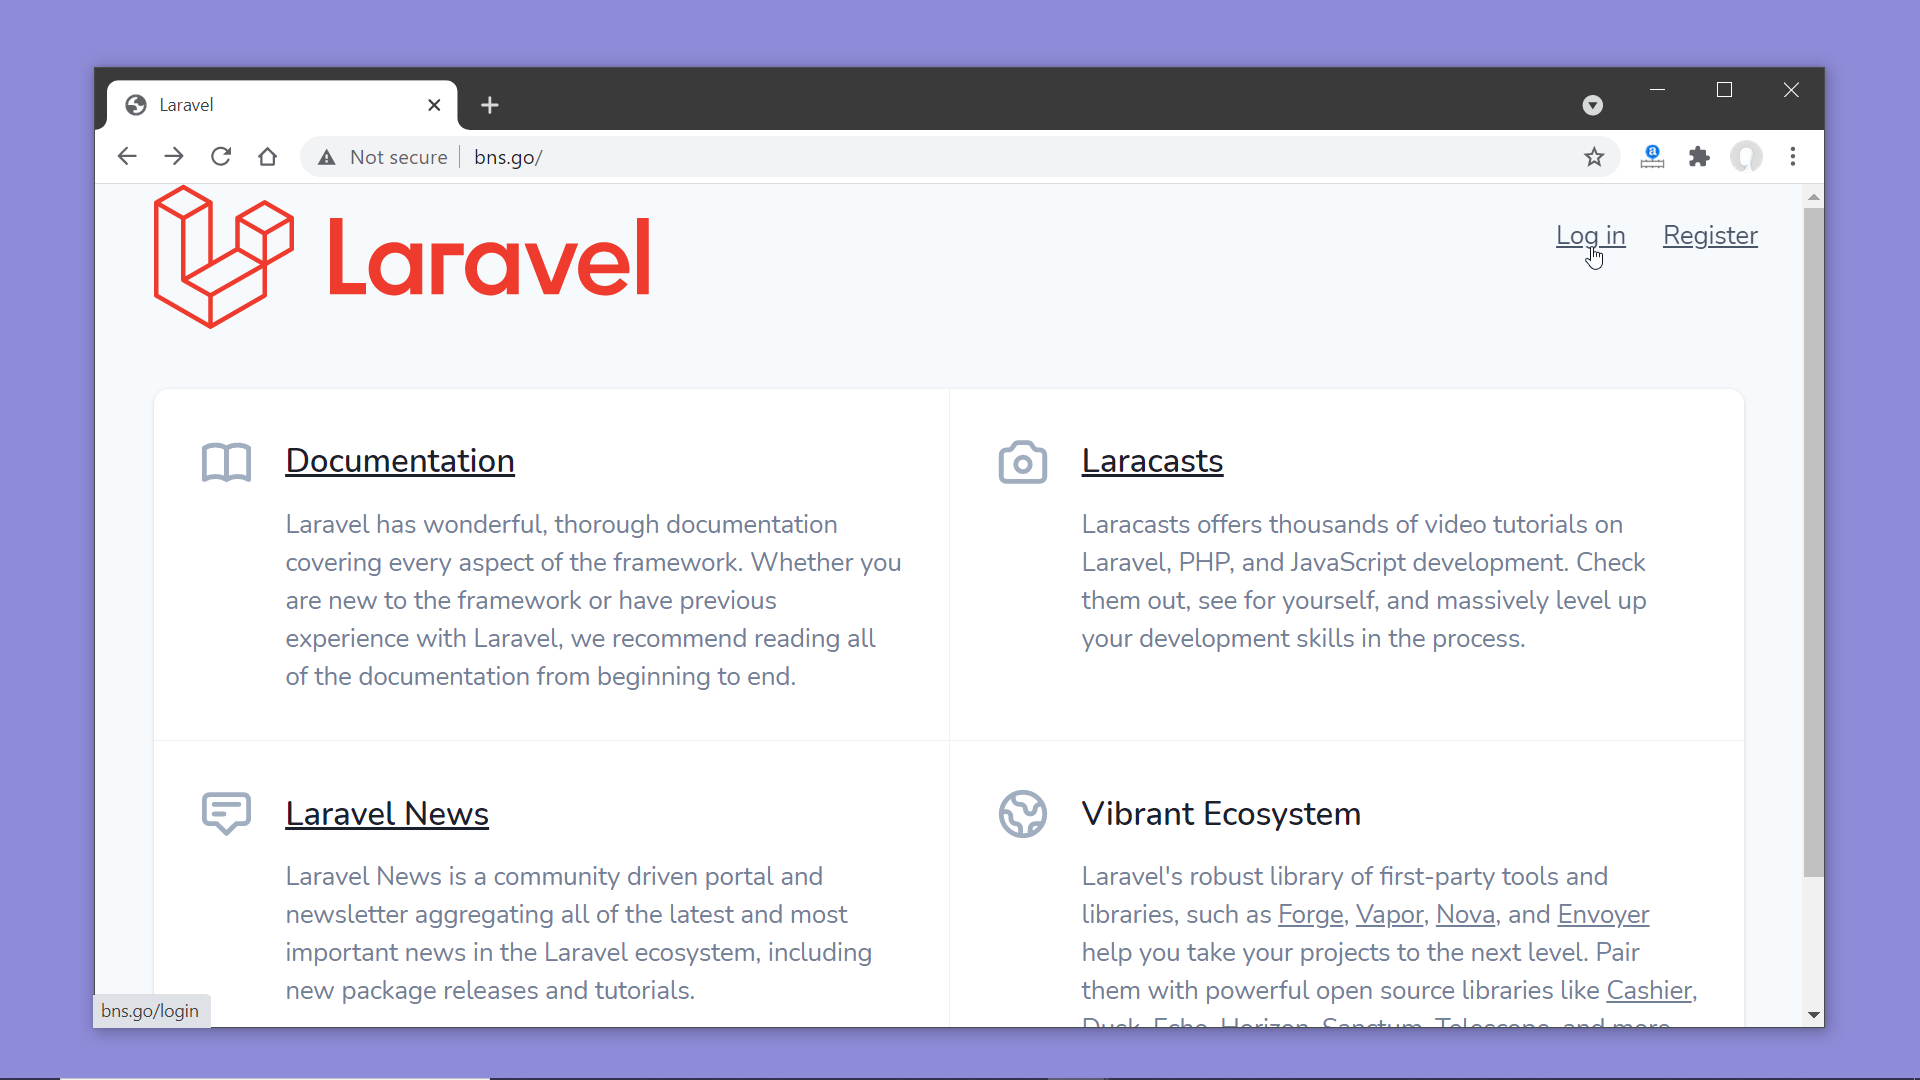
Now let’s take a look at the login page; click on the login button….. does something seems to be broken? Well, there is more step left. Laravel Breeze has made changes to the app.css file inside the resources/css folder. And we have to compile them for the styles to come into effect.
Compile assets:
Run these commands
npm install
npm run dev
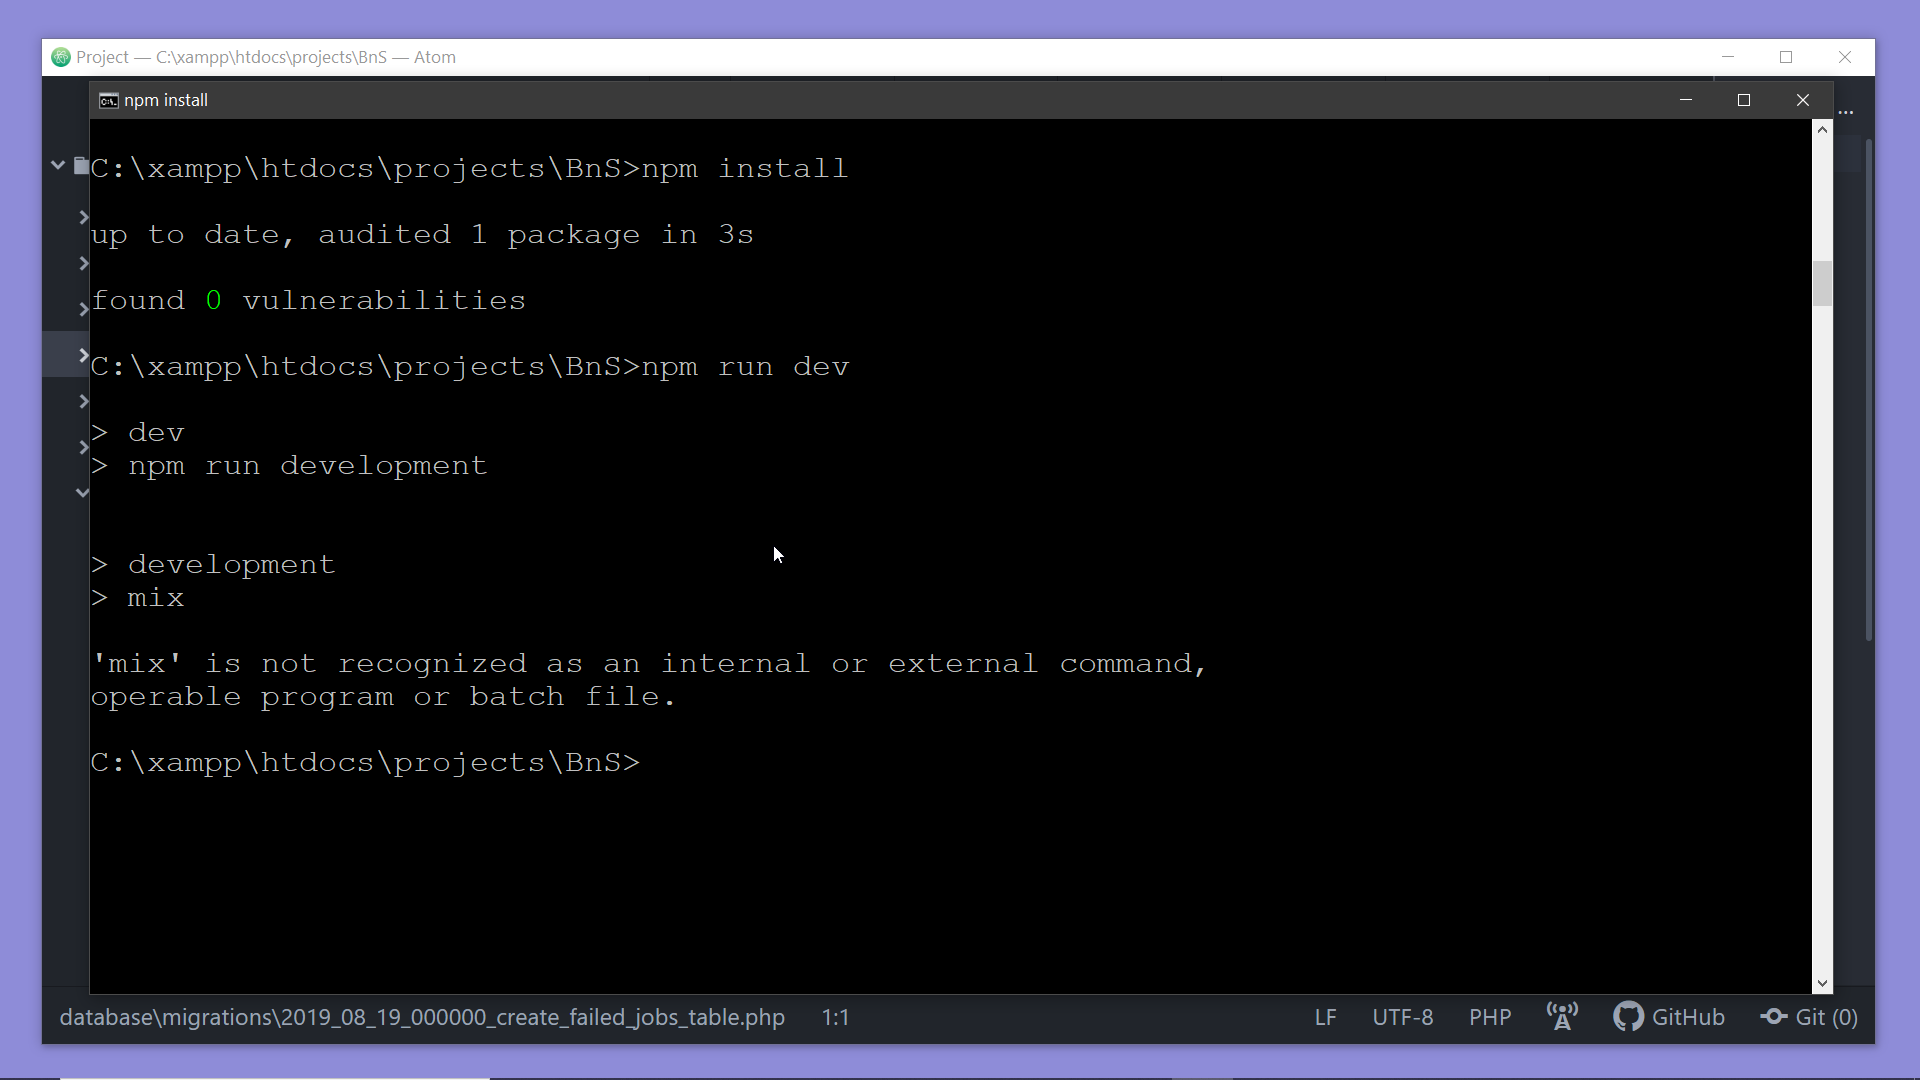
Your terminal will display a success message if no error has occurred.

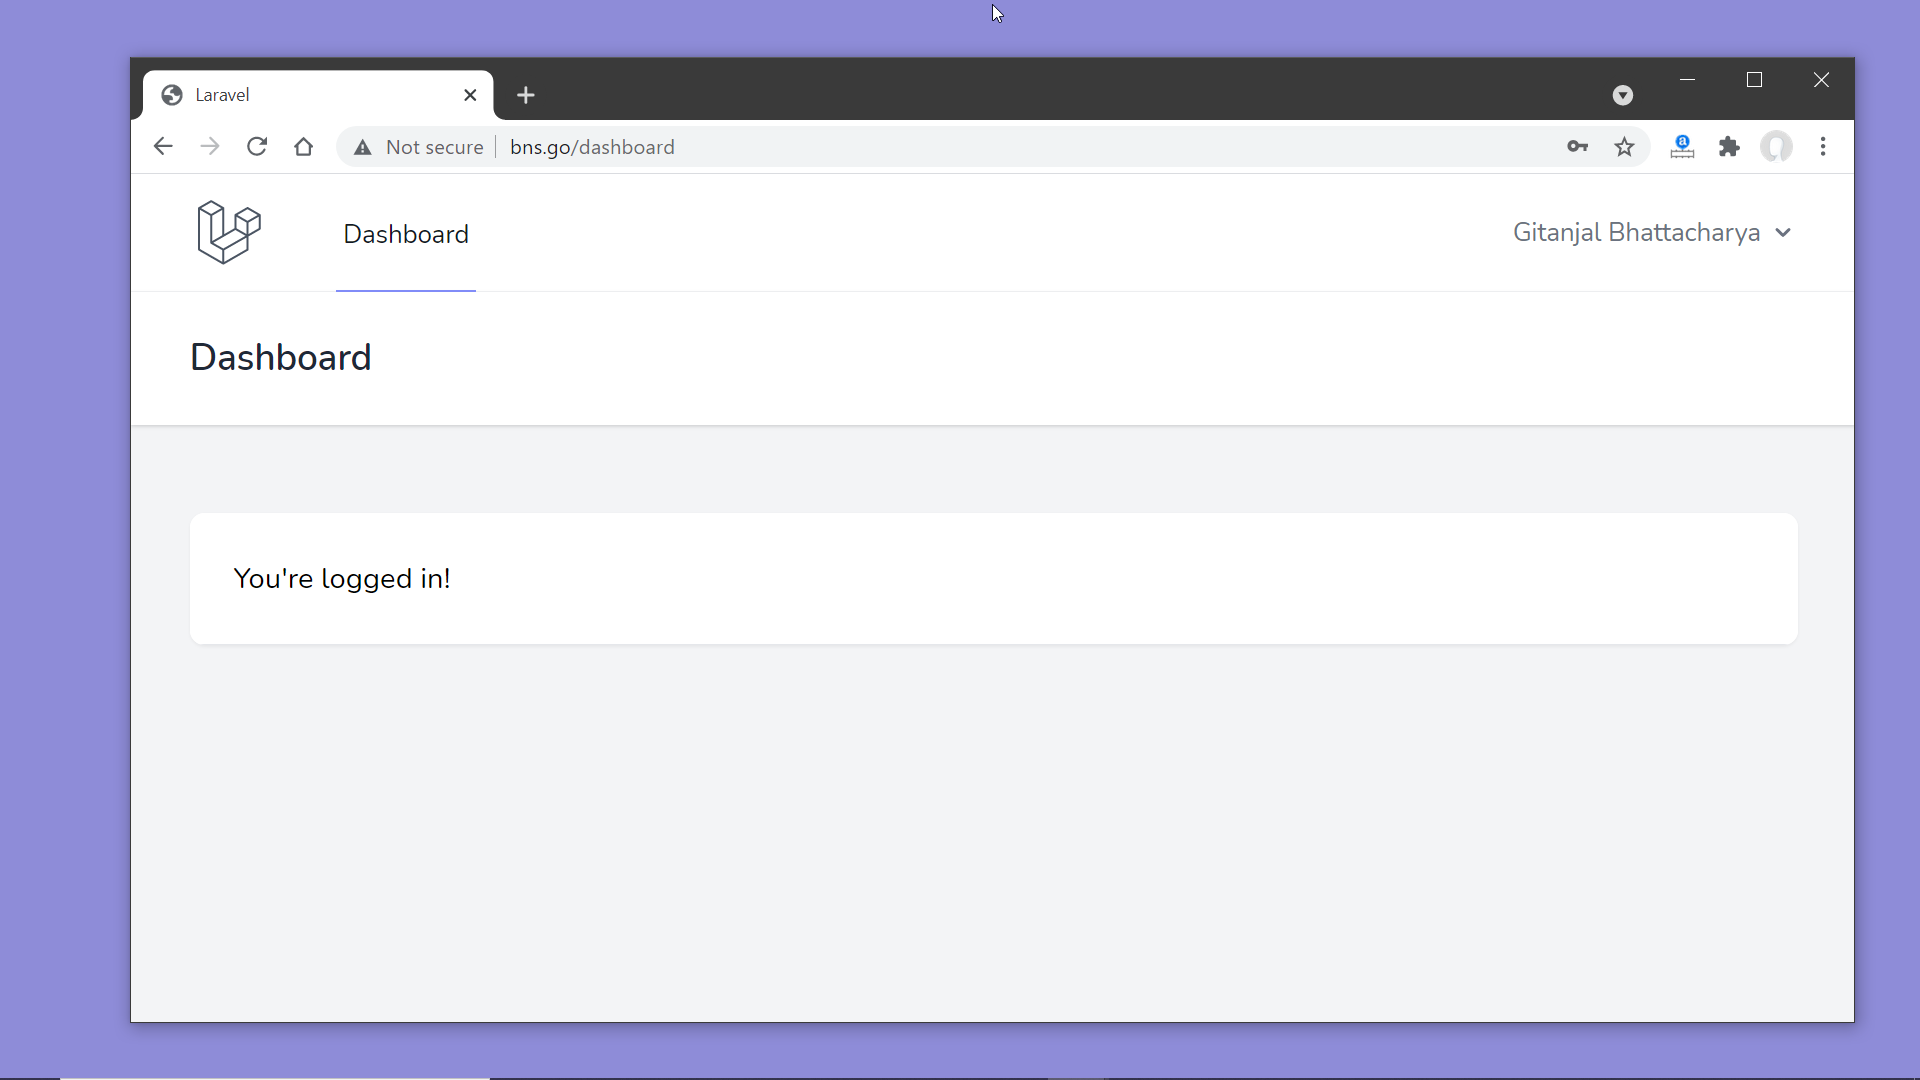
Now, reload the website and a look at the login and registration pages, they look good now.

Try creating a new user from the registration screen and login. On successful login, you will be taken to a home screen similar to this one:
If you get the error as ‘mix is not recognized’, then you will need to install Laravel mix with the following command
npm install laravel-mix@latest --save-dev
And upgrade npm packages using npm upgrade