We are going to display the products on the first screen itself on loading the website. The users will be able to view the products even without logging in, we shall ask the user to log in only if he or she tries to view the contact details of the seller of a product or tries to post a new product ad.
We have discussed the components of a Laravel project right! The Views are there for user interactions, Models are for database interactions, and the Controllers facilitate the communication between the Views and the Models. The Views know nothing about the application logic, they simply present the data passed to them to the user in a beautiful way.
Now we shall create the Views for the pages of our website using dummy content, and we shall replace them with actual data when we create the Models and the Controllers. The Views are kept inside the folder views inside resources. Currently, we have one view here which is responsible for the default welcome screen of the project. We shall replace its code with our own to display a list of products. But before that notice the file name once, it is welcome.blade.php . The .blade.php extension is added to inform the framework that the file contains a Blade template.
Now, what is a Blade Template?
A Blade Template or the Blade Templating engine as a whole helps us in putting data inside HTML while creating the layouts. Let me show you, how.
Open the file welcome.blade.php. Let me show you the simplest thing first. Scroll down to the bottom and you’ll find the line for displaying the Laravel version and the PHP version at the bottom of the page. Laravel v{{ Illuminate\Foundation\Application::VERSION }} (PHP v{{ PHP_VERSION }}) Here Illuminate\Foundation\Application::VERSION and PHP_VERSION are global variables. And Blade’s echo statement (these double curly brackets) are used to print the values of these variables. If we replace the Blade syntax with raw PHP to print the variable, it would look like this- Laravel v<?= Illuminate\Foundation\Application::VERSION ?> (PHP v<?= PHP_VERSION ?>)

And you may be thinking, “This looks so simple, why do we even need a templating engine!” Let’s scroll up a little and find out why?
At the beginning of the body, you will find the code for displaying the login and registration buttons. There are some interesting stuff here. Notice the if statement.
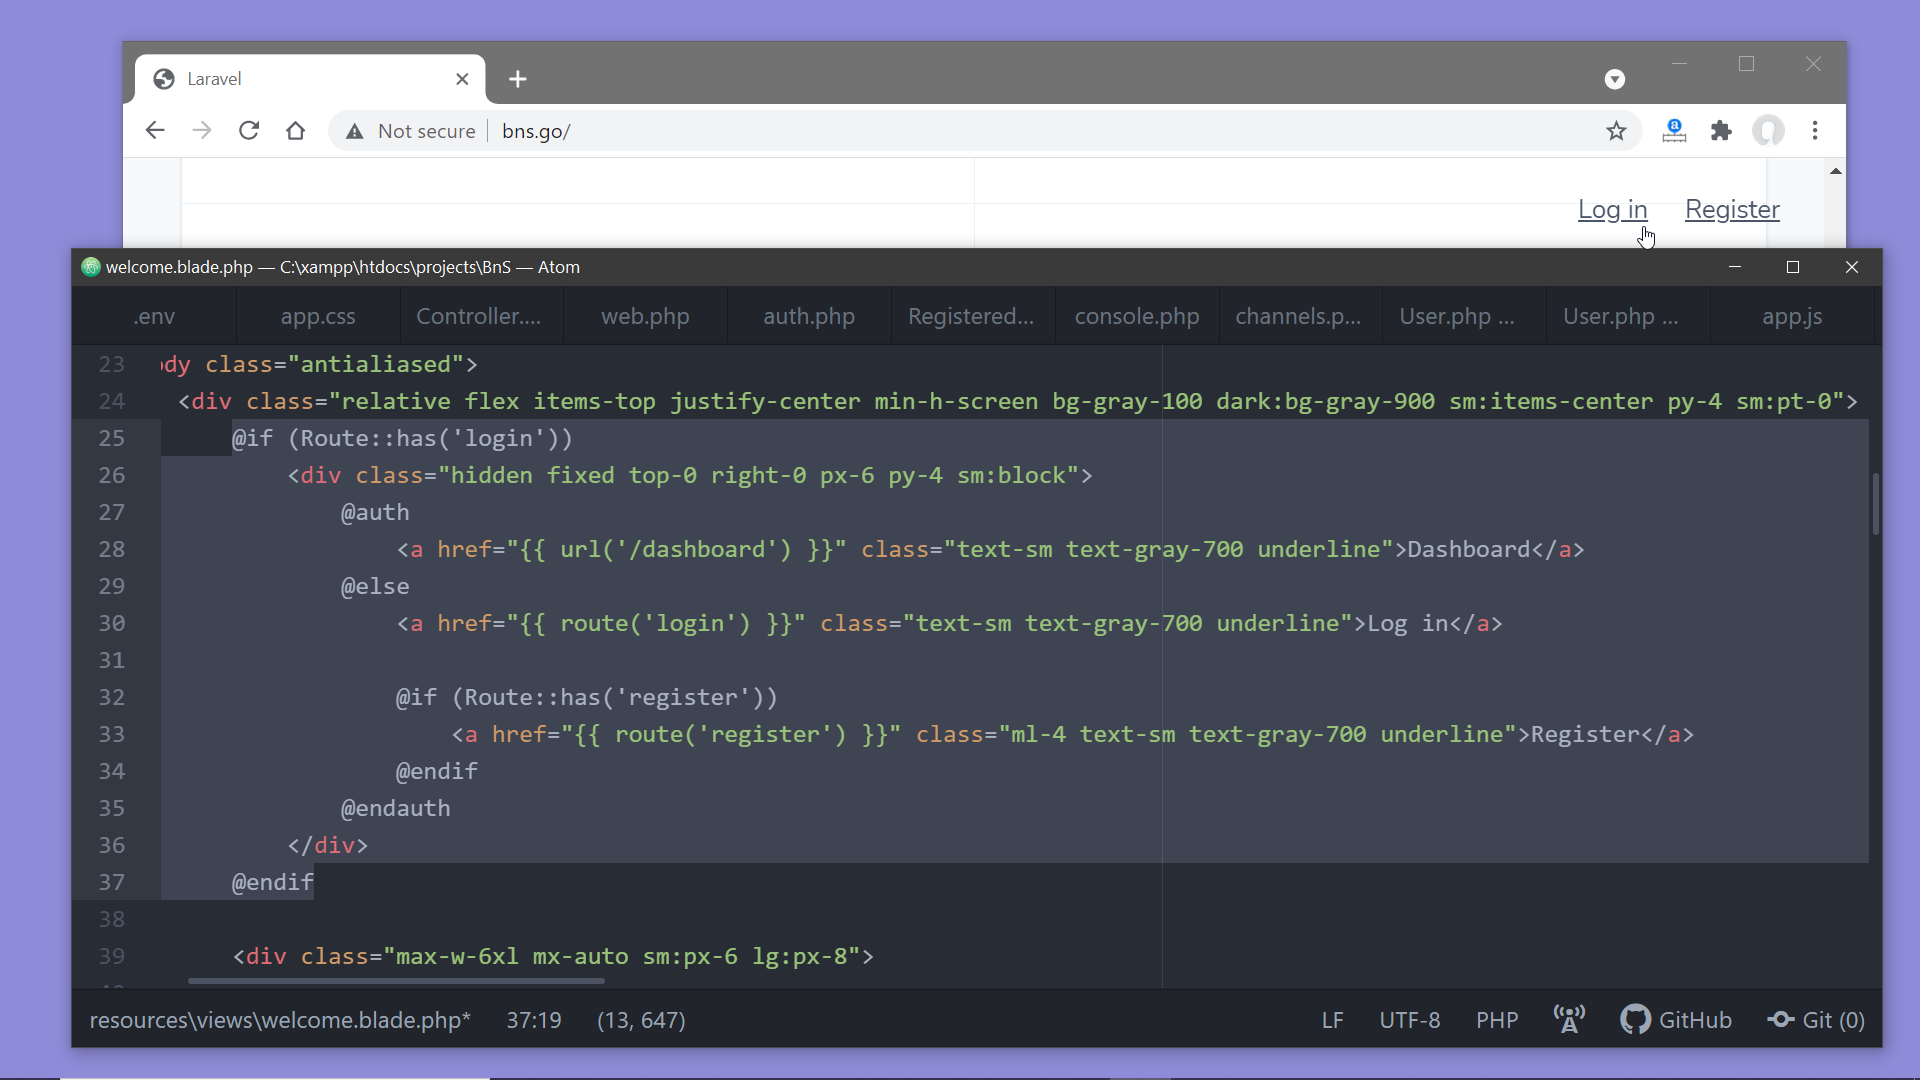
This is a blade directive for adding an if condition. Here this code is checking if a Route named ‘login’ exists, which is an indication that authentication has been implemented. If it exists then only it will display the buttons, otherwise nothing.
Next, the @auth directive is used to determine whether the user is logged in or not. A link to the dashboard page is displayed if the user is already logged in otherwise the login and registration links.
Now if we replace the blade syntax with raw PHP code it will look something like this-
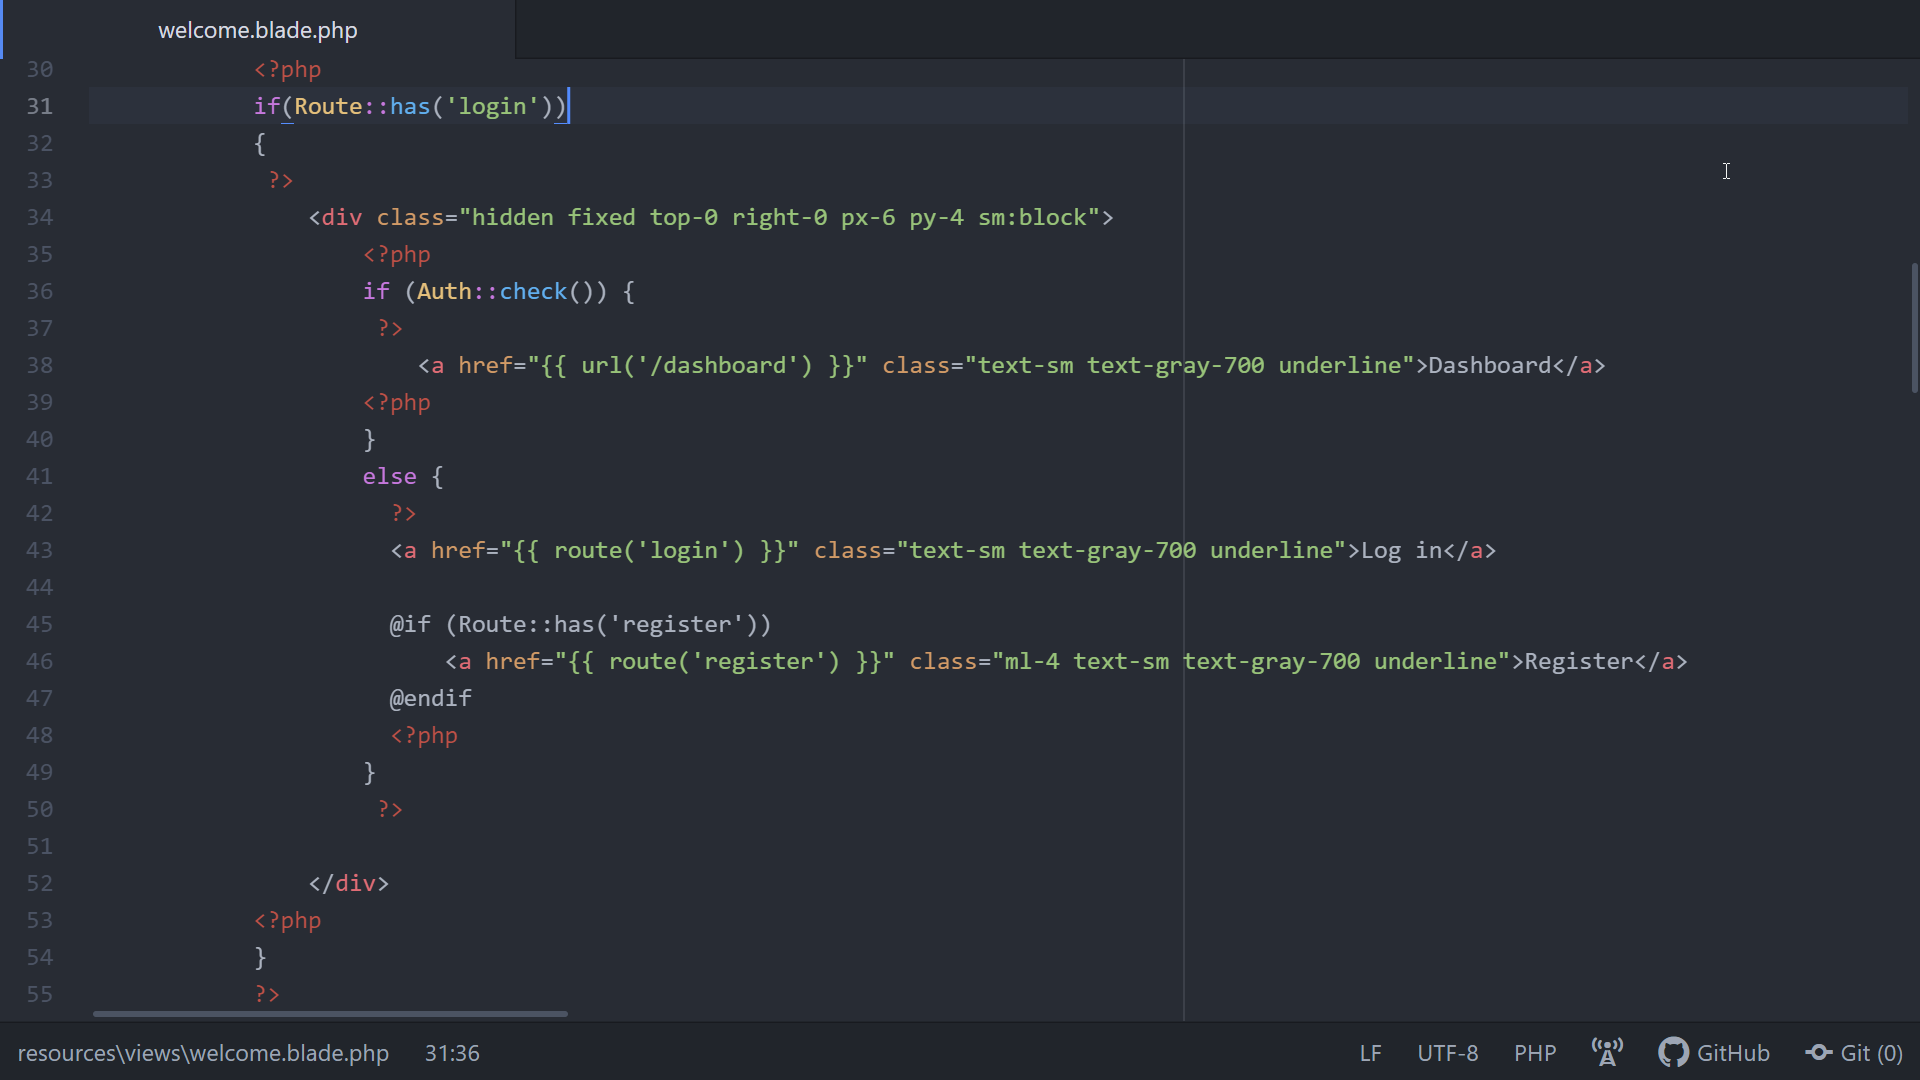
Now the importance of using a templating engine is clear. But this is not all that blade has to offer, we shall experience more of Blade’s magic soon.
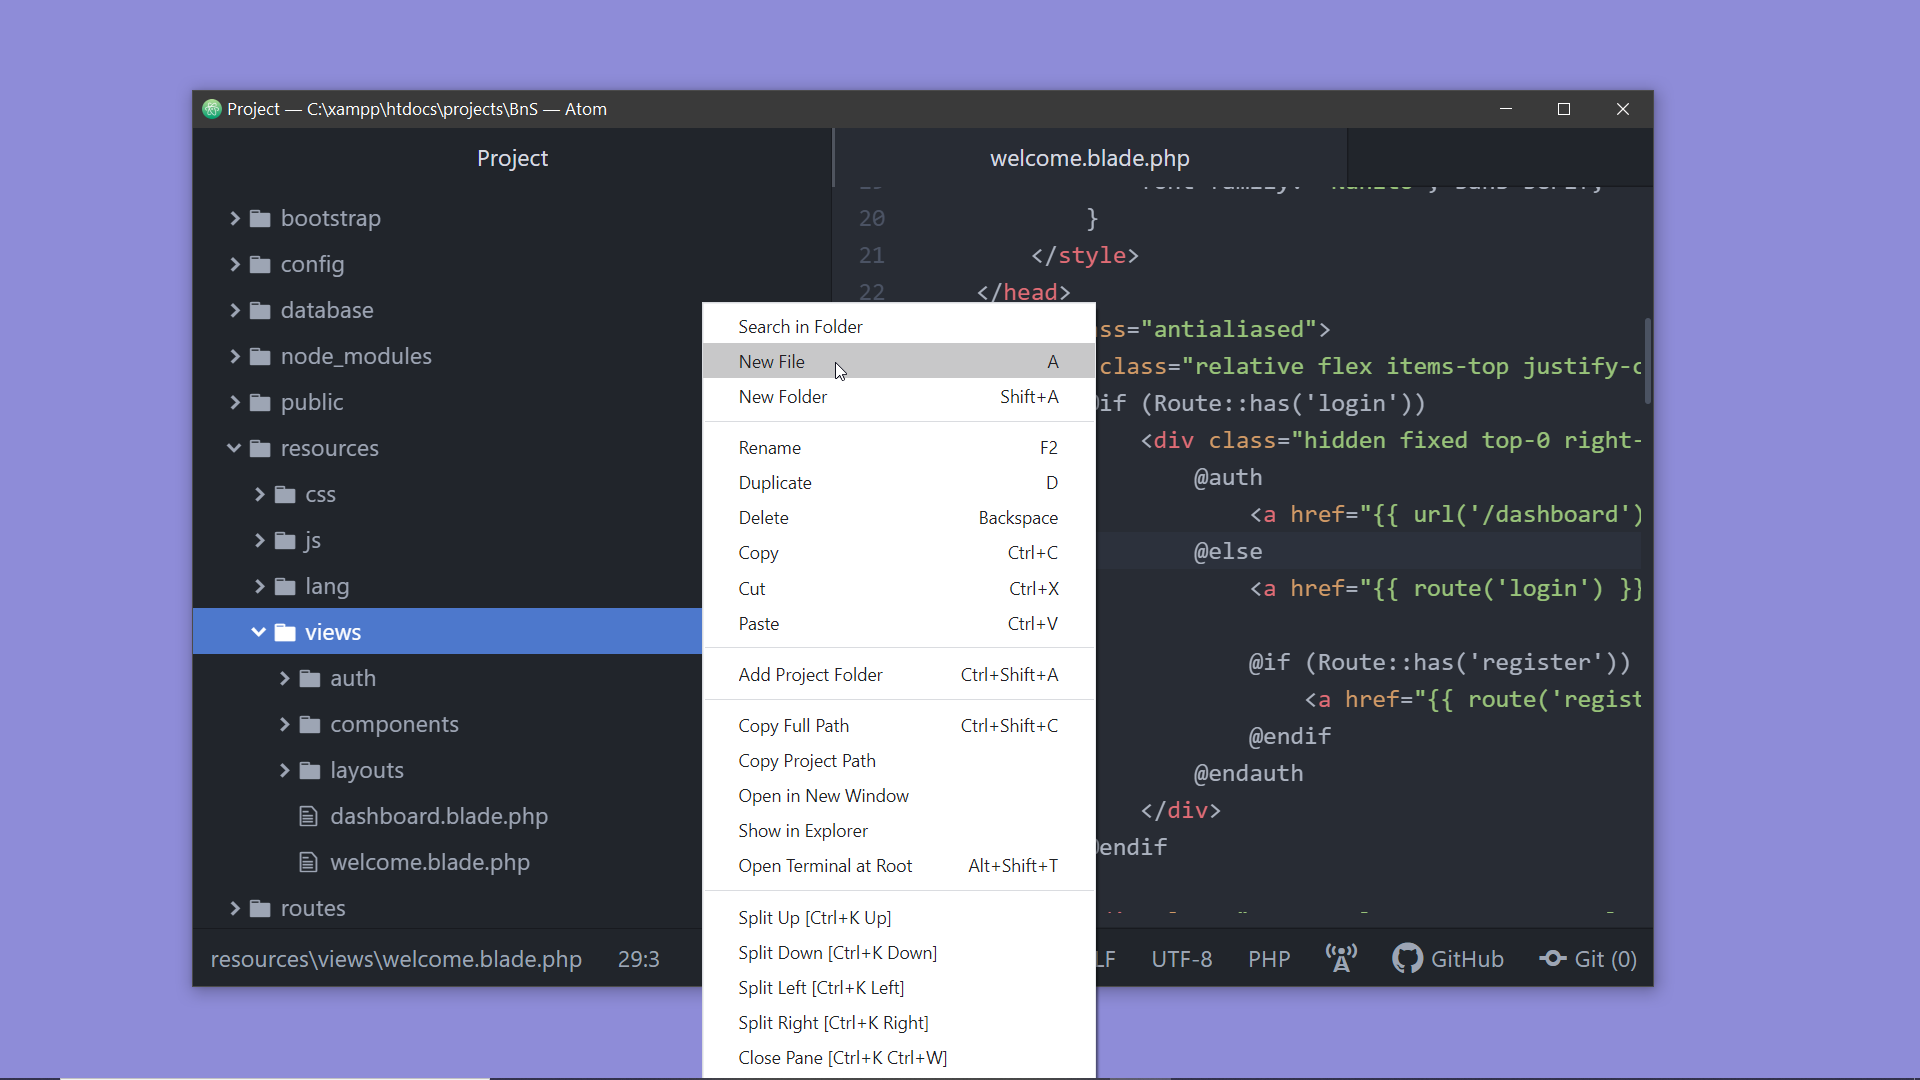
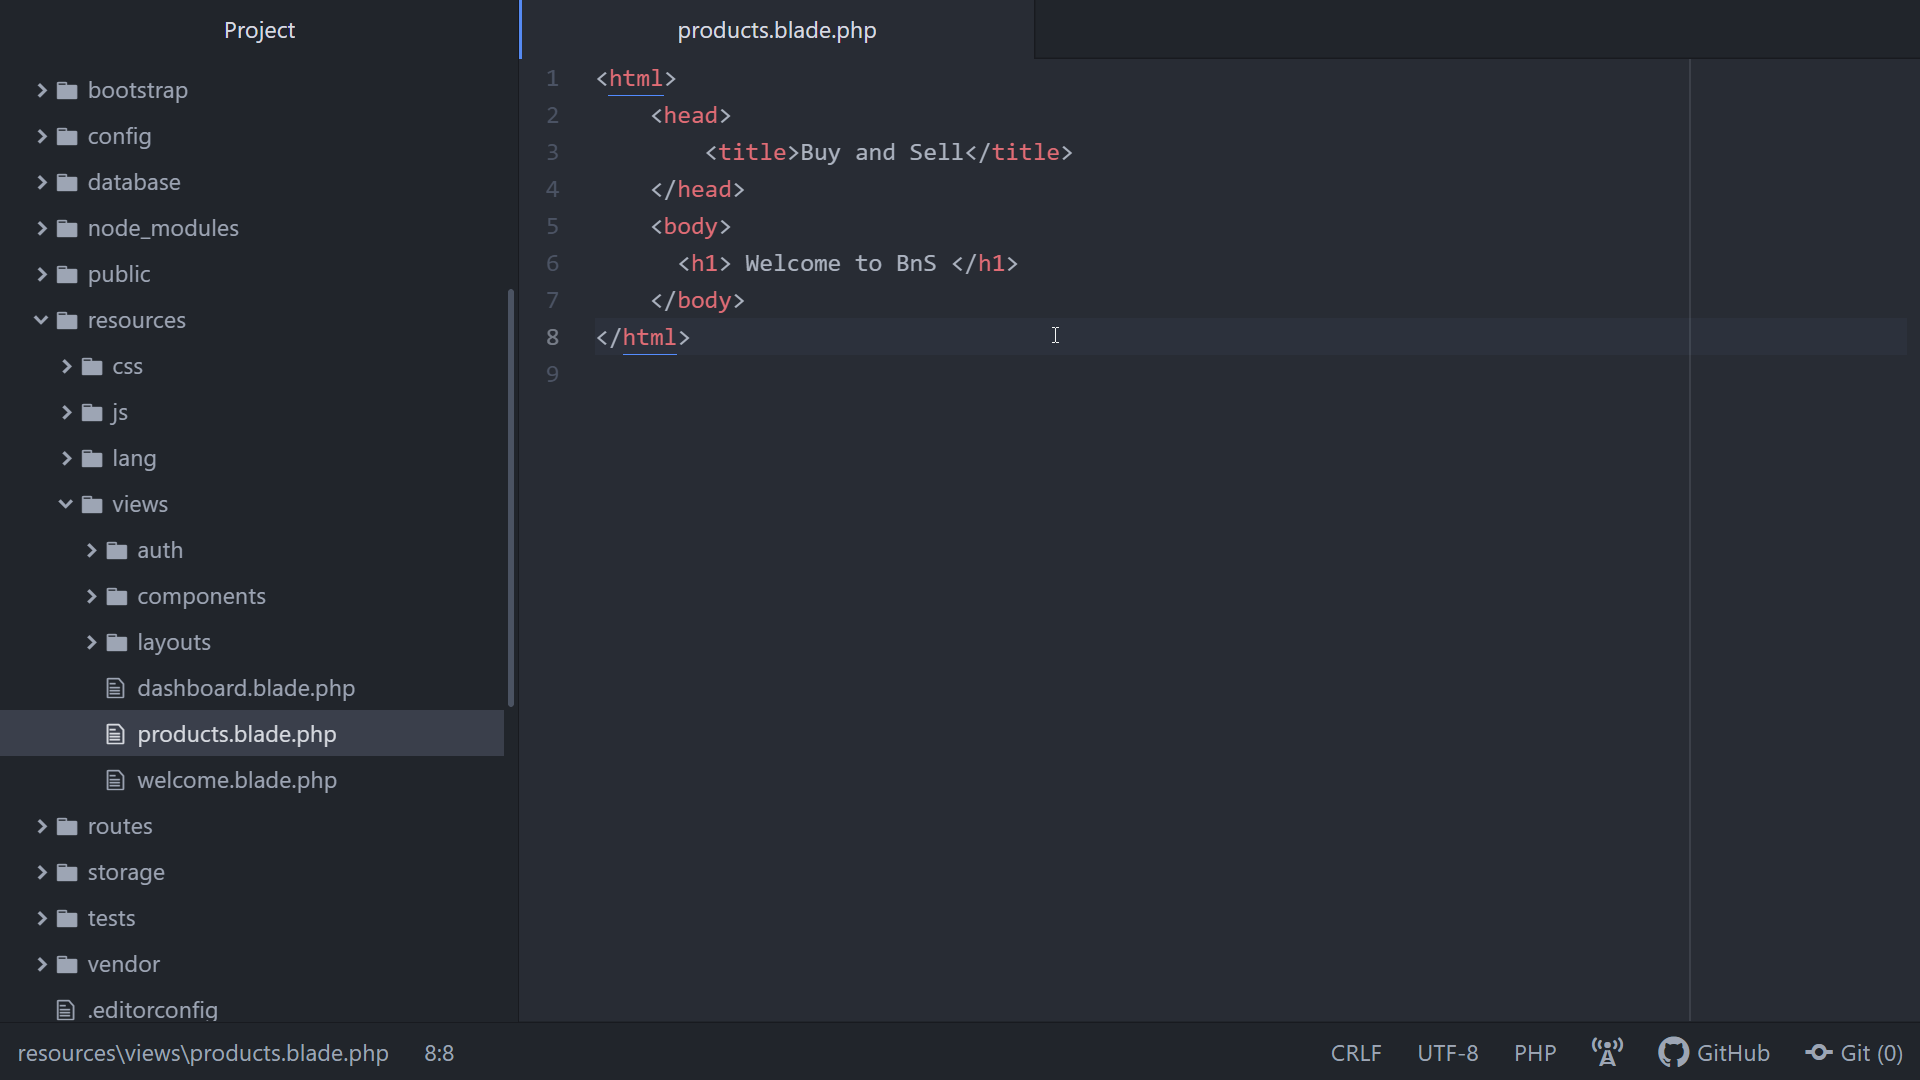
Step 1: Create a new file inside the views directory, let’s name it products.blade.php. We shall remove the welcome.blade.php later, keeping it for now as we may need to refer to it.
Step 2. Now let’s create a simple HTML layout in our products view.
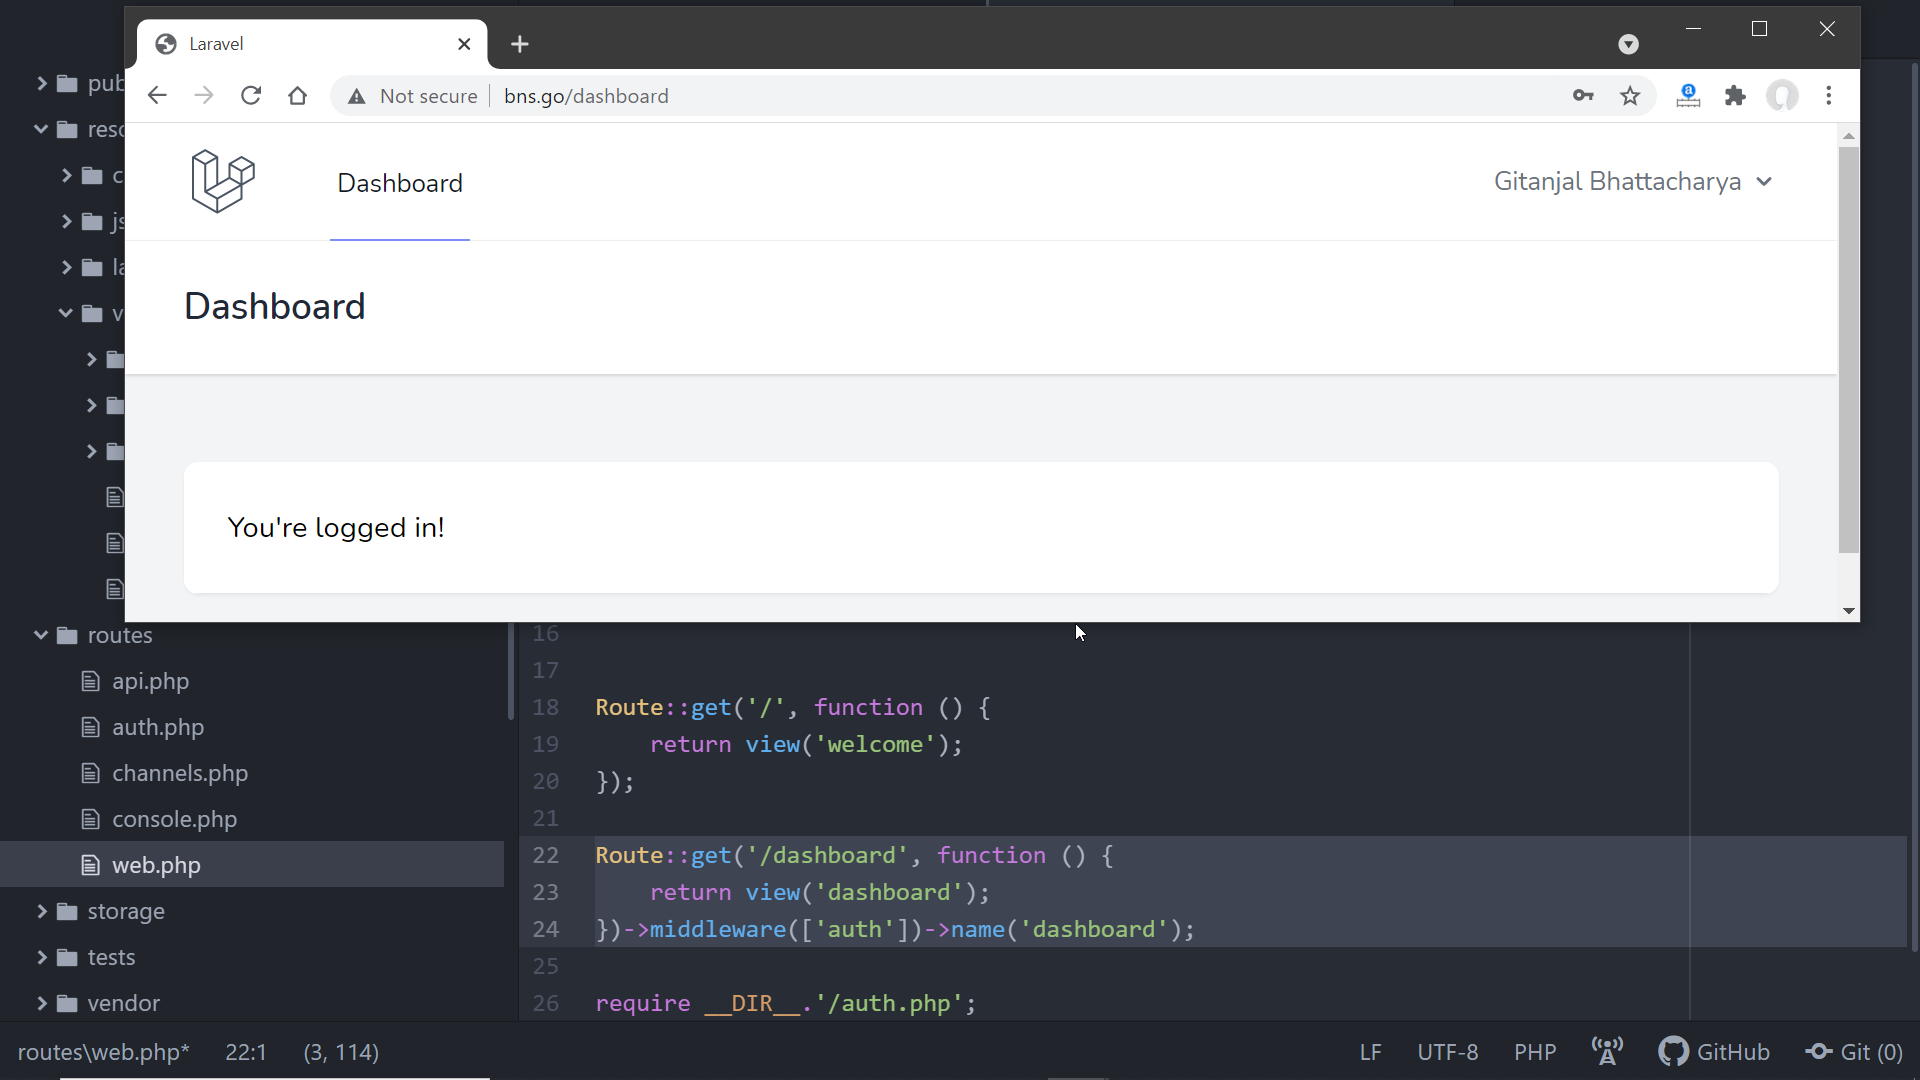
Step 3: Now let’s try to load this page on the browser. But how to do that? Got any clues? ——!!!—-Yes, you are right; we have to define a route. So open the web.php file of the routes folder. Initially, there was only one route defined in this file, after implementing authentication a new route has been added for the dashboard view. So if you append /dashboard to the URL on the address bar and hit enter, your dashboard page gets loaded, provided you are already logged in.
Now let us add a route for the products view. To create a route we have to call one of the different router methods, these methods correspond to the HTTP verbs- get,post,delete,put, patch. Here in this case we shall make a GET request, so call Route::get().
We have to pass two parameters:
– The first one is the URI, let’s pass ‘products’ here.
– And the second parameter is a function, we have to return the HTML code from this function.
And as our HTML code is inside the view, so we can return the view itself. Laravel has provided a helper function called view() to access a view. We have to pass the name of the view to this function.
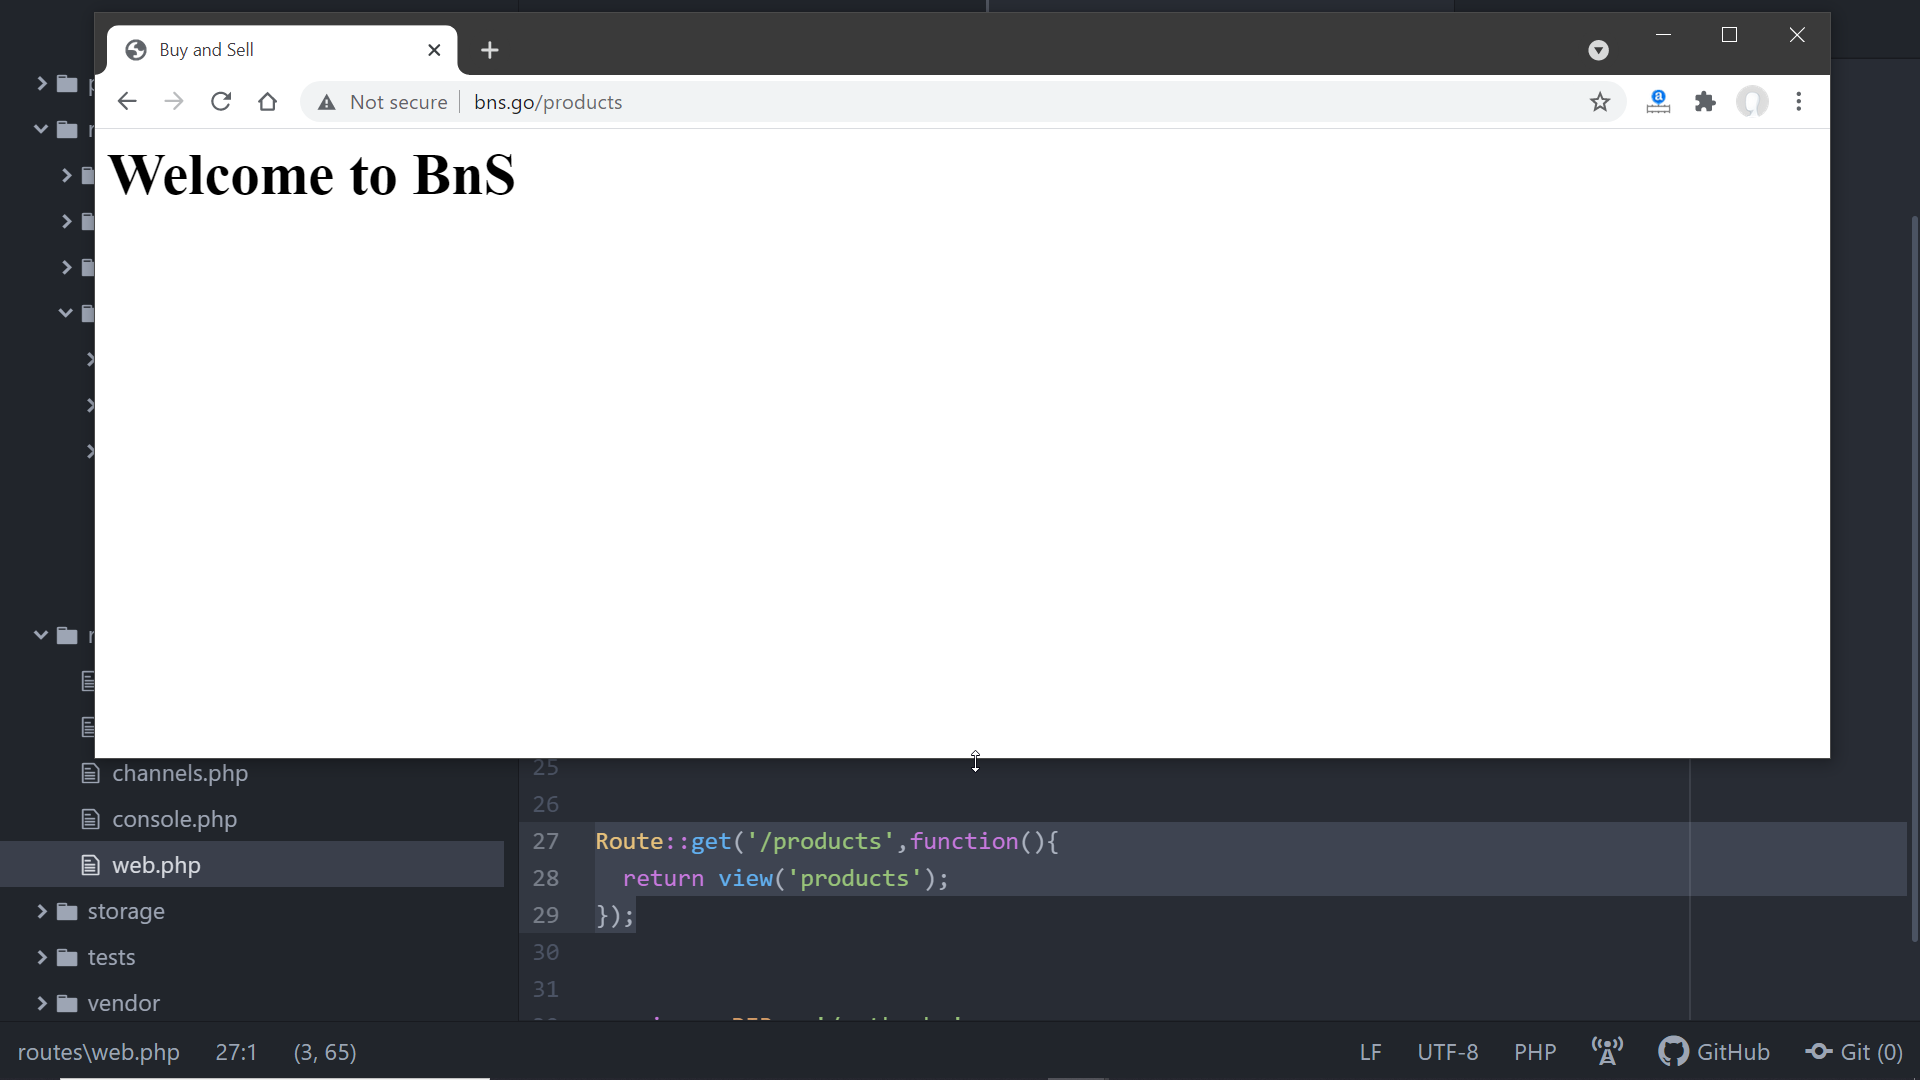
Route::get('/products',function(){ return view('products'); });
Now, type HTTP://bns.go/products on the browser and hit enter. And it loads our products page.
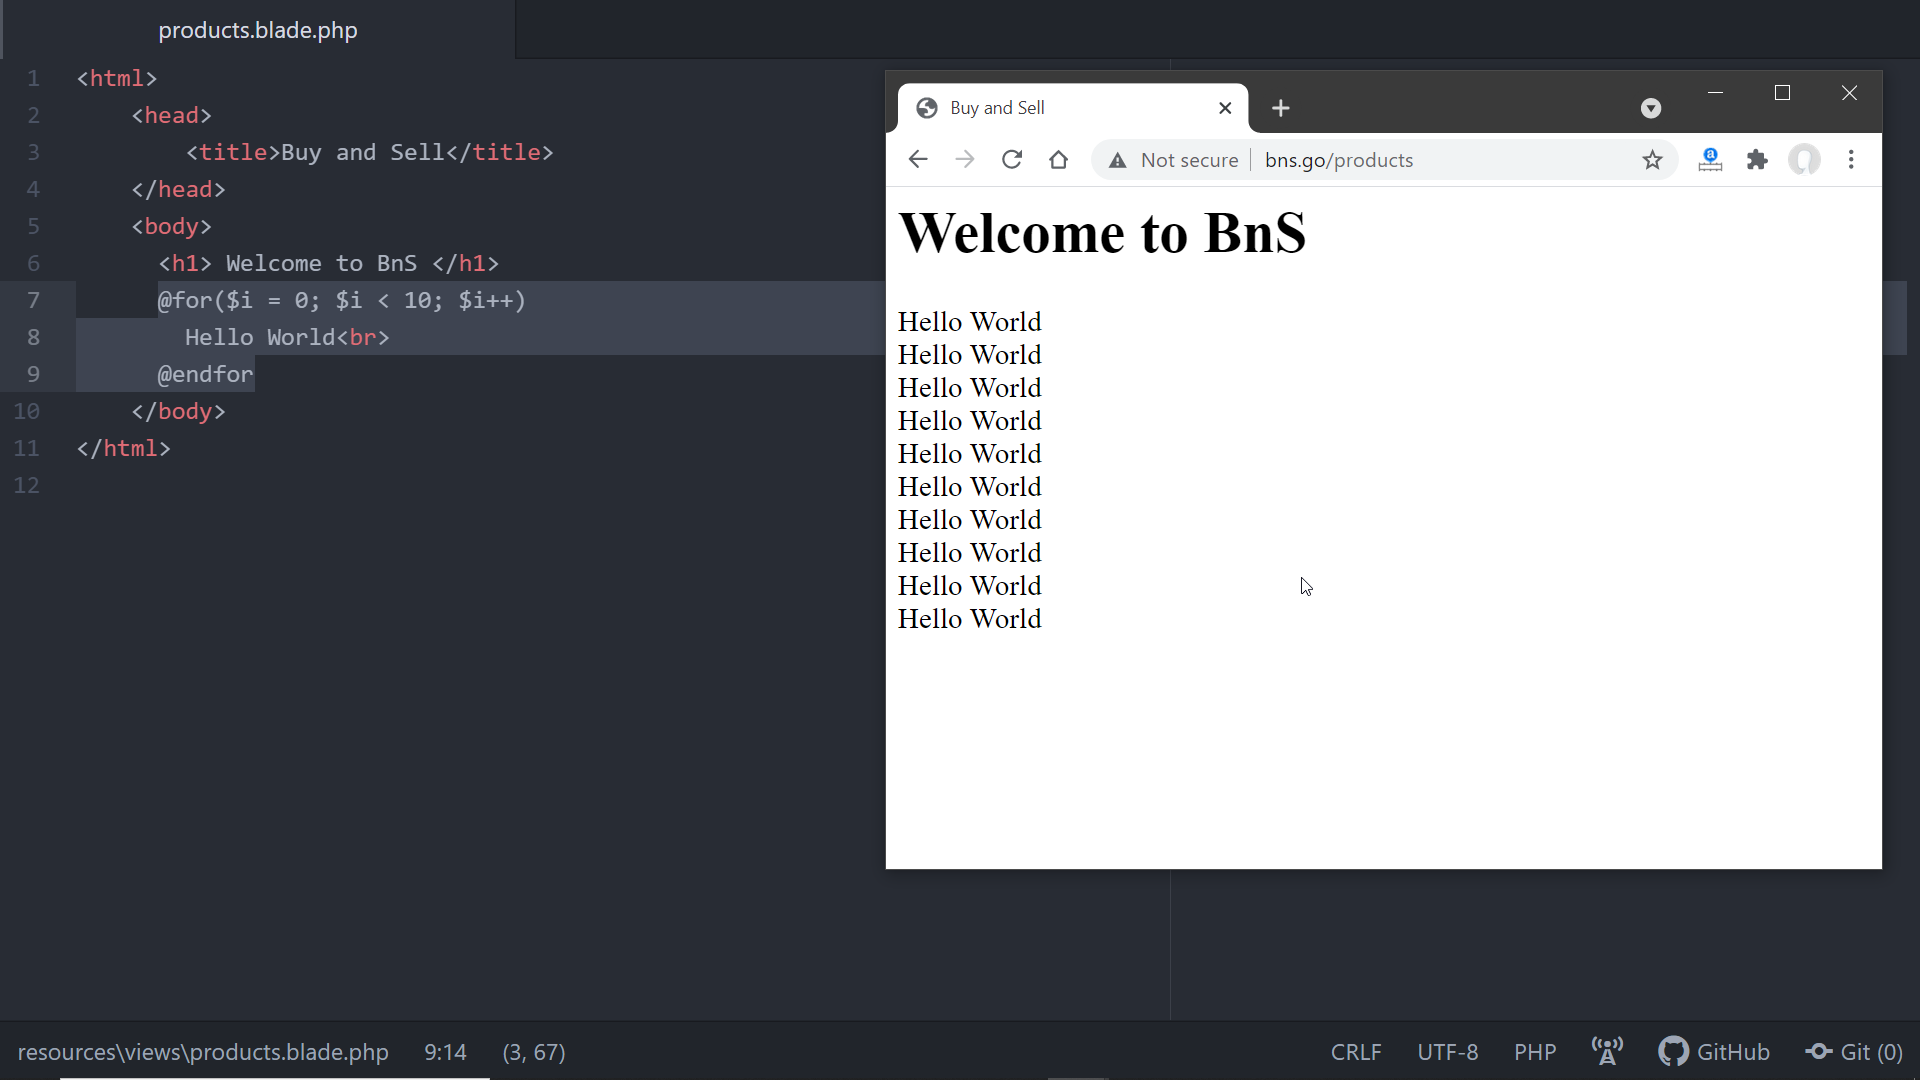
4. Display a list of items using the ‘for’ blade directive. As we are going to display a list of items on this page, we’ll need to use a loop. Once we start working with actual data we shall pass the array of products retrieved from the database to this view, and here we shall iterate through the items of the list. But for now, we shall focus only on creating the layout using the Blade template, so we shall use some dummy content. Here we shall use the blade directive for a for-loop :@for($i = 0; $i < 10; $i++) Hello World<br> @endfor