In the last video, we added the edit button to the product details page, to allow the seller of the product to edit the details of the ad. But on clicking the button nothing happens, it does not work yet. In this video, we shall make it work.
Steps:
1. First of all, we shall create a view to display the form for editing the details. We shall prefill the form with the existing information of the product.
So, create a new file, let’s name it edit.blade.php.

2. Now copy all the code from the file sell.blade.php as we shall use the same type of a form, only change will be.. prefilling of the input boxes with the existing information of the product.
To this view, we shall pass a variable named ‘product’ containing the information of the product.
So let us provide the existing information from this variable to the attribute value of the input boxes.
{{$product->title}} for the title, {{$product->short_desc}} for the short description,{{$product->long_desc}} for the long description and {{$product->price}} for the price. If the user does not provide a new value the existing information will be stored again, if the user clears a field and keeps it empty we won’t update the value for that field. Let’s also change the message to ‘Enter the new details of the product’, and the text of the submit button to ‘Update the product information.
<x-base-layout>
  <x-form-container-card>
    @if ($errors->any())
        <div class="text-red-600 text-xs">
                @foreach ($errors->all() as $error)
                    <div class="">{{ $error }}</div>
                @endforeach
        </div>
    @endif
    <x-slot name="title">
      Enter the new details of the product
    </x-slot>

      <form method="POST" enctype="multipart/form-data" action="/product">

        @csrf

        <div class="mt-2">
          <label for="title" class="text-sm text-gray-500">Product title</label>
          <input id="title" name="title" type="text" value="{{$product->title}}" class="rounded-md shadow-sm border-gray-300 focus:border-indigo-300 w-full">
        </div>
        <div class="mt-2">
          <label for="desc-sm" class="text-sm text-gray-500">Add a short description of the product</label>
          <input id="desc-sm" name="desc-sm" type="text" value="{{$product->short_desc}}" class="rounded-md shadow-sm border-gray-300 focus:border-indigo-300 w-full">
        </div>
        <div class="mt-2">
          <label for="desc-full" class="text-sm text-gray-500">Add the complete description of the product</label>
          <textarea id="desc-full" name="desc-full" value="{{$product->long_desc}}" class="rounded-md shadow-sm border-gray-300 focus:border-indigo-300 w-full"></textarea>
        </div>
        <div class="mt-2">
          <label for="price" class="text-sm text-gray-500">Price</label>
          <input id="price" name="price" type="text" value="{{$product->price}}" class="rounded-md shadow-sm border-gray-300 focus:border-indigo-300 w-full">
        </div>

        <div class="mt-2">
          <label for="img" class="text-sm text-gray-500">Select an image</label>
          <input id="img" name="img" type="file" class=" w-full">
        </div>

        <x-button class="mt-4 w-full justify-center">
            Post the ad
        </x-button>

      </form>
  </x-form-container-card>
</x-base-layout>
3. Now open the file web.php and add a route to load this view. This is a get request so call Route::get() , pass '/edit/{id}' to the first parameter, verify once that we are passing the same URI to the edit buttons href attribute, and to the second parameter pass [ProductsController::class,'edit'] , we shall create a function named edit() now. Route::get('/edit/{id}',[ProductsController::class,'edit']);
Also, add the middleware ‘auth’ to this route. Route::get('/edit/{id}',[ProductsController::class,'edit'])->middleware('auth');
4. Next, open the ProductsController, and create a function named edit($id) with one parameter for the product id.
public function edit($id) { }
Inside this function fetch the product by the id, the way we did inside the show() function.
public function edit($id) { $product=Product::find($id); }
Finally, return the view ‘edit’ and pass the variable ‘product’…. the name ‘product’ is important here as we are accessing the existing information by this variable name inside the edit view.
public function edit($id) { $product=Product::find($id); return view('edit')->with("product",$product); }
5. The complete code of the ProductsController looks like this:
<?php

namespace App\Http\Controllers;

use Illuminate\Http\Request;
use Illuminate\Support\Facades\Auth;
use App\Models\Product;


class ProductsController extends Controller
{
    //fetch products from the database
    public function index()
    {
      $products=Product::orderBy('created_at','desc')->simplePaginate(15);
      return view('products')->with('products',$products);
    }

    //fetch products by the seller id
    public function showOwnProducts(){
      $products=Product::where('user_id',Auth::id())->orderBy('created_at','desc')->simplePaginate(15);
      return view('dashboard')->with('products',$products);
    }
    //Fetch a product by ID
    public function show($id)
    {
        $product=Product::find($id);
        return view('product')->with("product",$product);
    }

    //Load edit product form
    public function edit($id)
    {
        $product=Product::find($id);
        return view('edit')->with("product",$product);
    }

    //Add product information to the database
    public function store(Request $request){

      //validate the incoming data
      $request->validate([
        'title'=>'required',
        'desc-sm'=>'required',
        'desc-full'=>'required',
        'price'=>'required|numeric',
        'img'=>'required'
      ],
      [
        'title.required'=>'Please enter a title',
        'desc-sm.required'=>'Please enter a short description',
        'desc-full.required'=>'Please enter a full description',
        'price.required'=>'Please enter the product price',
        'price.numeric'=>'The price should be a number',
        'img.required'=>'Please upload an image',
      ],
      [
      ]);

      //upload the image
      $path = $request->file('img')->store('product_images');

      //submit data
      $product=new Product();
      $product->title=$request->input('title');
      $product->short_desc=$request->input('desc-sm');
      $product->long_desc=$request->input('desc-full');
      $product->price=$request->input('price');

      $product->image_url=$path;

      $product->user_id=Auth::id();

      $product->save();

      return redirect('/product/'.$product->id);
    }

}
And if you click on the edit button of a product, we’ll get the edit page that looks like this.

Wait…. what has happened to the long description of the product.
Let’s take a look at the edit view…. and I got it… I made a mistake while providing the existing value to the textarea,
<textarea id="desc-full" name="desc-full" value="{{$product->long_desc}}" class="rounded-md shadow-sm border-gray-300 focus:border-indigo-300 w-full"></textarea>
we should have put the value inside the opening a closing textarea tags, like this..
<textarea id="desc-full" name="desc-full" class="rounded-md shadow-sm border-gray-300 focus:border-indigo-300 w-full">{{$product->long_desc}}</textarea>
Now reload the page ,
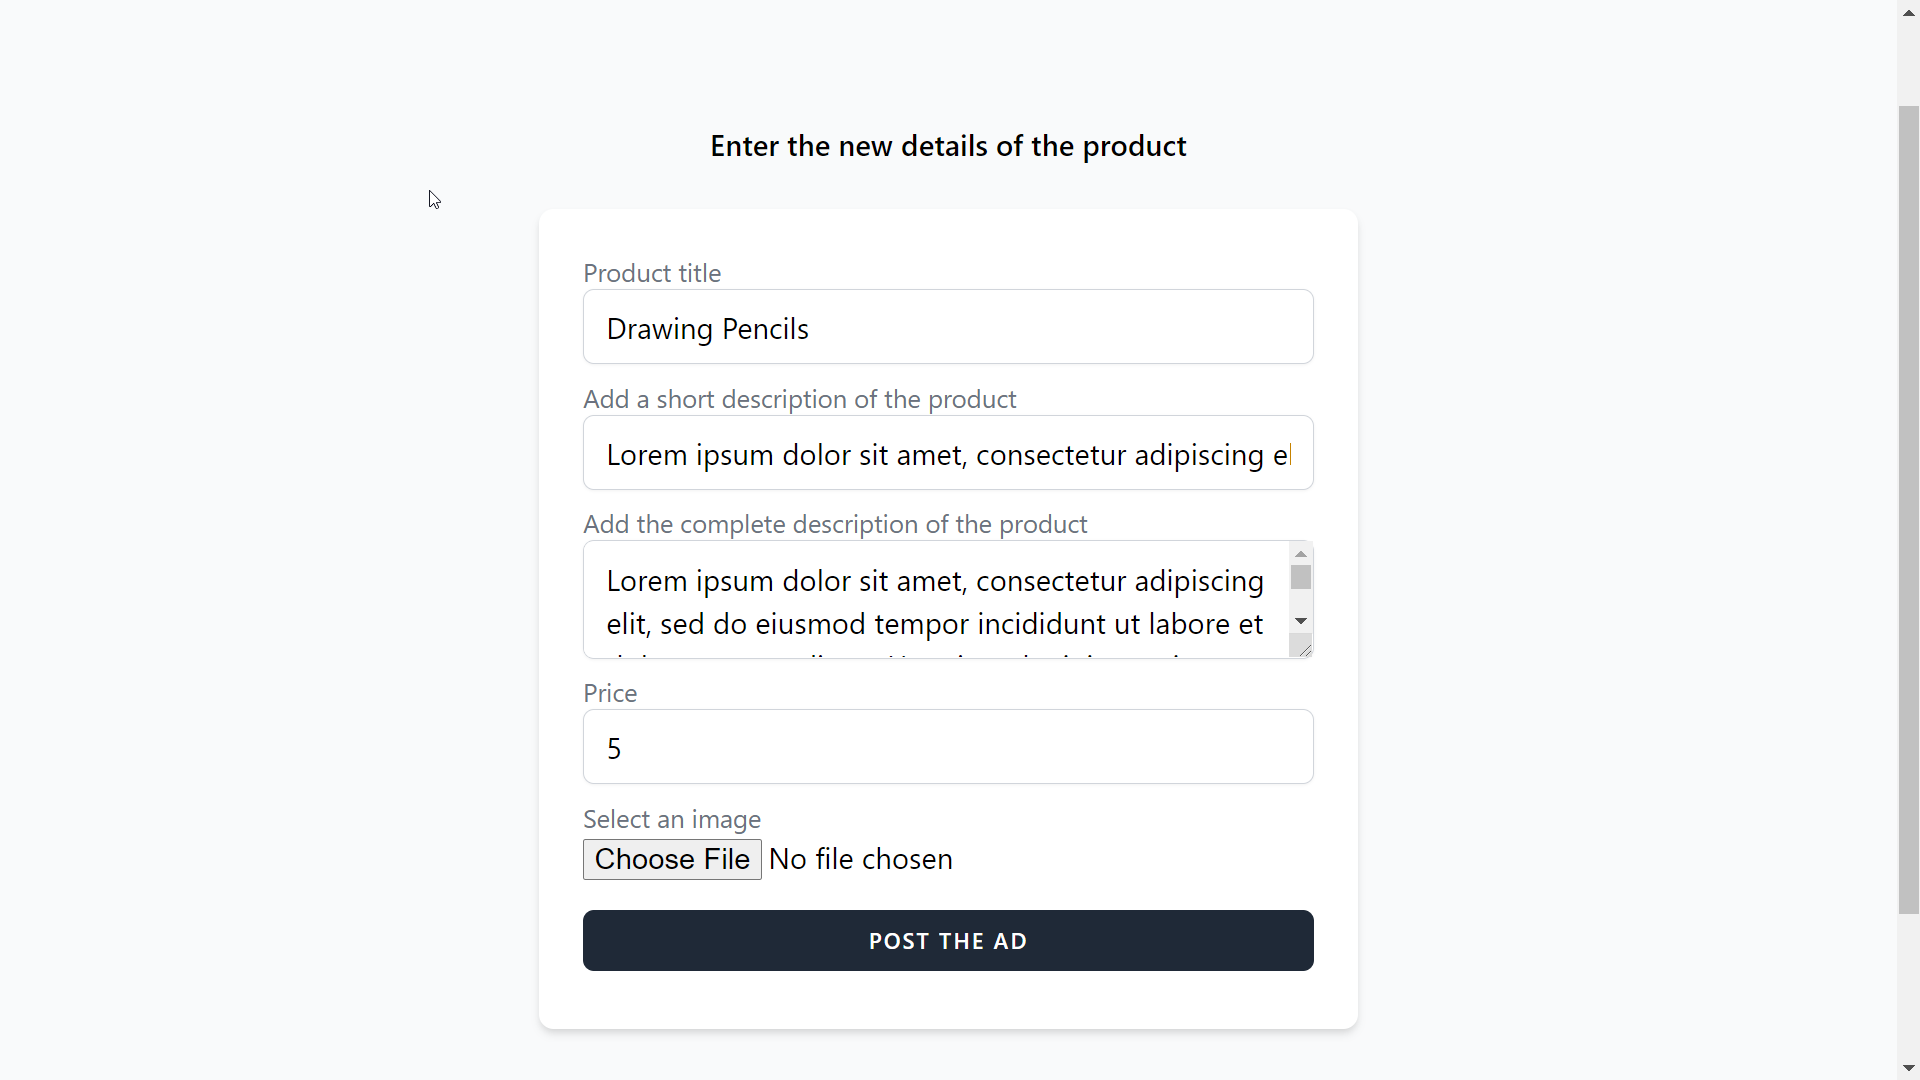
..and it looks perfect.
Now let’s complete the remaining steps to make this whole thing work.
6. Open the ProductsController again and add a new function again, let’s name it update(). We shall add two parameters to this function … the first is an instance of Request, and the second is the id of the product. The Request object will hold various information of the HTTP request along with the data submitted by the form. The second parameter gets the product id passed to the URL, as usual. public function update(Request $request,$id) { }
7. Inside this function, we shall add only one validation rule, to ensure the price added is still a number. We won’t validate other fields, if the user clears any of the fields and submits them empty then we won’t update the corresponding value on the database.
 public function update(Request $request,$id)
    {
      //validate
      $request->validate([
        'price'=>'numeric',
      ]);

      //The the product by id

    }
8. Now get the product by the id $product=Product::find($id); Now check if an image has been uploaded, if we pass the input name to the function hasFile() it returns true if there is a file in the request otherwise it returns false. Here if $request->hasFile(‘img’) returns true, we shall upload the image and add the path to the instance of the Product model .if($request->hasFile('img')) { $path = $request->file('img')->store('product_images'); $product->image_url=$path; }
Now we check if the title is empty using the function empty($request->input(‘title’)) if it is not empty then we shall add this to the instance of the Product model. We shall use the negation operator ! in front of the empty() function to ensure that the value is not empty.if(!empty($request->input('title'))) { $product->title=$request->input('title'); }
Now, let’s do the same for the other fields too, and finally call the function save() to insert the new values into the database. And don’t forget to return the product view at the end so that we can see the changes immediately on the details page.
public function update(Request $request,$id)
    {
      //validate
      $request->validate([
        'price'=>'numeric',
      ]);

      //The the product by id
      $product=Product::find($id);

      //Check if an image is uploaded
      if($request->hasFile('img'))
      {
        //upload the image
        $path = $request->file('img')->store('product_images');
        $product->image_url=$path;
      }

      //If title is not empty update
      if(!empty($request->input('title')))
      {
          $product->title=$request->input('title');
      }

      //If short desc is not empty update
      if(!empty($request->input('desc-sm')))
      {
          $product->short_desc=$request->input('desc-sm');
      }

      //If description is not empty update
      if(!empty($request->input('desc-full')))
      {
          $product->long_desc=$request->input('desc-full');
      }

      //If price is not empty update
      if(!empty($request->input('price')))
      {
          $product->price=$request->input('price');
      }

      $product->save();

			return redirect('/product/'.$product->id);
    }
9. The last step left is to create a route to invoke this function when the user submits the product edit form. So open the route file web.php, and add a route.
We shall call the post function of the Route class as it will be a POST request. Add the URI to the first parameter, let’s /update/{{id}}, the id will be passed from the edit form , so make a it a route parameter using these curly brackets. To the second parameter pass the update function of the ProductsController. Also, add the middle auth. Route::post('/update/{id}',[ProductsController::class,'update'])->middleware('auth');
Now, take a look at the update function once again, it has two parameters the first is the Request object and the second is the id of the product. This may confuse you a little, how does this function get its arguments!!! But again, you don’t have to worry, Laravel takes care of it.
10. Now save the changes and try making some changes to a product.
Conclusion: Let me summarize all the steps that we have performed, as we are going to implement the ‘delete’ functionality in a similar way. So, first, we created the view for the edit product page, then we created a route and a controller function to load the edit view, we have created another route and another function inside the ProductsController to handle the form submission. Now, let’s move to the next task.