Intro: So we have realized that to complete the product details page we have to get the name, phone number, and email of the seller. We are already storing the user id of the seller while inserting a product to the products table, using this we can fetch the user’s information from the users table. I’ll show you how to do that, but before that, we have to make some changes to the registration-related code to collect the phone number of a user during registration.
- First, we have to add a column in the users table for the phone number,
- Then add a new input field to the registration form and
- We’ll have to make some changes to the controller handling user registration. So let’s get started.
Step 1: Create a migration to add a new column in the users table. Run this command on the terminal.php artisan make:migration add_phone_number_to_users_table
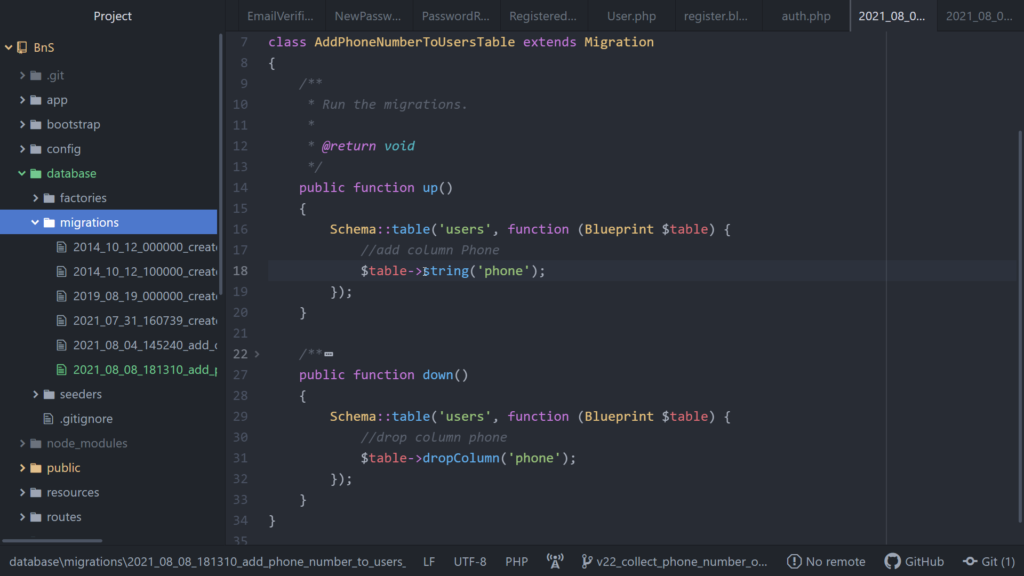
Now open the file that has just been created inside the folder database/migrations. Now as usual this file has two functions— up() and down() Inside the up() function we shall call the function string() to add a new column to the users table. And inside the down() function we shall call dropColumn() to delete this column from the table.
<?php

use Illuminate\Database\Migrations\Migration;
use Illuminate\Database\Schema\Blueprint;
use Illuminate\Support\Facades\Schema;

class AddPhoneNumberToUsersTable extends Migration
{
    /**
     * Run the migrations.
     *
     * @return void
     */
    public function up()
    {
        Schema::table('users', function (Blueprint $table) {
            //add column Phone
            $table->string('phone');
        });
    }

    /**
     * Reverse the migrations.
     *
     * @return void
     */
    public function down()
    {
        Schema::table('users', function (Blueprint $table) {
            //drop column phone
            $table->dropColumn('phone');
        });
    }
}
Now save the changes and run the migrations by entering this command on the terminal.
php artisan migrate
And take a look at the database structure, the users table now has a new column named phone.

Step 2: Add a new input box in the registration form. For this first open the file register.blade.php , next let us copy the div for the name and paste it once, I’ll paste it below the email address.
Now for both the label and the input box, change the values of the attributes from name to phone wherever required.
Now, load the registration page you’ll see the new field for phone number. Let us add a margin at the top like the input box for the email. Here we can see that the class mt-4 is used for top padding in the other input boxes except the first one, let us add the same to the new item. And now it looks good.
<x-guest-layout>
    <x-auth-card>
        <x-slot name="logo">
            <a href="/">
                <x-application-logo class="w-20 h-20 fill-current text-gray-500" />
            </a>
        </x-slot>

        <!-- Validation Errors -->
        <x-auth-validation-errors class="mb-4" :errors="$errors" />

        <form method="POST" action="{{ route('register') }}">
            @csrf

            <!-- Name -->
            <div>
                <x-label for="name" :value="__('Name')" />

                <x-input id="name" class="block mt-1 w-full" type="text" name="name" :value="old('name')" required autofocus />
            </div>

            <!-- Email Address -->
            <div class="mt-4">
                <x-label for="email" :value="__('Email')" />

                <x-input id="email" class="block mt-1 w-full" type="email" name="email" :value="old('email')" required />
            </div>

            <!-- Phone number -->
            <div class="mt-4">
                <x-label for="phone" :value="__('Phone')" />

                <x-input id="phone" class="block mt-1 w-full" type="text" name="phone" :value="old('phone')" required />
            </div>

            <!-- Password -->
            <div class="mt-4">
                <x-label for="password" :value="__('Password')" />

                <x-input id="password" class="block mt-1 w-full"
                                type="password"
                                name="password"
                                required autocomplete="new-password" />
            </div>

            <!-- Confirm Password -->
            <div class="mt-4">
                <x-label for="password_confirmation" :value="__('Confirm Password')" />

                <x-input id="password_confirmation" class="block mt-1 w-full"
                                type="password"
                                name="password_confirmation" required />
            </div>

            <div class="flex items-center justify-end mt-4">
                <a class="underline text-sm text-gray-600 hover:text-gray-900" href="{{ route('login') }}">
                    {{ __('Already registered?') }}
                </a>

                <x-button class="ml-4">
                    {{ __('Register') }}
                </x-button>
            </div>
        </form>
    </x-auth-card>
</x-guest-layout>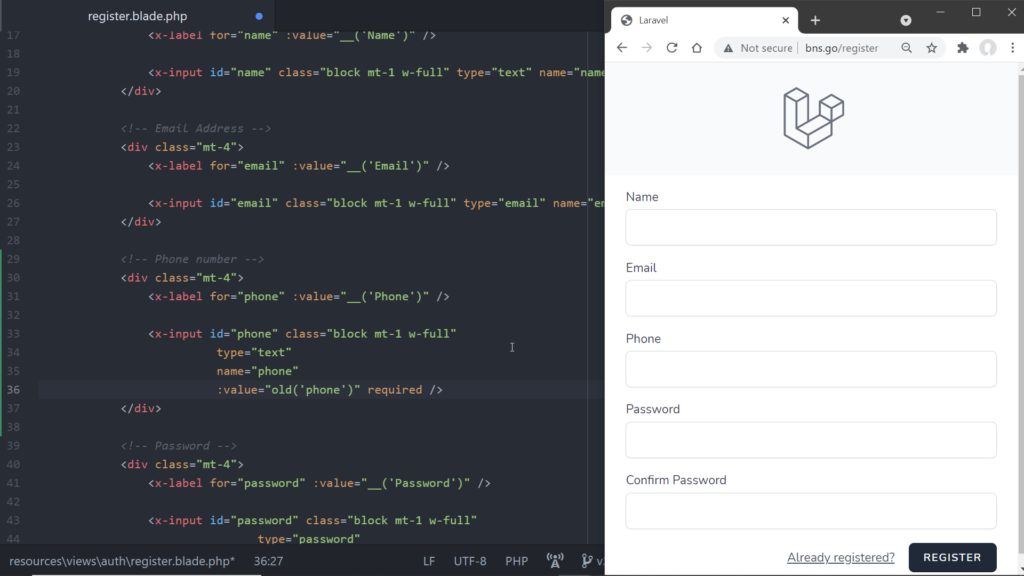
Step 3: Find out the responsible controller
Now we need to make some changes to the controller…. we have to validate this field and make sure this value gets inserted to the database.
So first of all we have find the controller that is responsible for registration. For that take a look at the attribute action of the form tag… which route is being passed here?… it is the route ‘register’.
<form method="POST" action="{{ route('register') }}">
Now open the route file auth.php that has been added by Laravel Breeze, take a look at the second route,….
Here you’ll find two routes with the same URI, but one of them handles a GET request and the other handles a POST request. We are concerned about the second one as the form submission makes a POST request.
Here notice the second argument, a function named store() of the class RegisteredUserController is being passed here. So RegisteredUserController is the controller we are looking for.
<?php

use App\Http\Controllers\Auth\AuthenticatedSessionController;
use App\Http\Controllers\Auth\ConfirmablePasswordController;
use App\Http\Controllers\Auth\EmailVerificationNotificationController;
use App\Http\Controllers\Auth\EmailVerificationPromptController;
use App\Http\Controllers\Auth\NewPasswordController;
use App\Http\Controllers\Auth\PasswordResetLinkController;
use App\Http\Controllers\Auth\RegisteredUserController;
use App\Http\Controllers\Auth\VerifyEmailController;
use Illuminate\Support\Facades\Route;

Route::get('/register', [RegisteredUserController::class, 'create'])
                ->middleware('guest')
                ->name('register');

Route::post('/register', [RegisteredUserController::class, 'store'])
                ->middleware('guest');

Route::get('/login', [AuthenticatedSessionController::class, 'create'])
                ->middleware('guest')
                ->name('login');

Route::post('/login', [AuthenticatedSessionController::class, 'store'])
                ->middleware('guest');

Route::get('/forgot-password', [PasswordResetLinkController::class, 'create'])
                ->middleware('guest')
                ->name('password.request');

Route::post('/forgot-password', [PasswordResetLinkController::class, 'store'])
                ->middleware('guest')
                ->name('password.email');

Route::get('/reset-password/{token}', [NewPasswordController::class, 'create'])
                ->middleware('guest')
                ->name('password.reset');

Route::post('/reset-password', [NewPasswordController::class, 'store'])
                ->middleware('guest')
                ->name('password.update');

Route::get('/verify-email', [EmailVerificationPromptController::class, '__invoke'])
                ->middleware('auth')
                ->name('verification.notice');

Route::get('/verify-email/{id}/{hash}', [VerifyEmailController::class, '__invoke'])
                ->middleware(['auth', 'signed', 'throttle:6,1'])
                ->name('verification.verify');

Route::post('/email/verification-notification', [EmailVerificationNotificationController::class, 'store'])
                ->middleware(['auth', 'throttle:6,1'])
                ->name('verification.send');

Route::get('/confirm-password', [ConfirmablePasswordController::class, 'show'])
                ->middleware('auth')
                ->name('password.confirm');

Route::post('/confirm-password', [ConfirmablePasswordController::class, 'store'])
                ->middleware('auth');

Route::post('/logout', [AuthenticatedSessionController::class, 'destroy'])
                ->middleware('auth')
                ->name('logout');
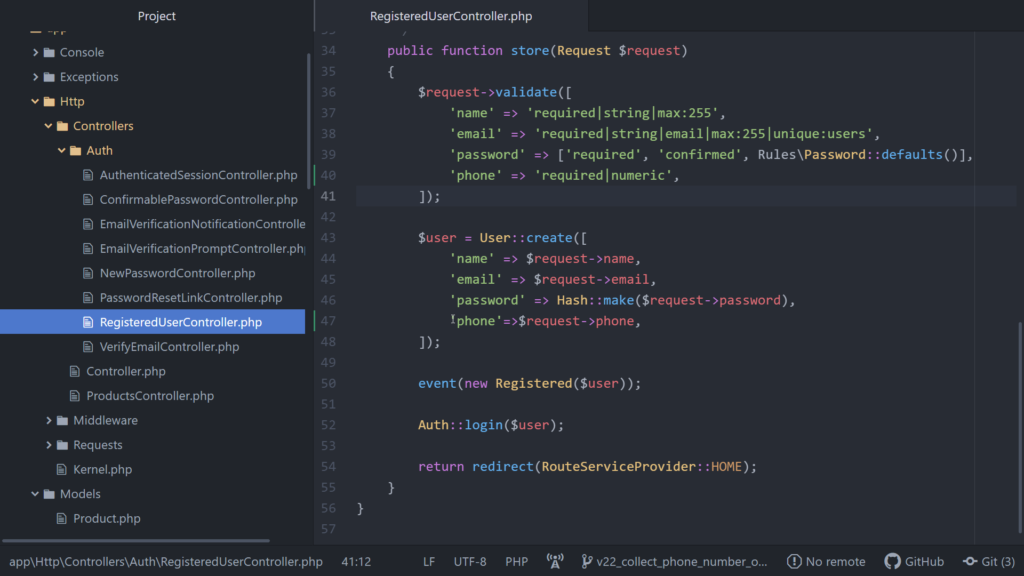
Step 4: Make changes in the controller named RegisteredUserController: So open the file RegisteredUserController.php from the folder app/Http/Controllers/Auth and inside the function store add a validation rule for the phone number. I’ll keep it simple, I’ll make the phone number compulsory and numeric with this rule 'phone' => 'required|numeric',.
$request->validate([
            'name' => 'required|string|max:255',
            'email' => 'required|string|email|max:255|unique:users',
            'password' => ['required', 'confirmed', Rules\Password::defaults()],
            'phone' => 'required|numeric',
        ]);
After validation, an instance of the class User is being created using the constructor create(). Let us pass the phone number too from the $request inputs.
$user = User::create([
            'name' => $request->name,
            'email' => $request->email,
            'password' => Hash::make($request->password),
            'phone'=>$request->phone,
        ]);
<?php
namespace App\Http\Controllers\Auth;
use App\Http\Controllers\Controller;
use App\Models\User;
use App\Providers\RouteServiceProvider;
use Illuminate\Auth\Events\Registered;
use Illuminate\Http\Request;
use Illuminate\Support\Facades\Auth;
use Illuminate\Support\Facades\Hash;
use Illuminate\Validation\Rules;
class RegisteredUserController extends Controller
{
/**
* Display the registration view.
*
* @return \Illuminate\View\View
*/
public function create()
{
return view('auth.register');
}
/**
* Handle an incoming registration request.
*
* @param \Illuminate\Http\Request $request
* @return \Illuminate\Http\RedirectResponse
*
* @throws \Illuminate\Validation\ValidationException
*/
public function store(Request $request)
{
$request->validate([
'name' => 'required|string|max:255',
'email' => 'required|string|email|max:255|unique:users',
'password' => ['required', 'confirmed', Rules\Password::defaults()],
'phone' => 'required|numeric',
]);
$user = User::create([
'name' => $request->name,
'email' => $request->email,
'password' => Hash::make($request->password),
'phone'=>$request->phone,
]);
event(new Registered($user));
Auth::login($user);
return redirect(RouteServiceProvider::HOME);
}
}
Step 5: Make changes in the model named User: Finally, we have to make some changes inside the model User. So open the file User.php from the folder app/Models. And add a new string ‘phone’ to the array $fillable. (mass assignment vulnerabilities)protected $fillable = [ 'name', 'email', 'password', 'phone', ];
<?php

namespace App\Models;

use Illuminate\Contracts\Auth\MustVerifyEmail;
use Illuminate\Database\Eloquent\Factories\HasFactory;
use Illuminate\Foundation\Auth\User as Authenticatable;
use Illuminate\Notifications\Notifiable;

class User extends Authenticatable
{
    use HasFactory, Notifiable;

    /**
     * The attributes that are mass assignable.
     *
     * @var array
     */
    protected $fillable = [
        'name',
        'email',
        'password',
        'phone',
    ];

    /**
     * The attributes that should be hidden for arrays.
     *
     * @var array
     */
    protected $hidden = [
        'password',
        'remember_token',
    ];

    /**
     * The attributes that should be cast to native types.
     *
     * @var array
     */
    protected $casts = [
        'email_verified_at' => 'datetime',
    ];
}
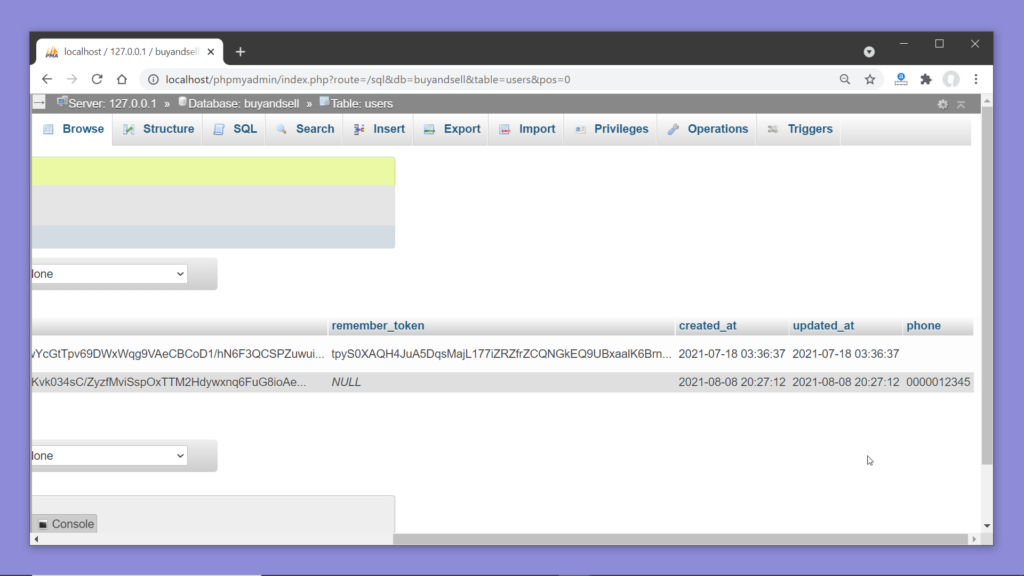
Step 6: And we are done, try registering a new user. Once registration is successful check the users table on the database.
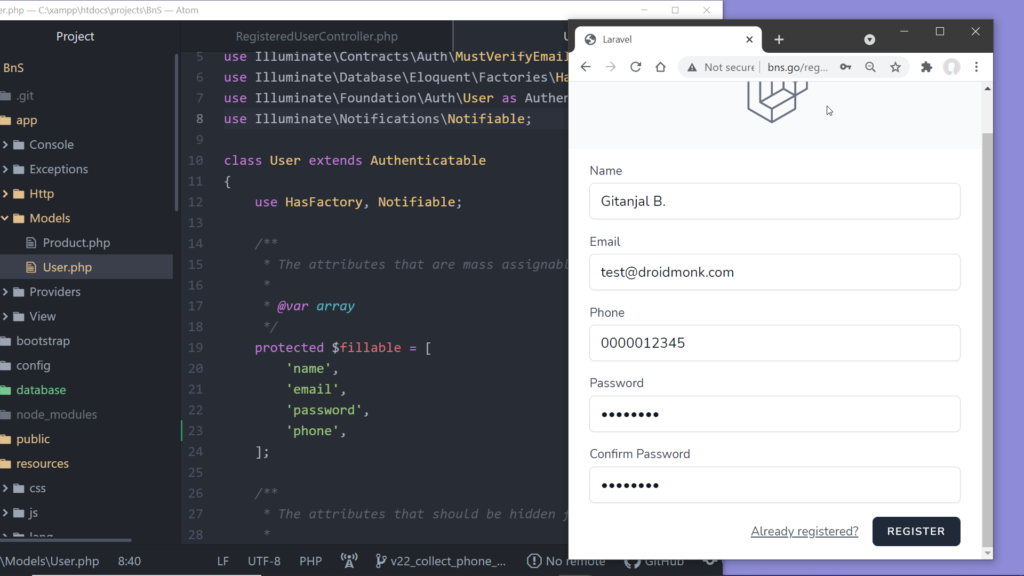
Now we can see the phone number of the new user.
Conclusion: Now we have the data we need to show, but we don’t yet have the way to fetch the user’s data by id from the users table. Let’s do that next.