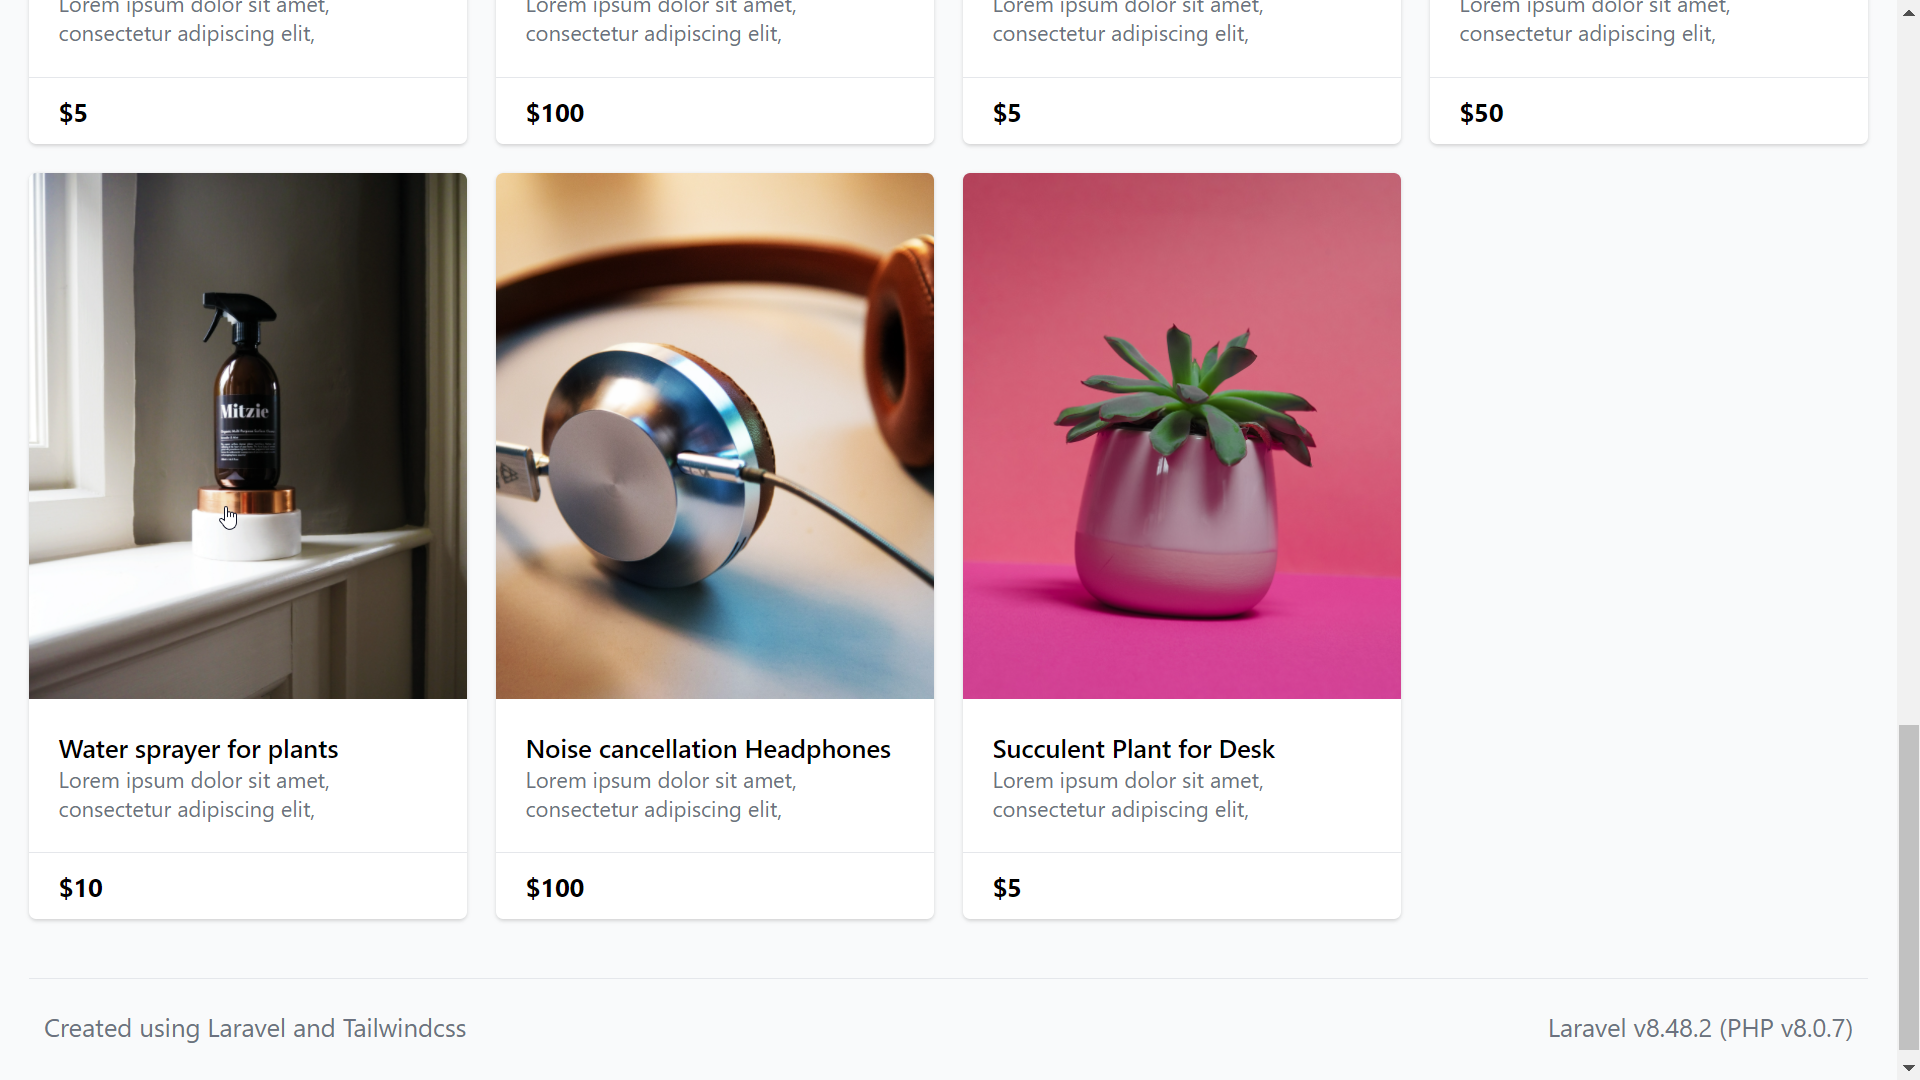
We are going to make one more change in the product list page, we shall implement pagination so that we don’t attempt to fetch 1000s of items at once to display on the home screen. For now, as we don’t have many items we shall display 15 items per page, if the user clicks on the next page button then only we shall retrieve the next 15 items. This may sound to be a little difficult, and it used to be. But again, Laravel has made this extremely easy for us.
Steps:
1. Open the file ProductsController.php
2. Inside the index() function, replace the function get() with paginate(), and pass the number of items to be displayed on each page, I’ll pass 15 here. $products=Product::orderBy('created_at','desc')->paginate(15);
<?php

namespace App\Http\Controllers;

use Illuminate\Http\Request;
use Illuminate\Support\Facades\Auth;
use App\Models\Product;


class ProductsController extends Controller
{
    //fetch products from the database
    public function index()
    {
      $products=Product::orderBy('created_at','desc')->paginate(15);
      return view('products')->with('products',$products);
    }

    //Fetch a product by ID
    public function show($id)
    {
        $product=Product::find($id);
        return view('product')->with("product",$product);
    }

    //Add product information to the database
    public function store(Request $request){

      //validate the incoming data
      $request->validate([
        'title'=>'required',
        'desc-sm'=>'required',
        'desc-full'=>'required',
        'price'=>'required|numeric',
        'img'=>'required'
      ],
      [
        'title.required'=>'Please enter a title',
        'desc-sm.required'=>'Please enter a short description',
        'desc-full.required'=>'Please enter a full description',
        'price.required'=>'Please enter the product price',
        'price.numeric'=>'The price should be a number',
        'img.required'=>'Please upload an image',
      ],
      [
      ]);

      //upload the image
      $path = $request->file('img')->store('product_images');

      //submit data
      $product=new Product();
      $product->title=$request->input('title');
      $product->short_desc=$request->input('desc-sm');
      $product->long_desc=$request->input('desc-full');
      $product->price=$request->input('price');

      $product->image_url=$path;

      $product->user_id=Auth::id();

      $product->save();

      return redirect('/product/'.$product->id);
    }

}
Now save this, and reload the product list page.
You’ll notice that we have only 15 items on this page, not all. But how do we access the next page of items? Let me show you.
3. Open the file products.blade.php, at the bottom call the function named links() on the products variable and print it using the blade directive for echo. {{ $products->links() }}
I’ll also wrap this by a div and add the class p-6 to make it look a little better. <div class="p-6">{{ $products->links() }}</div>
<x-base-layout>
      <!-- Main Content -->
      <div class="grid grid-cols-4 gap-4 p-4">
        @foreach($products as $p)
        <a href="/product/{{$p->id}}">
          <div class="bg-white rounded shadow overflow-hidden">
            <img src="{{asset($p->image_url)}}" class="h-72 object-cover w-full"/>
            <div class="p-4">
              <div class="font-semibold text-sm">{{$p->title}}</div>
              <div class="text-xs text-gray-500 h-8">{{$p->short_desc}}</div>
            </div>
            <div class=" border-t px-4 py-2 font-bold text-sm">${{$p->price}}</div>
          </div>
        </a>
        @endforeach
      </div>
      <div class="p-6">{{ $products->links() }}</div>
</x-base-layout>
Now reload the page and you’ll notice the page number as clickable links at the bottom. Cool, isn’t it!
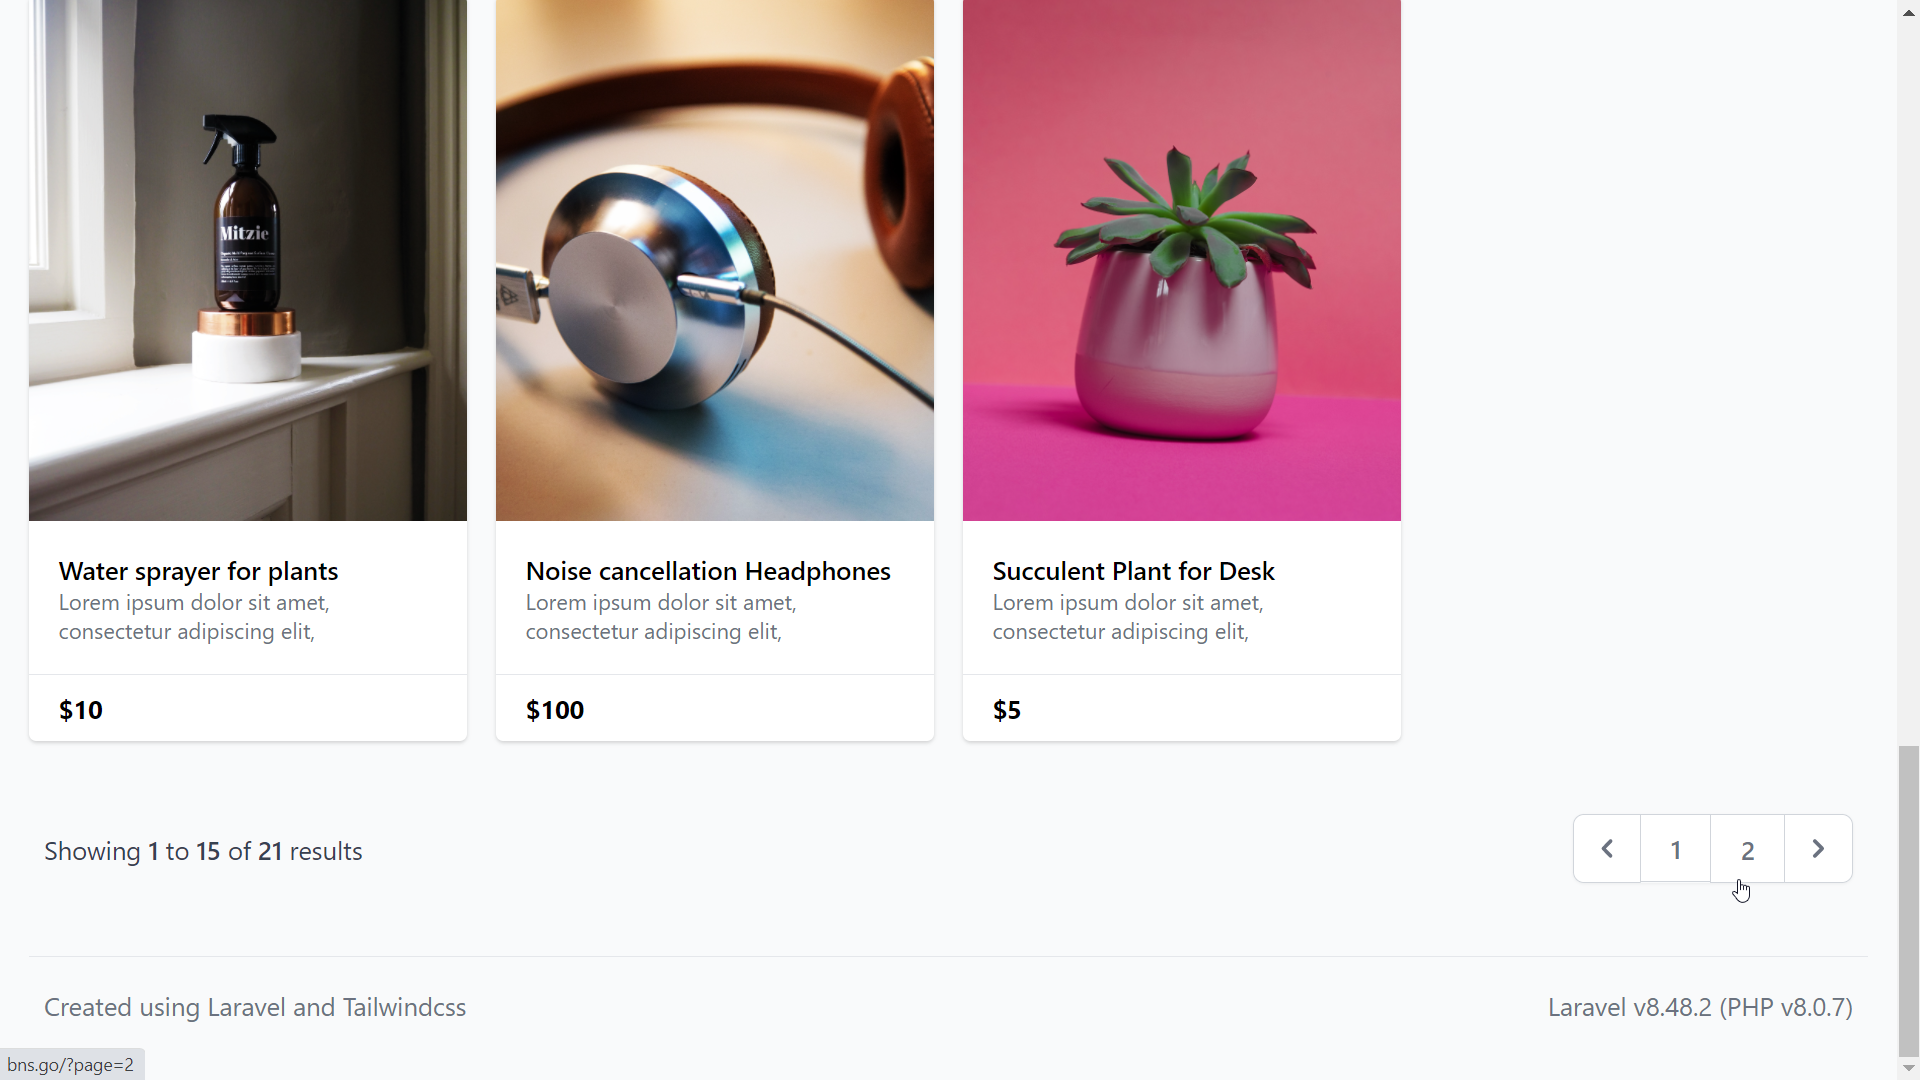
It is hard to believe that pagination can be implemented so easily.
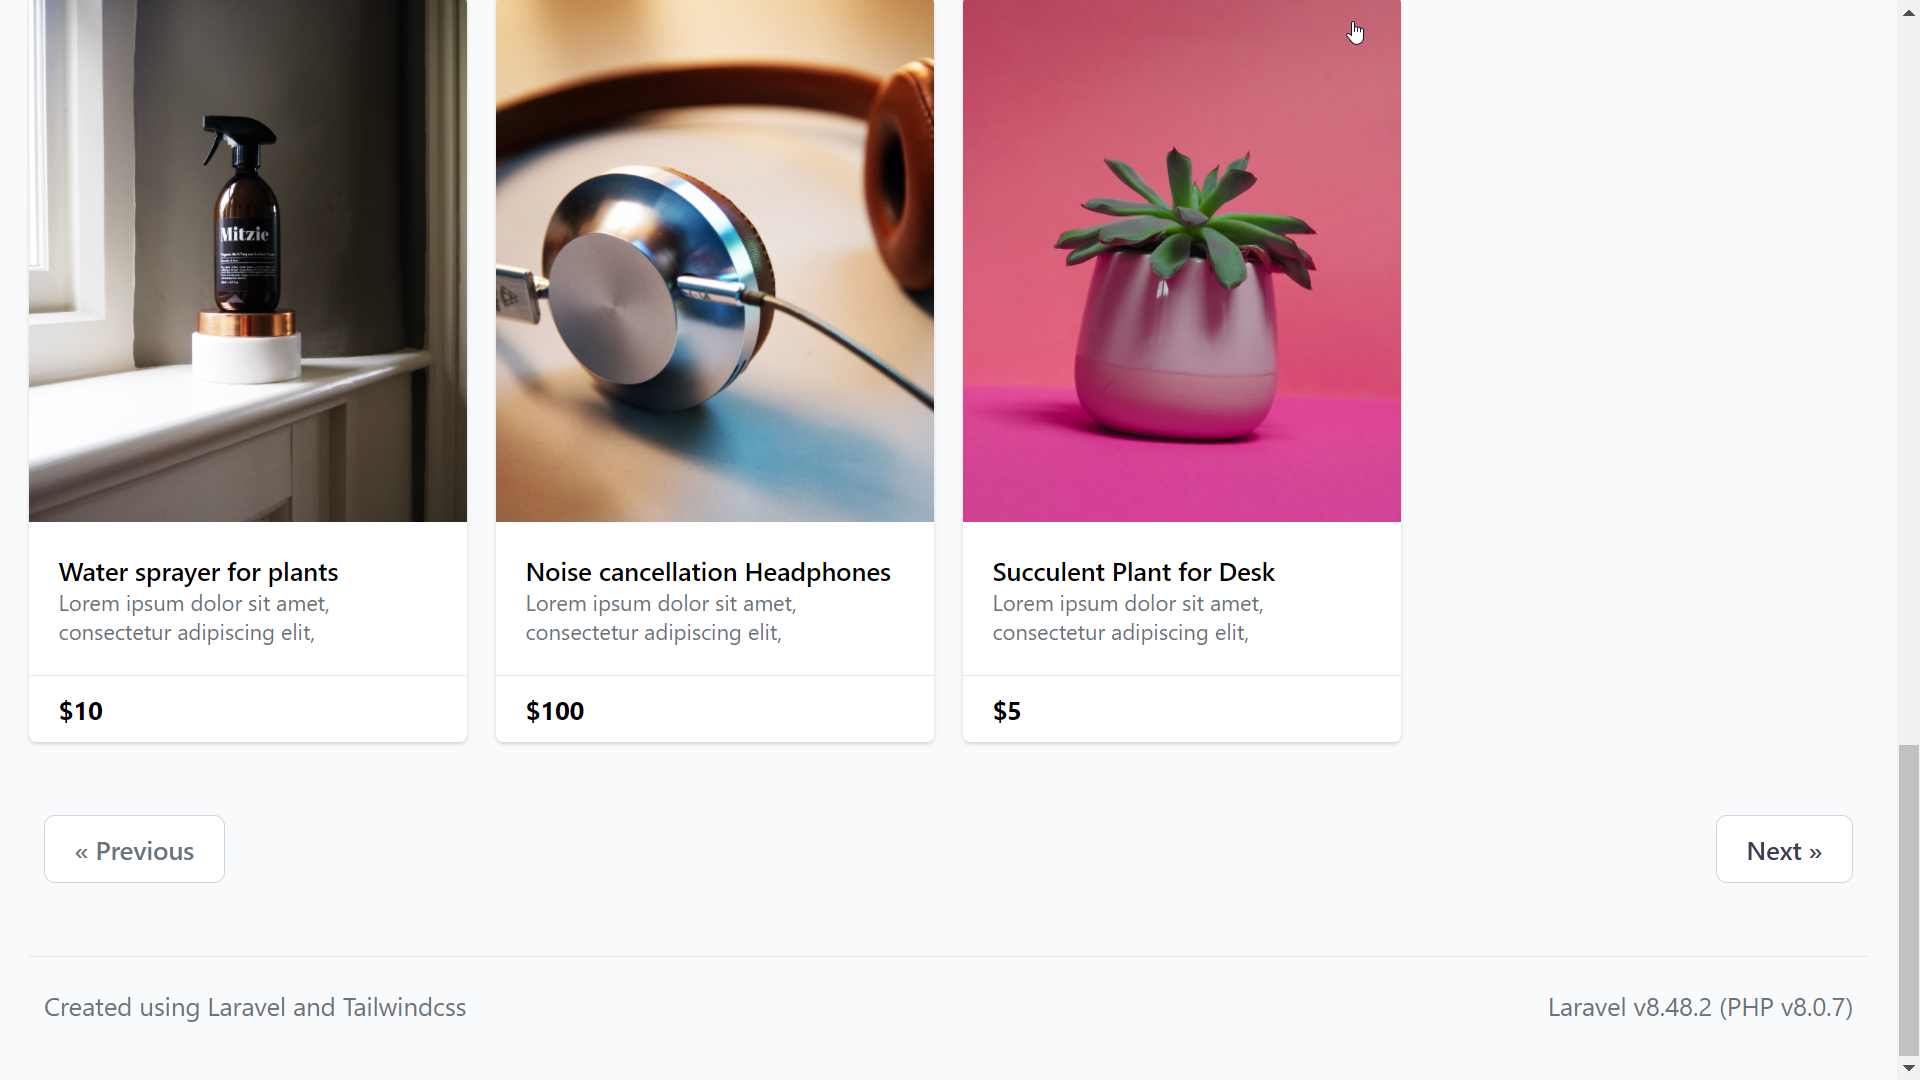
4. Now, if you want to display only a previous and a next button instead of these page numbers, then simply replace the call to the function paginate(15) by a call to the function simplePaginate(15).
<?php

namespace App\Http\Controllers;

use Illuminate\Http\Request;
use Illuminate\Support\Facades\Auth;
use App\Models\Product;


class ProductsController extends Controller
{
    //fetch products from the database
    public function index()
    {
      $products=Product::orderBy('created_at','desc')->simplePaginate(15);
      return view('products')->with('products',$products);
    }

    //Fetch a product by ID
    public function show($id)
    {
        $product=Product::find($id);
        return view('product')->with("product",$product);
    }

    //Add product information to the database
    public function store(Request $request){

      //validate the incoming data
      $request->validate([
        'title'=>'required',
        'desc-sm'=>'required',
        'desc-full'=>'required',
        'price'=>'required|numeric',
        'img'=>'required'
      ],
      [
        'title.required'=>'Please enter a title',
        'desc-sm.required'=>'Please enter a short description',
        'desc-full.required'=>'Please enter a full description',
        'price.required'=>'Please enter the product price',
        'price.numeric'=>'The price should be a number',
        'img.required'=>'Please upload an image',
      ],
      [
      ]);

      //upload the image
      $path = $request->file('img')->store('product_images');

      //submit data
      $product=new Product();
      $product->title=$request->input('title');
      $product->short_desc=$request->input('desc-sm');
      $product->long_desc=$request->input('desc-full');
      $product->price=$request->input('price');

      $product->image_url=$path;

      $product->user_id=Auth::id();

      $product->save();

      return redirect('/product/'.$product->id);
    }

}
Now save the changes and reload the page. You’ll notice the buttons at the bottom.
5. Now before move on, let me show you another magical directive of the Blade templating engine.
- First, create a new file inside the resources/views folder, let’s name it each_product_on_list.blade.php. Can you guess from this name, what I am going to do?
- From the products.blade.php file, Copy the code inside this @foreach and the @endforeach directives. This is the code for each item of the product list right! Paste this code inside the newly created file, each_product_on_list.blade.php.
- Now, in place of the foreach loop add the blade directive named @each, we shall pass three arguments to this. First is the name of the view that contains the code for each item of the list, second is the collection variable $products , and the third is the name of the variable representing each item of the products collection… we have been using ‘p’ for it.
@each('each_product_on_list',$products,'p') - Finally, remove the foreach directive completely.
- The code of the products view looks so clean and simple now, right!
So we have transferred the code representing each item of the list to a separate file. And now iterating through the products collection and for each iteration bringing in the code from that separate file is as easy as this single line of code we have written just now.
This does not add any visual changes to the page, reload the page and see yourself. But our code is more organized and more readable now.
<x-base-layout>
      <!-- Main Content -->
      <div class="grid grid-cols-4 gap-4 p-4">
        @each('each_product_on_list',$products,'p')
      </div>
      <div class="p-6">{{ $products->links() }}</div>
</x-base-layout>