As we have created the table for storing the information of the products on our database, and also created the model to interact with this table now we have to create the controller to handle the request of adding the product information to the database.
To add a product to the database –
- First, we have to validate the user inputs
- Then we have to upload the image of the product, and
- Finally, we have to store the information on the products table on the database
In this video, I’ll show you how complete the first task. And this involves four main steps –
- First, creating a controller
- Creating a function store() inside the controller
- Creating a route to handle the form submission request
- And adding the validation rules inside the store() function
So,
Step 1: First of all, let us create a controller with the commandphp artisan make:controller ProductsController
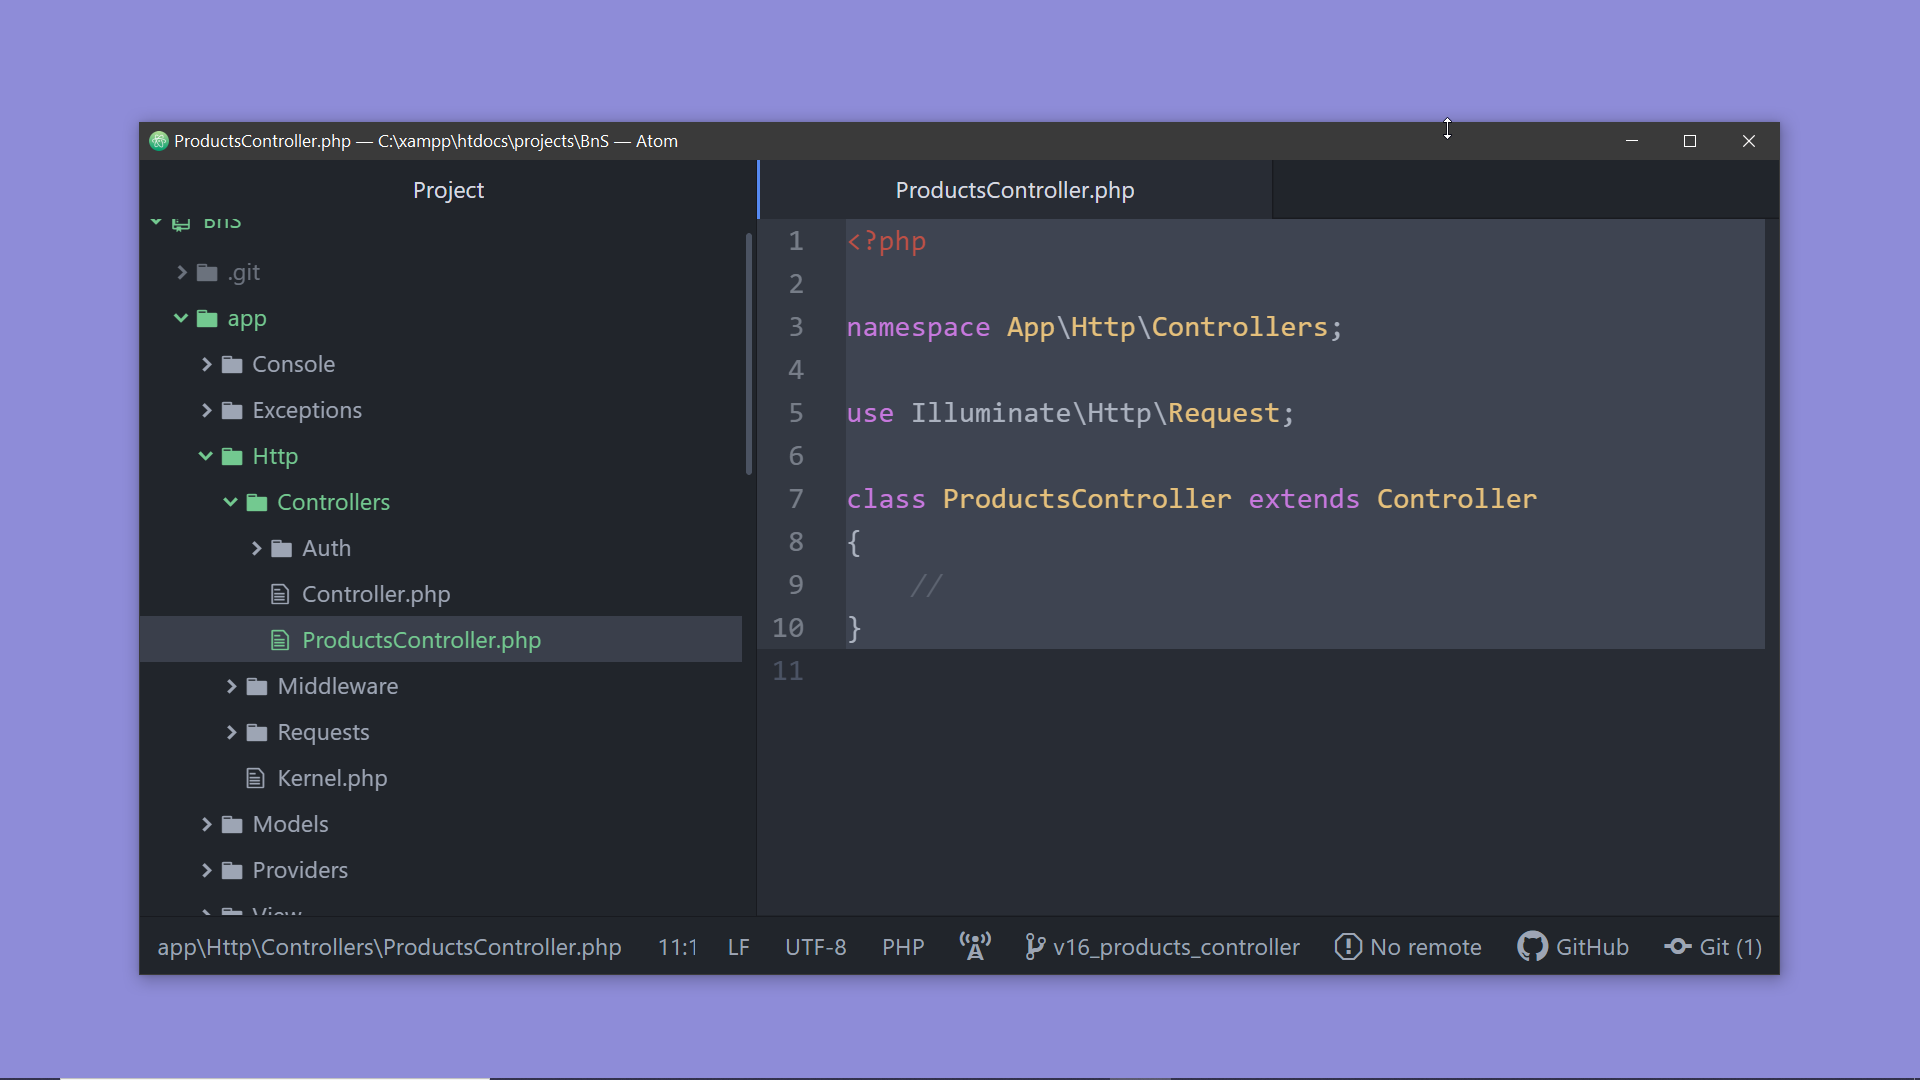
This creates a new file named ProductsController.php inside the folder app/Http/Controllers

Step 2: Now open this file. Currently, it does not have much code. There is a class named ProductsController that extends the class Controller. All the controllers extend this class Controller.
<?php

namespace App\Http\Controllers;

use Illuminate\Http\Request;

class ProductsController extends Controller
{
    //
}
Step 3: Let’s add a function here, name it store(Request $request). We shall add a parameter of type Request. This Request class is used to interact with the current HTTP request, we can retrieve the input values from the instance of this class. Inside this function,
- We shall access the input from the request object and validate them.
- Then we shall upload the image.
- And finally, we shall insert the information of the product into the products table.
<?php

namespace App\Http\Controllers;

use Illuminate\Http\Request;

class ProductsController extends Controller
{
    //Add product information to the database
    public function store(Request $request){
      //validate the incoming data

      //upload the image

      //submit data
    }
}
Step 4: But before doing that let us add a route for making the form submission request. For that –
-First, open the web.php file
-Create a route using the class Route, the way we did before… but, this time we have to use the function post() instead of get() as we shall make a POST request to submit the data.
-Add the name of the route to the first parameter, let’s name it /product. (Now if you are thinking about whether it will work as we have already used the name product, then I would say that you don’t need to worry as the functions used are different they represent two different routes.) .
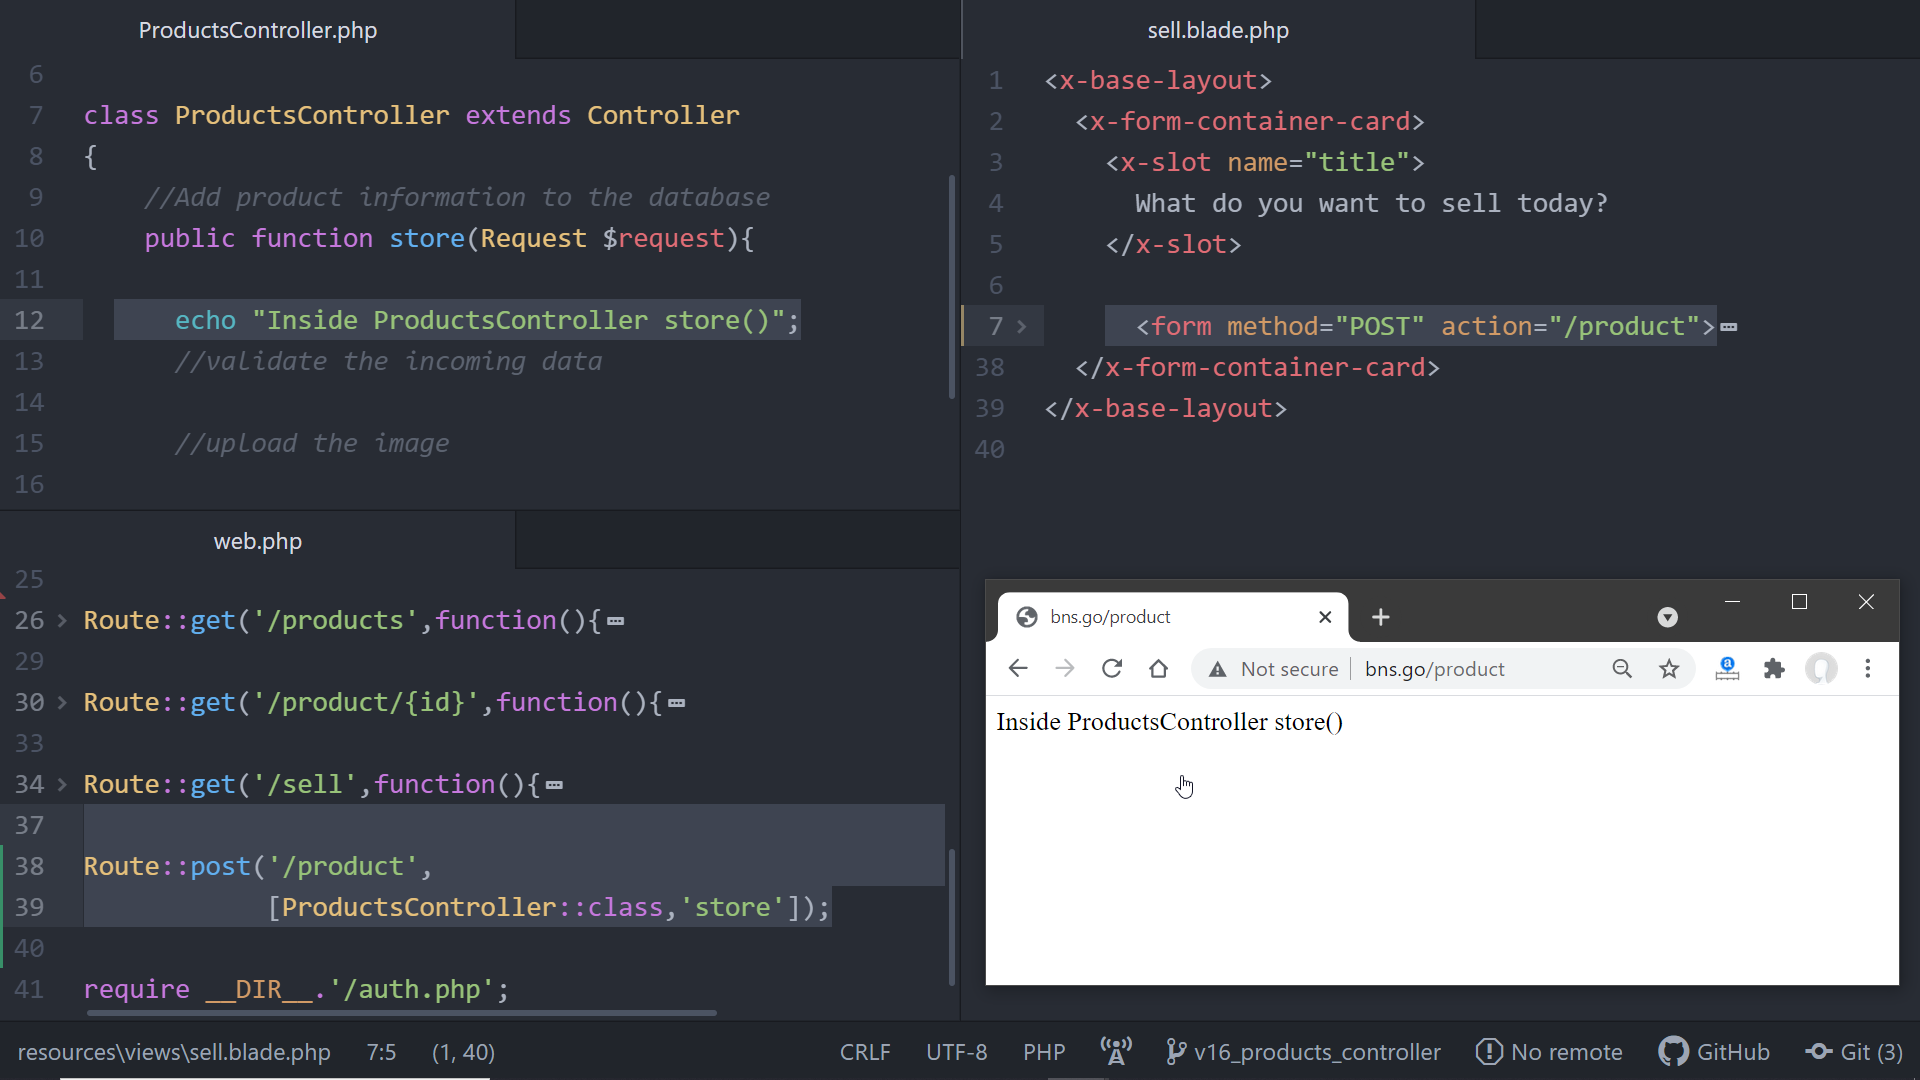
-And to the second parameter instead of this anonymous function we shall pass the store() function of the controller class that we have created just now. Route::post('/product', [ProductsController::class,'store']);
-Now open the view, the file sell.blade.php pass the route name to the attribute action of the form <form method="POST" action="/product">
-Now if you reload the page and submit the form you’ll get an error like- “Target class controller does not exist.” This is because we forgot to include the ProductsController class inside the web.php file. Let’s fix this, add this line at the top of the route file – use App\\Http\\Controllers\\ProductsController; Now if you try submitting the form, you won’t get any errors.
-Now to verify that the store() method of the ProductsController is getting called, inside the functions add an echo statement echo "Inside ProductsController store()";.
<?php

namespace App\Http\Controllers;

use Illuminate\Http\Request;

class ProductsController extends Controller
{
    //Add product information to the database
    public function store(Request $request){

      echo "Inside ProductsController store()";
      //validate the incoming data

      //upload the image

      //submit data
    }
}
-Now, reload the product ad form, enter some data and submit… you will see the string is getting printed, and it verifies that the function store() of the ProductsController is being called on submitting the form.
Step 5: Now we can start writing the code inside the store() function. Let’s start with the validation logic. To validate the fields we shall call the function validate() of the request object and pass an array of validation rules to it.
I shall add a few extremely simple validation rules, (notice the syntax): Add the name of the field as per the form inside the quote, (I’ll open the sell view side by side for reference) and the fat arrow and after that add the rule inside the quote (You can find all the available validation rules on the Laravel documentation, go to “The Basic”, click on “Validation”, and on this page click on “Available Validation Rules”.
https://laravel.com/docs/8.x/validation#available-validation-rules).
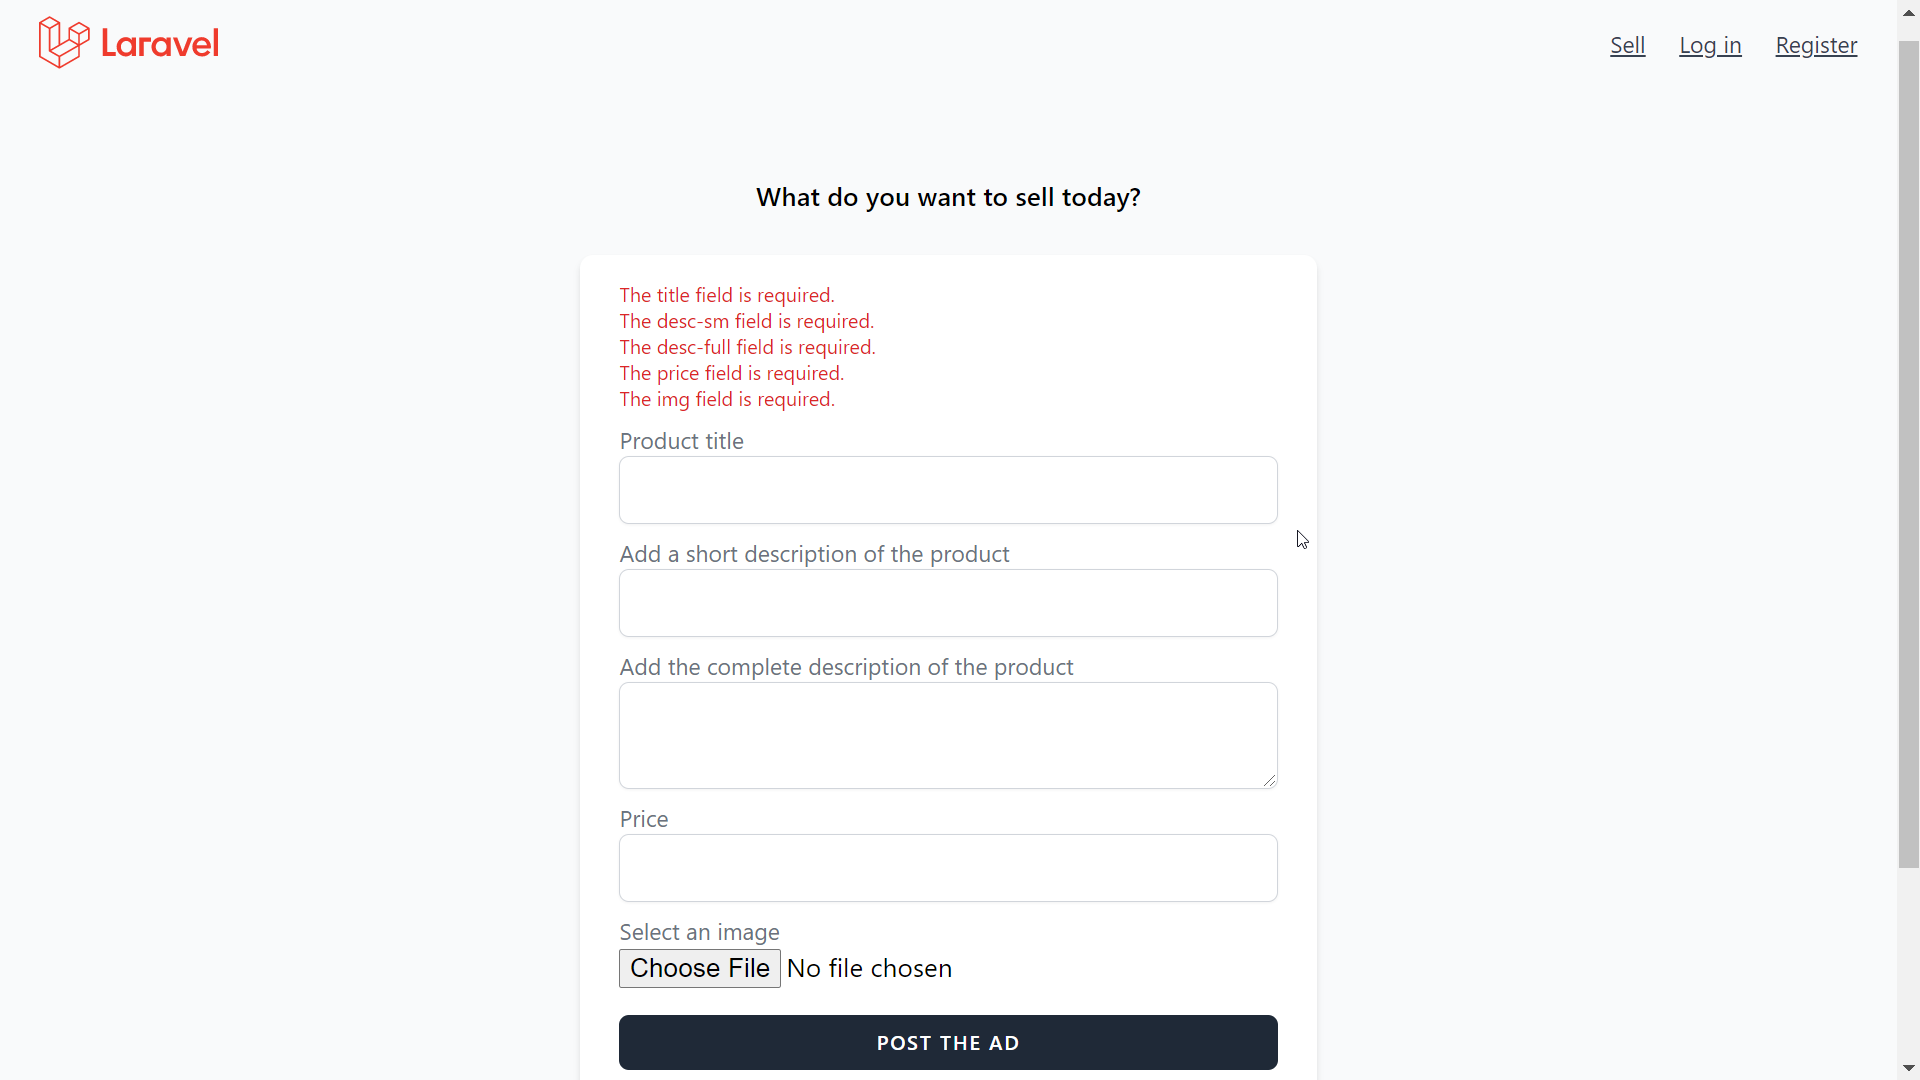
So basically let us make all the fields compulsory by adding the rule required, and for the field price, we shall add one more rule named numeric to ensure the price entered is a number. To add multiple rules we have to use the pipe symbol.
<?php

namespace App\Http\Controllers;

use Illuminate\Http\Request;

class ProductsController extends Controller
{
    //Add product information to the database
    public function store(Request $request){
      //validate the incoming data
      $request->validate([
        'title'=>'required',
        'desc-sm'=>'required',
        'desc-full'=>'required',
        'price'=>'required|numeric',
        'img'=>'required'
      ]);
      //upload the image

      //submit data
    }
}
Step 6: If no error occurs during validation then execution continues, but if some error occurs it will stop executing the controller function and redirect the user to the previous location (in our case the product upload form). And the errors can be accessed using the variable $error. This variable $error is available to all the views by default.
So to display the errors we can simply check if there are any errors using the function any() and the blade directive @if . If there are errors then using a foreach loop (@foreach directive) we can print all the errors.
<x-base-layout>
  <x-form-container-card>
    @if ($errors->any())
        <div class="text-red-600 text-xs">
                @foreach ($errors->all() as $error)
                    <div class="">{{ $error }}</div>
                @endforeach
        </div>
    @endif
    <x-slot name="title">
      What do you want to sell today?
    </x-slot>

      <form method="POST" action="/product">

        @csrf

        <div class="mt-2">
          <label for="title" class="text-sm text-gray-500">Product title</label>
          <input id="title" name="title" type="text" class="rounded-md shadow-sm border-gray-300 focus:border-indigo-300 w-full">
        </div>
        <div class="mt-2">
          <label for="desc-sm" class="text-sm text-gray-500">Add a short description of the product</label>
          <input id="desc-sm" name="desc-sm" type="text" class="rounded-md shadow-sm border-gray-300 focus:border-indigo-300 w-full">
        </div>
        <div class="mt-2">
          <label for="desc-full" class="text-sm text-gray-500">Add the complete description of the product</label>
          <textarea id="desc-full" name="desc-full" class="rounded-md shadow-sm border-gray-300 focus:border-indigo-300 w-full"></textarea>
        </div>
        <div class="mt-2">
          <label for="price" class="text-sm text-gray-500">Price</label>
          <input id="price" name="price" type="text" class="rounded-md shadow-sm border-gray-300 focus:border-indigo-300 w-full">
        </div>

        <div class="mt-2">
          <label for="img" class="text-sm text-gray-500">Select an image</label>
          <input id="img" name="img" type="file" class=" w-full">
        </div>

        <x-button class="mt-4 w-full justify-center">
            Post the ad
        </x-button>

      </form>
  </x-form-container-card>
</x-base-layout>
Now reload the page and submit the form without entering all the inputs, and you’ll see the errors.
Step 8: Now if you need to validate some complex scenarios and need more flexibility in defining the validation logic, then you can create a custom form request class. But we are not going that deep now, we shall try to replace the field names in the error messages with some nicer names in a very simple way. Add two empty arrays as the second and third argument of the validate() function.
$request->validate([
        'title'=>'required',
        'desc-sm'=>'required',
        'desc-full'=>'required',
        'price'=>'required|numeric',
        'img'=>'required'
      ],[],[]);
Keep, the array of the second argument empty for now and add the mappings of the names in the array of the third argument. The syntax is similar to that of the rules – add the name of the input field then the arrow and to the right of the arrow add the name that you want to display on the message. Reload the page, and submit the form to notice the changes.
<?php

namespace App\Http\Controllers;

use Illuminate\Http\Request;

class ProductsController extends Controller
{
    //Add product information to the database
    public function store(Request $request){

      //validate the incoming data
      $request->validate([
        'title'=>'required',
        'desc-sm'=>'required',
        'desc-full'=>'required',
        'price'=>'required|numeric',
        'img'=>'required'
      ],
      [],
      [
        'desc-sm' => 'short description',
        'desc-full' => 'full description',
        'img' => 'Product Image',
      ]);
      //upload the image

      //submit data
    }

}
Step 9: Now, you might be already getting curious about the seconds argument. Using this array you can customize the message to be displayed.
Following the similar syntax add a dot next to the name of the field and then add the rule, and to the right of the arrow add the message to be displayed.
<?php

namespace App\Http\Controllers;

use Illuminate\Http\Request;

class ProductsController extends Controller
{
    //Add product information to the database
    public function store(Request $request){

      //validate the incoming data
      $request->validate([
        'title'=>'required',
        'desc-sm'=>'required',
        'desc-full'=>'required',
        'price'=>'required|numeric',
        'img'=>'required'
      ],
      [
        'title.required'=>'Please enter a title',
        'desc-sm.required'=>'Please enter a short description',
        'desc-full.required'=>'Please enter a full description',
        'price.required'=>'Please enter the product price',
        'price.numeric'=>'The price should be a number',
        'img.required'=>'Please upload an image',
      ],
      [
      ]);
      //upload the image

      //submit data
    }

}
Now, submit the form without any input and you’ll see something like this one-

Now, fill up the form completely, correctly(with numeric price), and submit, and you’ll get no errors. So validation is successful, now let’s proceed to upload the product image.